Bleaching Hair Tips for Less Damage
Bleaching hair: Learn how to bleach your hair at home with minimal damage. Get expert tips on preparation, application, aftercare, and when to see.

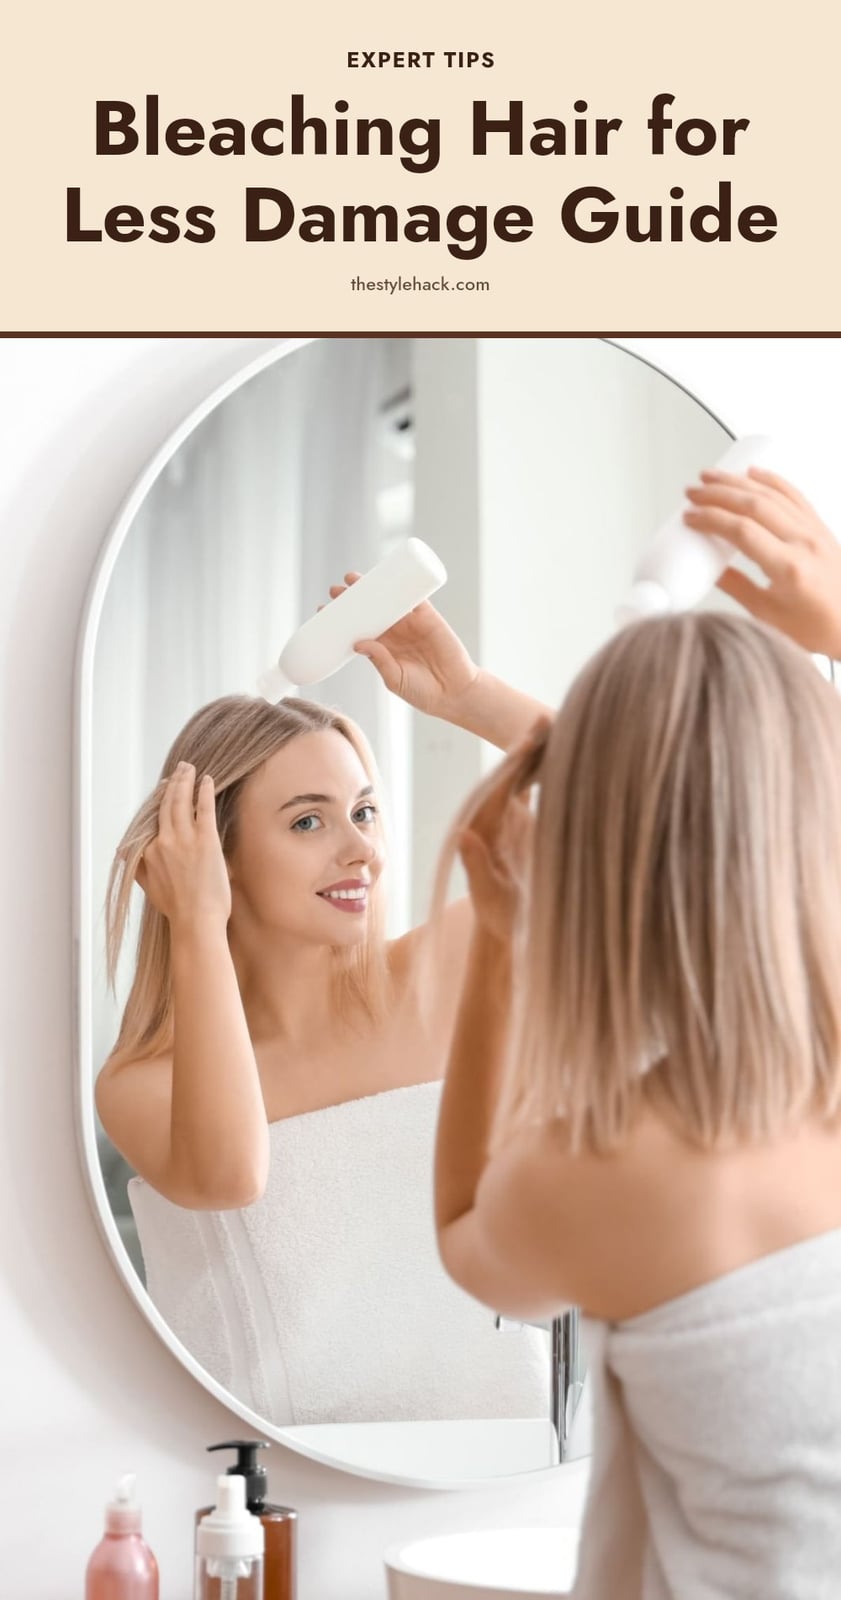
If you’re dreaming of lighter locks, bleaching your hair at home is a tempting DIY project. But let’s be real: it’s a powerful chemical process that can leave your hair dry, brittle, or worse if you’re not careful. This article covers the essential steps to bleach your hair at home with less damage, from prepping your hair and tools to choosing the right developer and nailing your aftercare routine.
Think of this as your practical guide to getting the lift you want while keeping your hair as healthy as possible. I’ll walk you through what to do, what to avoid, and when it’s time to hand the brush to a professional.
Key Takeaways
- Always perform a patch test 48 hours before and a strand test before the full application.
- Use a 10 or 20 volume developer for less damage, even if it means slower lightening.
- Do not bleach damaged, brittle, or recently chemically treated hair.
- Space multiple bleaching sessions at least several weeks apart for safe lightening.
- Use a toner after bleaching to neutralize unwanted yellow or orange undertones.
1. Is Bleaching Hair at Home a Good Idea?
Bleaching hair at home can be done, but it’s a harsh chemical process that requires careful preparation and execution to minimize damage. For drastic changes, especially going from dark to very light, or if your hair is already compromised, seeking a professional is often the safest and most effective option. If you choose to DIY, prioritizing hair health with proper products, precise application, and intensive aftercare is crucial to avoid significant damage.
2. 1. Assess Your Hair’s Health First
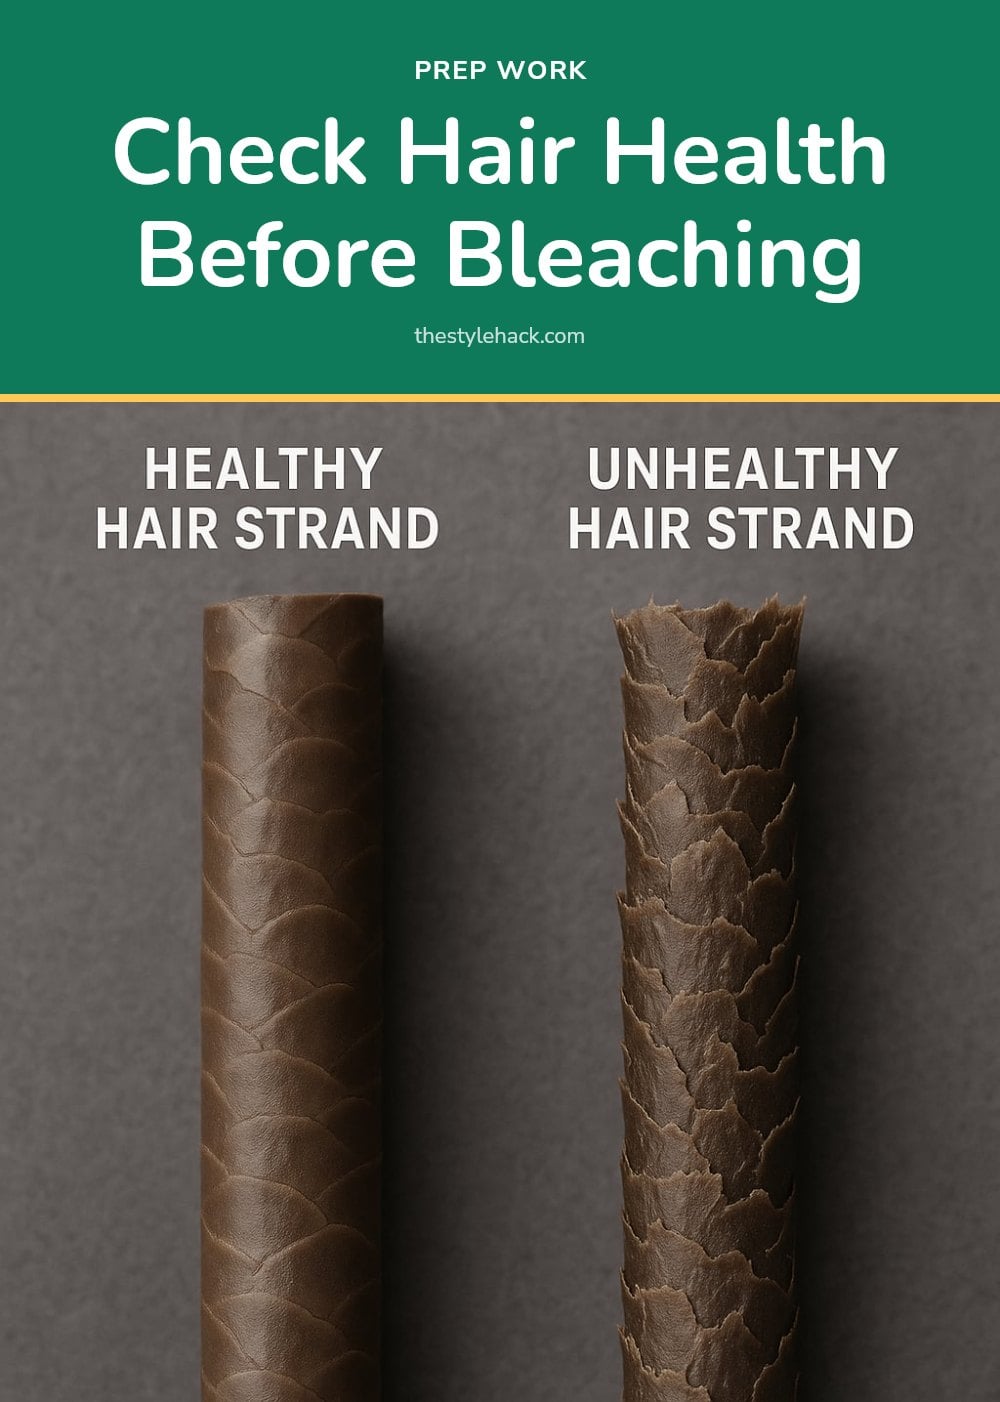
Before you even think about bleach, take a good look at your hair’s current condition. Is it dry, brittle, or prone to breakage? Has it been chemically treated recently with perms, relaxers, or permanent dyes?
Bleaching already compromised hair can lead to severe damage, including excessive breakage or a ‘chemical cut’ where hair literally breaks off. If your hair isn’t in top shape, give it some love with deep conditioning treatments for a few weeks before considering bleach.
3. 2. Do a Patch and Strand Test

I can’t stress this enough: always, always, always perform a patch test 48 hours before applying bleach to your entire head. This checks for allergic reactions to the product.
Equally important is a strand test. Take a small, hidden section of hair and apply the bleach mixture. This will show you exactly how your hair will react, how long it takes to lift to your desired shade, and the final color result. My tip: this step prevents unexpected color and damage!
4. 3. Choose the Right Developer Volume
The developer (hydrogen peroxide solution) strength is key. It comes in different volumes: 10, 20, 30, and 40. Higher volumes lift color faster and more dramatically, but they also cause more damage.
For at-home bleaching, I strongly recommend sticking to 10 or 20 volume developer. Volume 10 is for slight lightening or toning, while 20 volume is generally safe for up to 2-3 levels of lift. Avoid 30 and 40 volume unless you’re a seasoned professional, as they can cause severe damage and chemical burns.
5. 4. Gather All Your Tools
Before you start, lay out everything you need. You will need bleach powder or cream, the correct volume developer, a non-metallic mixing bowl, an applicator brush, gloves, sectioning clips, a timer, old towels, and old clothes. Non-metallic tools are essential because metal can react with the bleach and alter the mixture.
- Petroleum jelly: Protects your skin from irritation and chemical burns.
- Toner and deep conditioner: Crucial for aftercare to neutralize undertones and rehydrate your hair.
6. 5. Prep Your Hair and Skin
Do not wash your hair immediately before bleaching. The natural oils on your scalp provide a protective barrier against irritation. Aim for hair that has not been washed for 1-2 days.
Apply a thick layer of petroleum jelly around your hairline, ears, and neck to shield your skin from the bleach. Wear gloves and old clothes you do not mind getting stained. This simple prep prevents chemical burns and stains on your skin and clothing.
7. 6. Mix and Apply Carefully
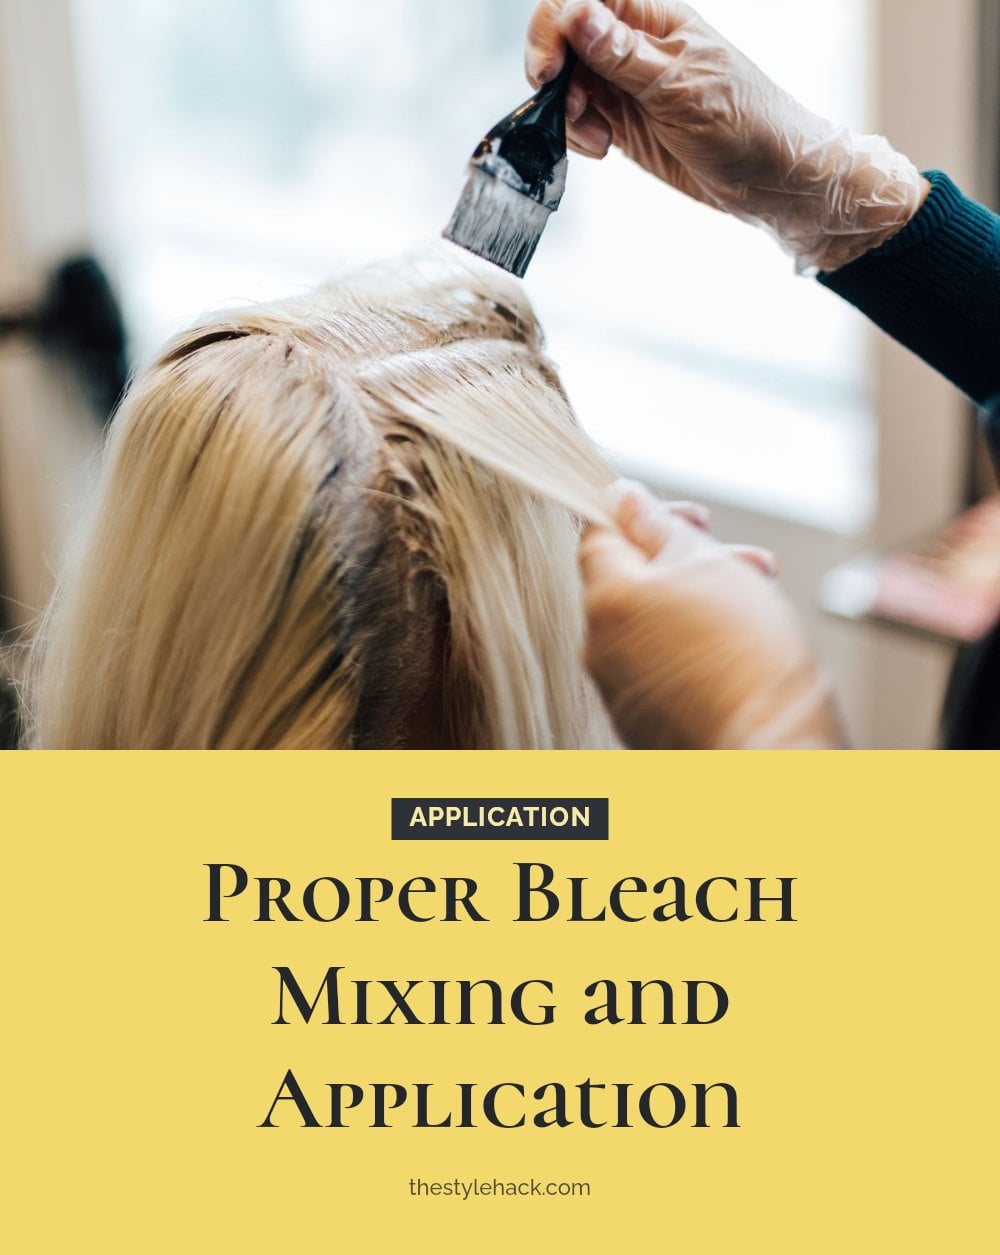
Follow the manufacturer’s mixing instructions precisely. Incorrect ratios of bleach powder to developer can result in poor lightening or increased damage. Mix only what you will use immediately, as the mixture loses potency over time.
Work in small, even sections, applying the bleach quickly and thoroughly. Start on the mid-shaft and ends, then apply to the roots last. Roots process faster because of scalp heat, so applying them later prevents over-processing. Caution: Do not overlap bleach onto previously lightened hair. Overlapping causes excessive damage and breakage.
8. 7. Monitor Processing Time Closely
Set a timer based on your strand test results and the product instructions. Never leave bleach on longer than the maximum recommended time, even if you think it is not light enough. Over-processing can cause severe damage, including hair breakage or a ‘chemical cut’.
Check your hair’s progress every 5-10 minutes by gently scraping a small amount of bleach off a strand with the back of a comb. If you experience any burning, itching, or irritation, rinse immediately with cool water. Your safety comes first.
9. 8. Rinse Thoroughly and Condition
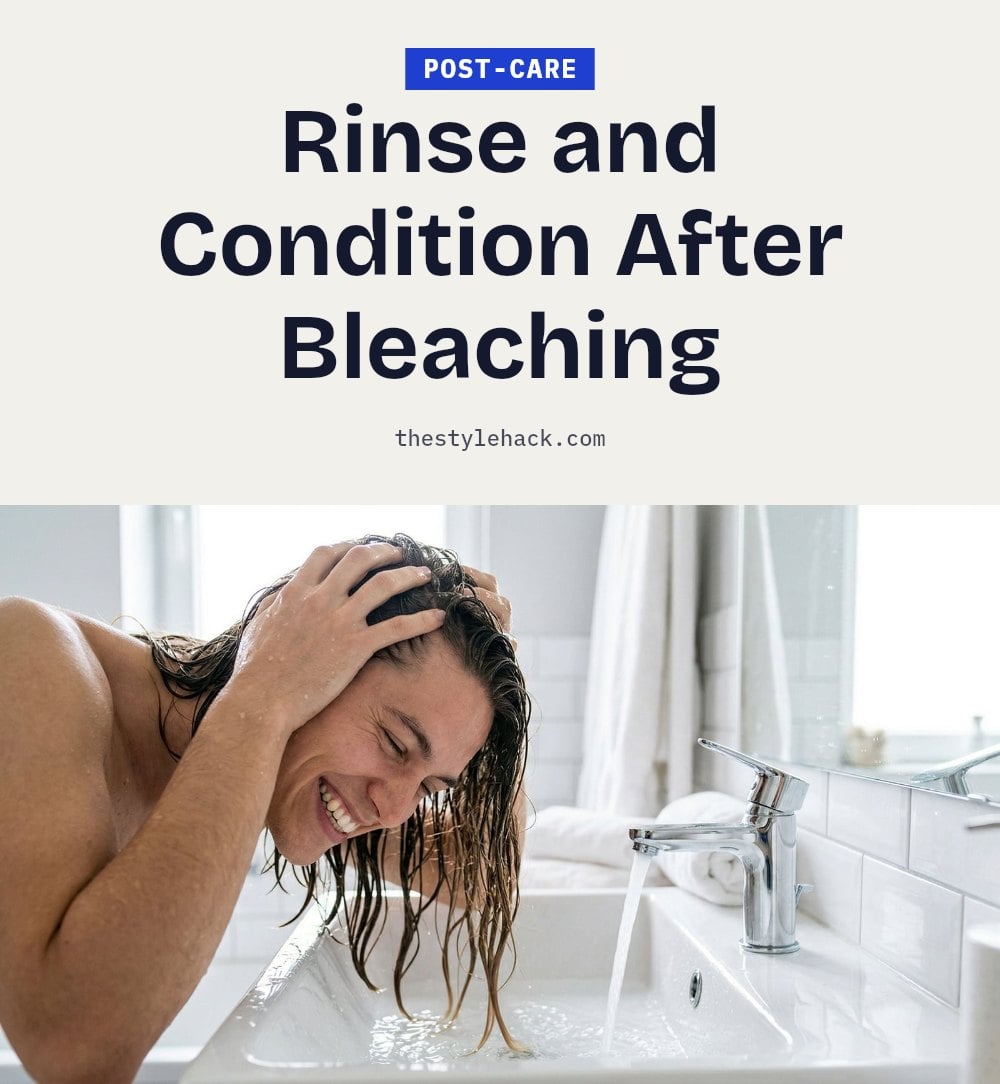
Rinse your hair thoroughly with cool water until every trace of bleach is gone. This can take several minutes, so be patient. Cool water helps close the cuticle and stops the lightening process.
If your bleach kit includes a neutralizing shampoo, use it next. Then apply a rich deep conditioning treatment or hair mask. Leave it on for at least 10-15 minutes, longer if your hair feels dry. This rehydrates the hair and seals the cuticle, reducing frizz and breakage.
10. 9. Tone Out Unwanted Undertones
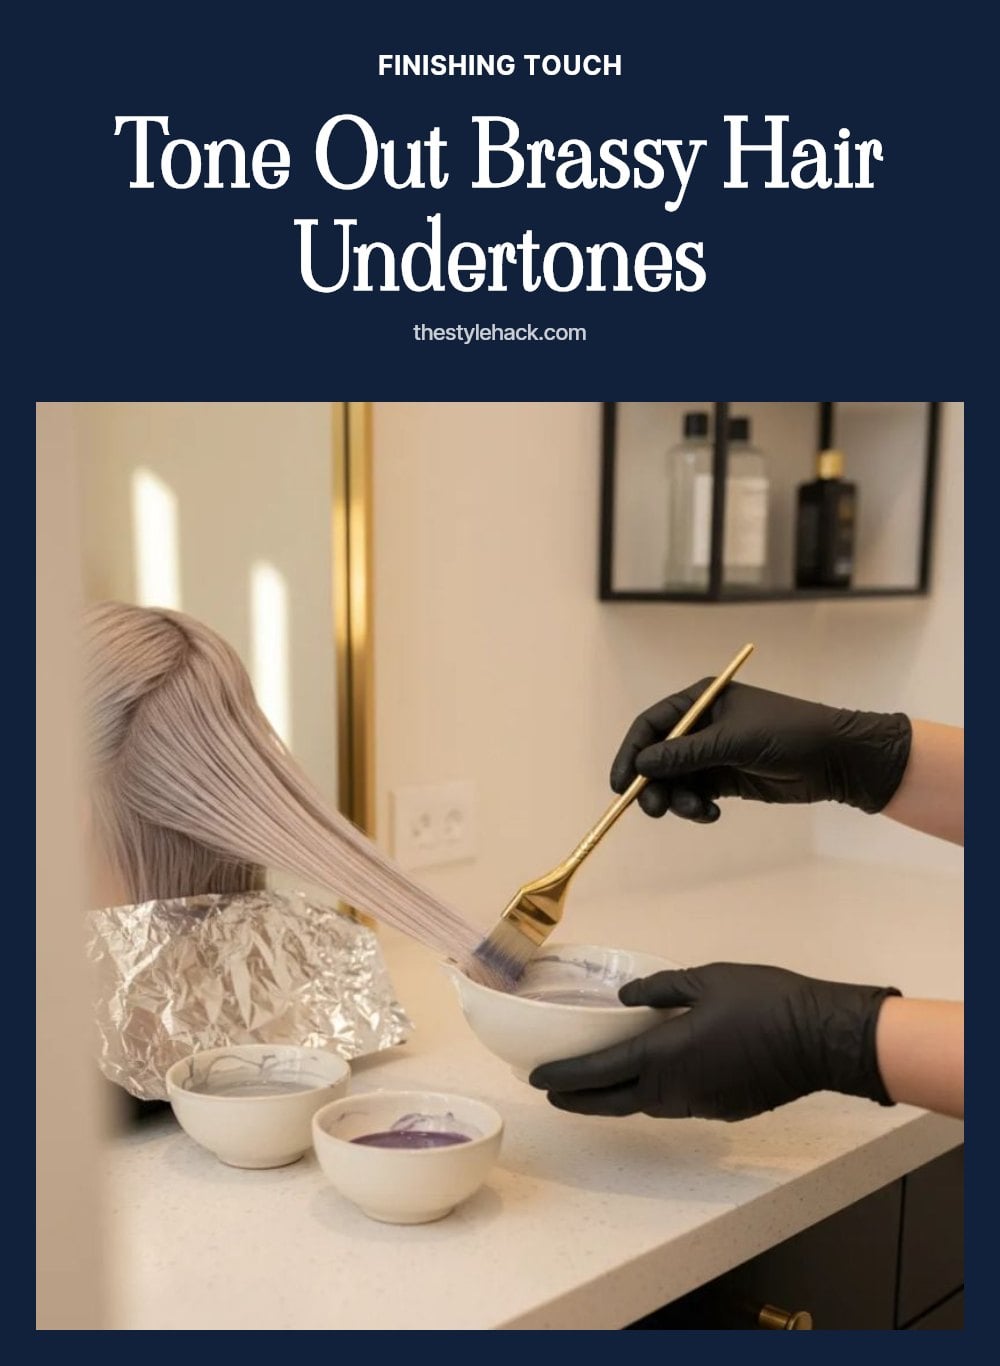
Unless you want a warm golden blonde, you will need to tone your hair after bleaching. Bleach often leaves yellow or orange undertones that look unnatural. A toner, typically purple for yellow or blue for orange, neutralizes these hues.
Apply toner to damp towel-dried hair following the product instructions. Tip: Always do a strand test with the toner first to avoid a muddy or uneven result. This step gives you a cooler, more natural-looking blonde.
11. 10. Embrace Intensive Aftercare
Bleached hair is fragile and thirsty, so your aftercare routine is critical. Use sulfate-free shampoos and conditioners made for color-treated or damaged hair. Sulfates strip moisture and can make bleached hair feel straw-like.
Incorporate a deep conditioning mask or leave-in treatment at least once a week. Minimize heat styling, and when you do use heat, always apply a heat protectant. My tip: treat your bleached hair like a new, more delicate hair type that needs extra moisture and gentle handling.
12. 11. Space Out Multiple Sessions
If you are going from very dark to platinum blonde, do not expect to get there in one session. Attempting that at home almost always causes severe damage, including breakage or melted hair. The hair can only lift so many levels safely at once.
Plan for multiple bleaching sessions spaced several weeks or even months apart. This gives your hair time to recover and strengthens it for the next round. Patience prevents disaster and leads to healthier, more even results.
13. When to Call a Professional
If you are trying to go from very dark hair to a very light blonde, call a professional. The same goes if your hair is already damaged, brittle, or has been recently chemically treated. A past bad bleaching experience at home, uneven lift, extreme brassiness, or breakage, is another reason to hand over the bleach bottle. If you are unsure about any step or have specific concerns about your hair type, a stylist can assess and advise safely.
Caution: Severe burning, itching, or irritation during the process that does not subside with rinsing means you should stop and seek professional help immediately.
14. Frequently Asked Questions
15. How long should I wait between bleaching sessions?
You should wait at least several weeks between bleaching sessions to give your hair time to recover. If your hair feels dry, brittle, or shows signs of damage, wait longer. Rushing sessions can lead to breakage or a ‘chemical cut.’ Always assess your hair’s condition before the next application.
16. Can I bleach my hair if it’s already colored?
Bleaching previously colored hair is possible but riskier. The existing artificial pigment can react unpredictably, leading to uneven results or extra damage. If your hair has been dyed recently, wait until it’s in good condition. For best results, consider a professional for color corrections.
17. What should I do if my hair turns orange after bleaching?
Orange undertones are common after bleaching, especially on darker hair. Use a toner with blue pigments to neutralize the orange. Apply it to damp, towel-dried hair according to the product instructions. If the orange is very strong, you may need a second session after waiting several weeks.
18. Is it better to bleach hair wet or dry?
Bleach should always be applied to dry, unwashed hair. Wet hair can dilute the bleach, leading to uneven lightening and more damage. The natural oils on unwashed hair (1-2 days since last wash) also help protect your scalp from irritation during the process.
19. How can I protect my scalp from bleach burn?
Apply a thick layer of petroleum jelly around your hairline, ears, and neck before bleaching to create a barrier. Do not wash your hair for 1-2 days before so natural oils are present. If you feel burning or intense itching during application, rinse immediately with cool water.
20. Final Thoughts
If you decide to bleach at home, commit to the prep and aftercare. Use a lower volume developer, do your strand test, and never push past the recommended processing time. For dramatic changes, like going from dark brown to platinum, expect multiple sessions spaced weeks apart or consider booking a professional. My tip: invest in a good deep conditioner and use it weekly to keep your bleached hair soft and strong.
Taking it slow is the smartest move for your hair’s health.
This article provides general information about at-home hair bleaching and is not a substitute for professional advice. Hair bleaching involves chemicals that can cause allergic reactions, burns, or severe damage. Always perform a patch test, follow product instructions, and consult a dermatologist or licensed stylist for persistent issues or if you have a sensitive scalp.
More Blog ideas
- How to Heal Chapped Lips Overnight with Simple Steps
- Atomic Habits: 5 Lessons to Build Better Habits
- Hyaluronic Acid for Beginners
- How to Build a Gentle Skincare Routine for Sensitive Skin
- Beat Frizzy Hair: Easy Remedies for Smooth, Shiny Strands
- How to Increase Your Daily Drinking Water Intake
- Washing Hair Mistakes to Avoid and What to Do Instead
- How to Make Your Body Mist Last Longer All Day
- How to Fix Your Skincare Routine
- Nervous System Regulation Tips
- Vagus Nerve Exercises for Stress Relief
- How to Make Your Own Whipped Body Butter at Home