How to Make Your Own Whipped Body Butter at Home
Learn how to make luxurious, deeply moisturizing whipped body butter at home with natural ingredients. Get a simple recipe, step-by-step instructions, and tips.

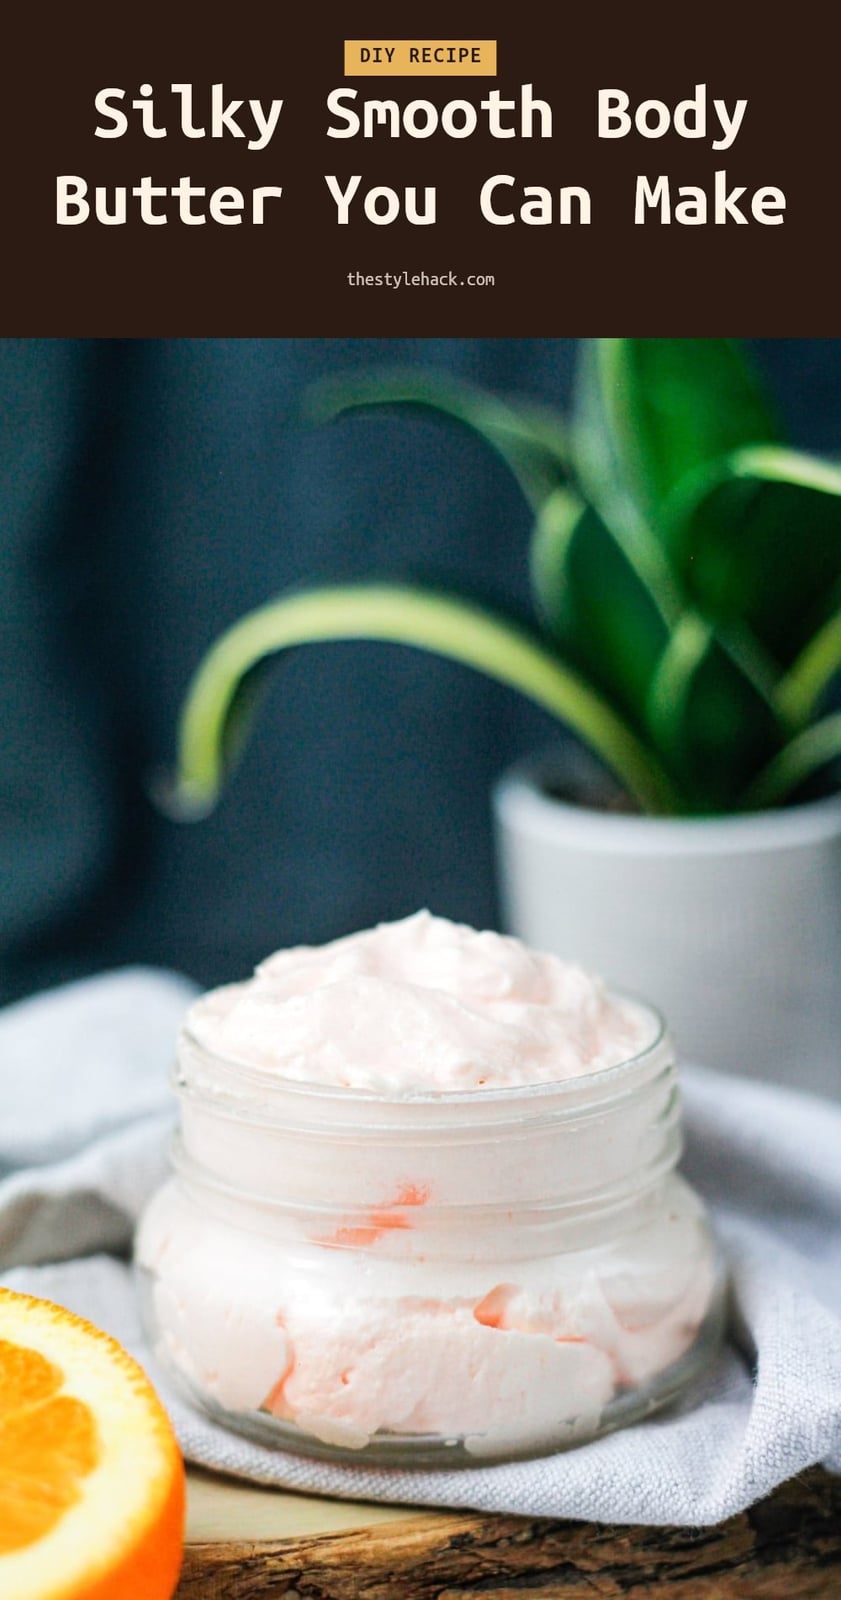
You know that feeling when your skin drinks up moisture but lotion just evaporates after an hour? That’s where body butter comes in. This article walks you through making your own whipped body butter at home using simple natural ingredients, so you can skip the preservatives and customize everything from texture to scent.
I’ll cover the basic recipe, step-by-step instructions, common pitfalls to avoid, and how to store your creation for lasting freshness. By the end, you’ll have a rich, fluffy moisturizer that locks in hydration for hours.
Key Takeaways
- Whipped body butter uses an occlusive barrier to lock moisture in without water.
- Melt butters gently in a double boiler; never boil them to preserve nutrients.
- Cool the mixture until partially solid before whipping to avoid a greasy result.
- Store your finished body butter in an airtight container in a cool, dark place.
- Homemade body butter typically lasts 6 months to 1 year if kept free of water.
1. Why This Homemade Body Butter Recipe Works So Well
This recipe works because it creates an occlusive moisturizer that forms a protective barrier on your skin, locking in hydration for hours. The blend of natural butters and oils melts on contact with body heat, delivering deep moisture without any water. Whipping incorporates air, giving it a light, fluffy texture that spreads easily and absorbs beautifully without feeling greasy.
2. Your Simple Whipped Body Butter Recipe
This recipe makes about 8 ounces of body butter. You will need 1/2 cup shea butter as the primary base for intense moisture, 1/4 cup cocoa butter to add firmness and a natural chocolate-like scent, and 1/4 cup coconut oil plus 2 tablespoons almond oil to improve spreadability and add skin-nourishing nutrients. For fragrance and optional skin benefits, add 15-30 drops of your chosen essential oils. Prep time is 15 minutes, plus 1-2 hours for cooling and 5 minutes for whipping.
- Shea butter (1/2 cup): Primary base for deep, lasting moisture.
- Cocoa butter (1/4 cup): Adds firmness and a pleasant natural scent.
- Coconut oil (1/4 cup): Improves spreadability and adds nutrients.
- Almond oil (2 tbsp): Boosts glide and skin-conditioning properties.
- Essential oils (15-30 drops): Provide fragrance and optional skin benefits.
3. Step-by-Step: Crafting Your Luxurious Body Butter
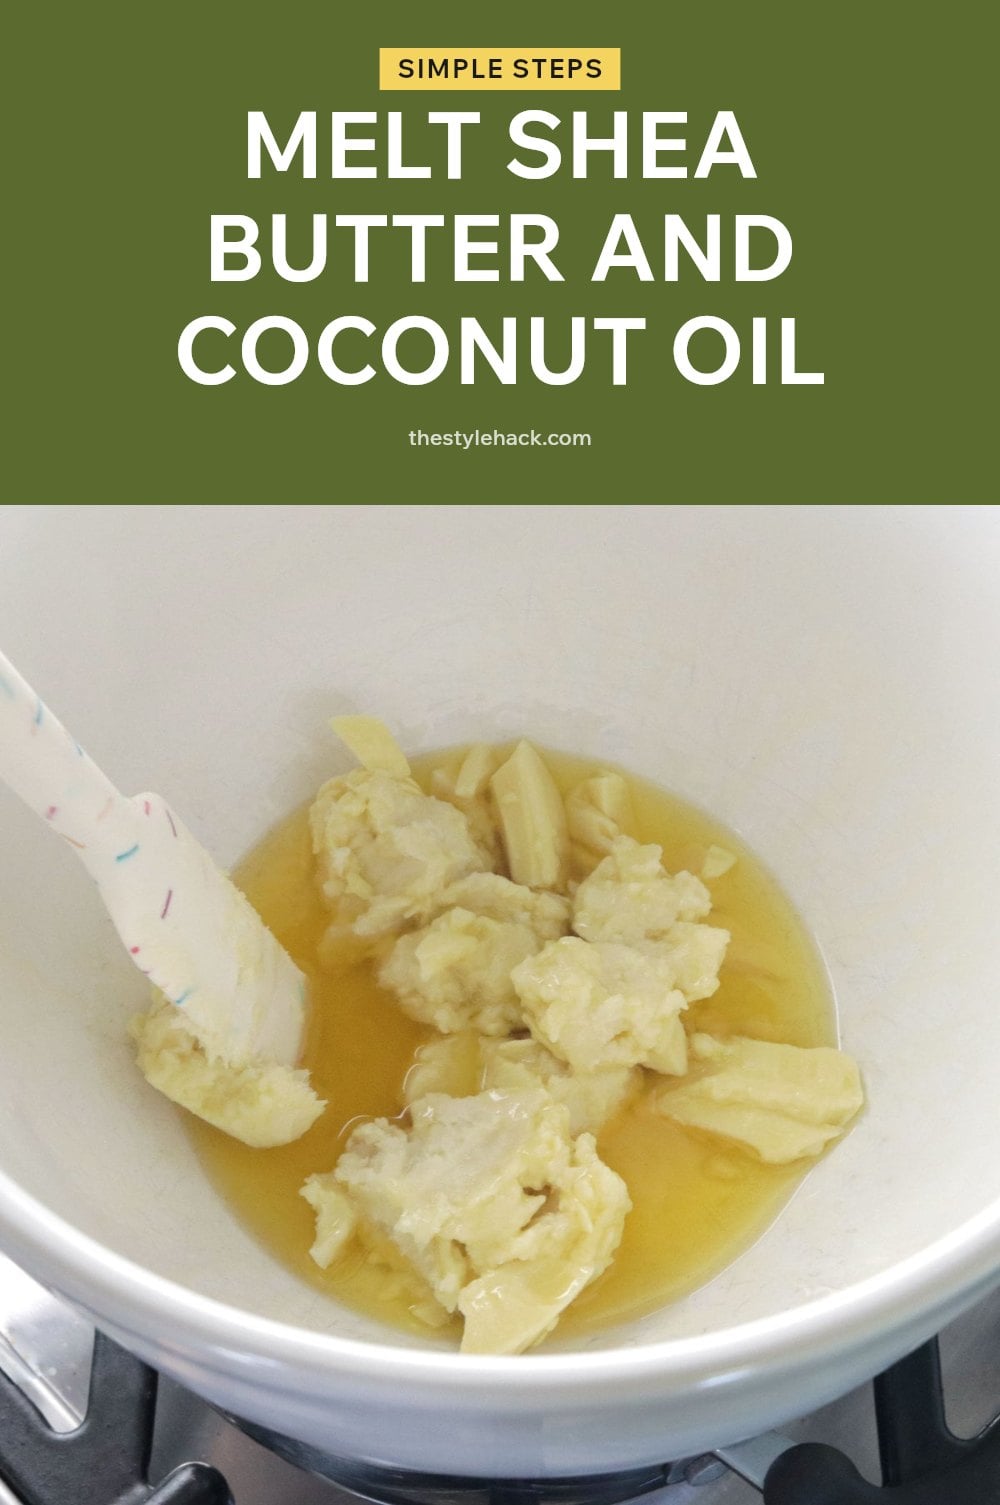
- Melt the butters and oils: Combine shea butter, cocoa butter, coconut oil, and almond oil in a double boiler. Heat gently over simmering water until fully melted, stirring occasionally. Do not let the mixture boil.
- Cool the mixture: Remove from heat and let it cool at room temperature until it becomes partially solidified but still soft, like softened butter. This usually takes 1-2 hours. You can speed this up by placing the bowl in the refrigerator for 20-30 minutes, checking frequently.
- Whip until fluffy: Using an electric mixer, whip the cooled mixture on medium-high speed for 5-7 minutes until it becomes light and fluffy, similar to whipped cream. Scrape down the sides as needed.
- Add essential oils: Add your chosen essential oils (15-30 drops) and whip for another 30 seconds until fully incorporated. Tip: Start with fewer drops and add more after testing the scent.
- Transfer to container: Spoon the whipped body butter into a clean, airtight glass jar. Use immediately or store as directed.
Prefer to watch? WholeElise walks through the whole method in this 11-minute video. The how-to part starts at 0:38.
4. Expert Tips for Perfect Homemade Body Butter
- Sanitize Your Tools: Wash all containers and utensils with hot soapy water and dry thoroughly before starting. This prevents bacteria from shortening the shelf life.
- Patch Test First: Apply a small amount of the finished body butter to a patch of skin on your inner arm. Wait 24 hours to check for any reaction before full use.
- Apply to Damp Skin: For best absorption, use body butter right after a shower or bath while your skin is still slightly damp. This helps lock in extra moisture.
- Adjust for Climate: In warmer climates, use slightly more solid butter (like cocoa butter) or less liquid oil to prevent the body butter from becoming too soft.
- Quality Ingredients Matter: Choose unrefined, high-quality butters and oils. They retain more nutrients and deliver better results for your skin.
5. Common Mistakes to Avoid When Making Body Butter
Not Cooling Enough: Whipping the mixture before it partially solidifies creates a greasy, unwhipped mess. Always let it cool until it’s the consistency of softened butter.
Overheating Ingredients: High heat destroys the beneficial compounds in shea and cocoa butters. Use a gentle double boiler method and melt slowly.
Adding Too Much Liquid Oil: Too much coconut or almond oil makes the body butter overly soft and oily. Stick to the recommended ratios in your recipe.
Excessive Essential Oils: Using too many essential oils can irritate skin or create an overpowering scent. Keep the concentration at 0.5-2% of the total volume and always dilute properly.
Water Contamination: Adding water introduces the need for a broad-spectrum preservative. Keep your recipe anhydrous to maintain its shelf life without one.
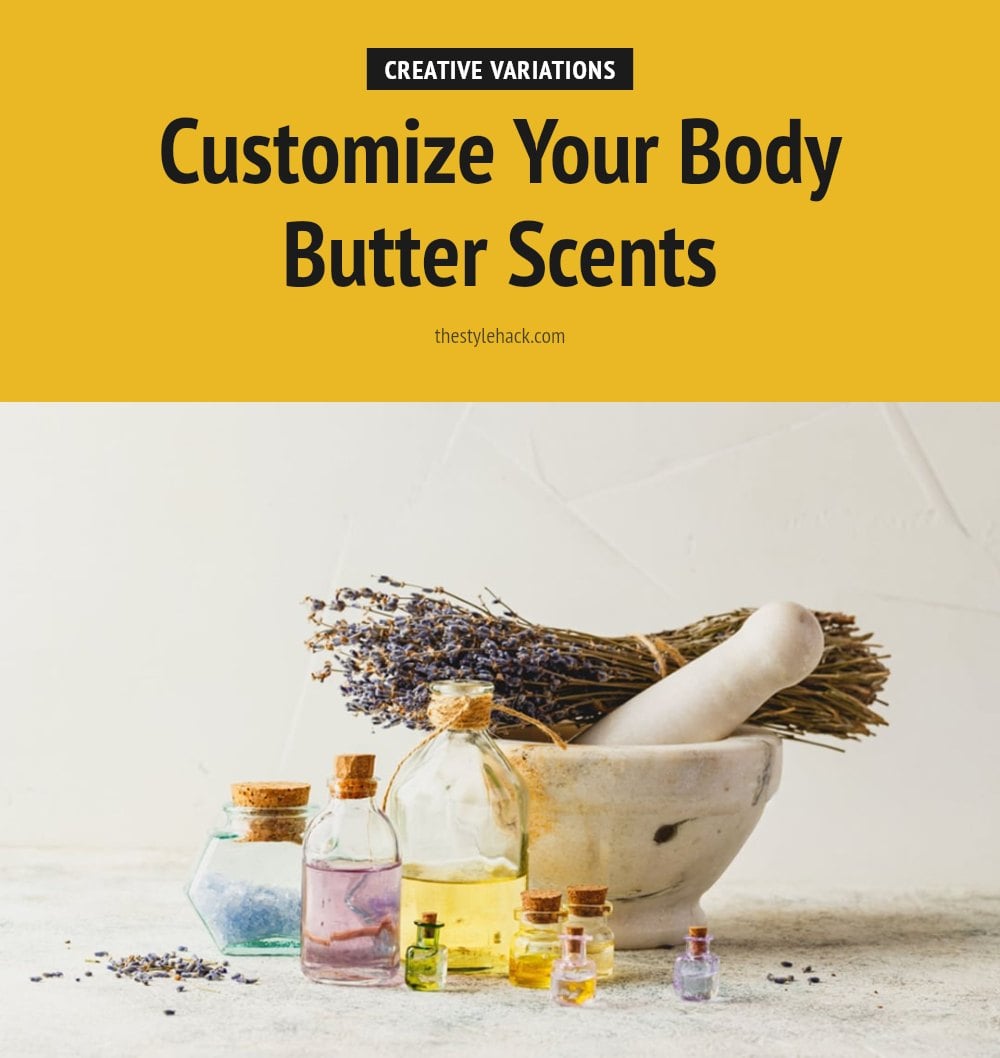
6. Customizing Your Body Butter: Variations and Scents
7. Switch Up Your Base Butters
Try mango butter for a lighter, less greasy texture, or stick with shea for its classic richness. Each butter offers unique skin benefits and a different feel.
8. Choose Your Carrier Oils
Swap almond oil for jojoba oil if you have oily skin, or use avocado oil for extra nourishment. These oils improve spreadability and add their own nutrients.
9. Blend Your Own Scents
Lavender essential oil promotes relaxation, while frankincense supports skin rejuvenation. Mix a few drops of each to create a custom fragrance that suits your mood.
10. Reduce Greasiness
In humid climates, add a small amount of arrowroot powder to your whipped body butter. It helps absorb excess oil without compromising moisture.
11. Storing Your Homemade Body Butter for Lasting Freshness
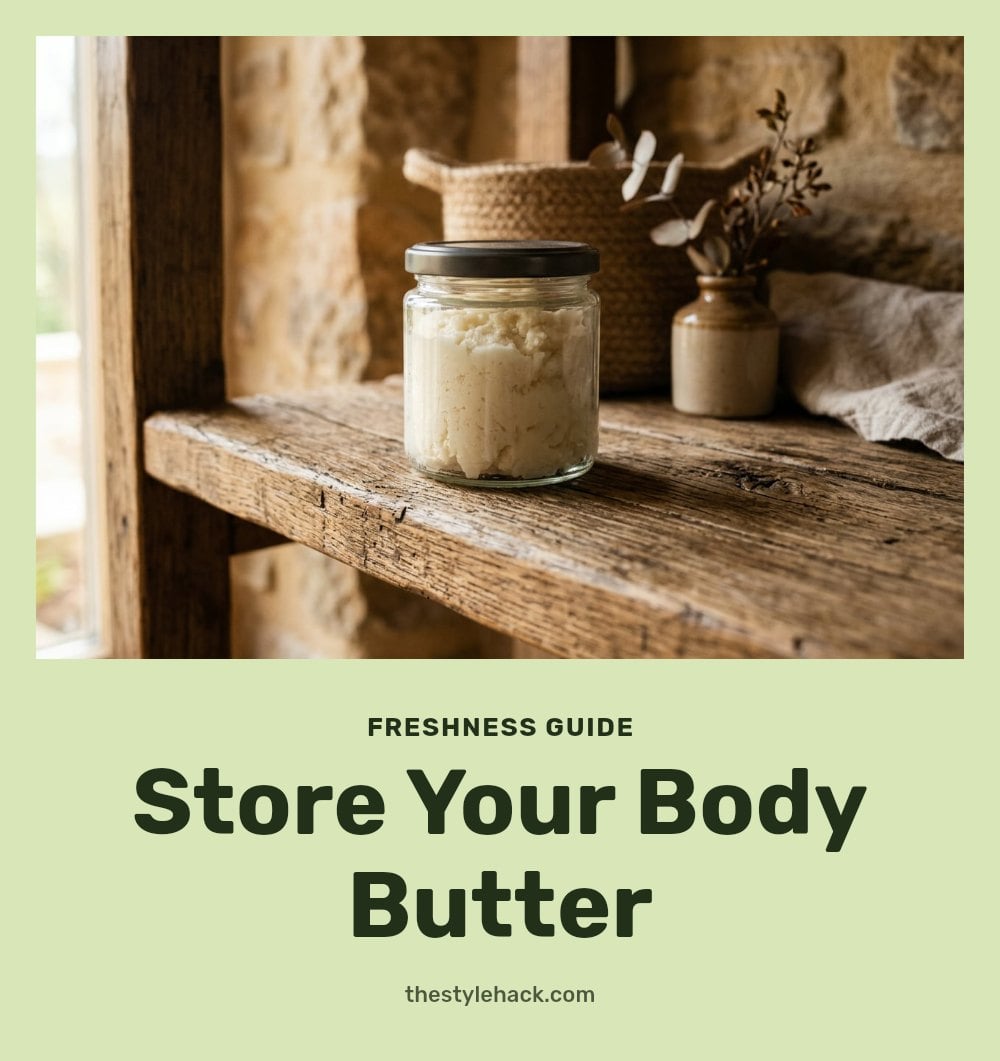
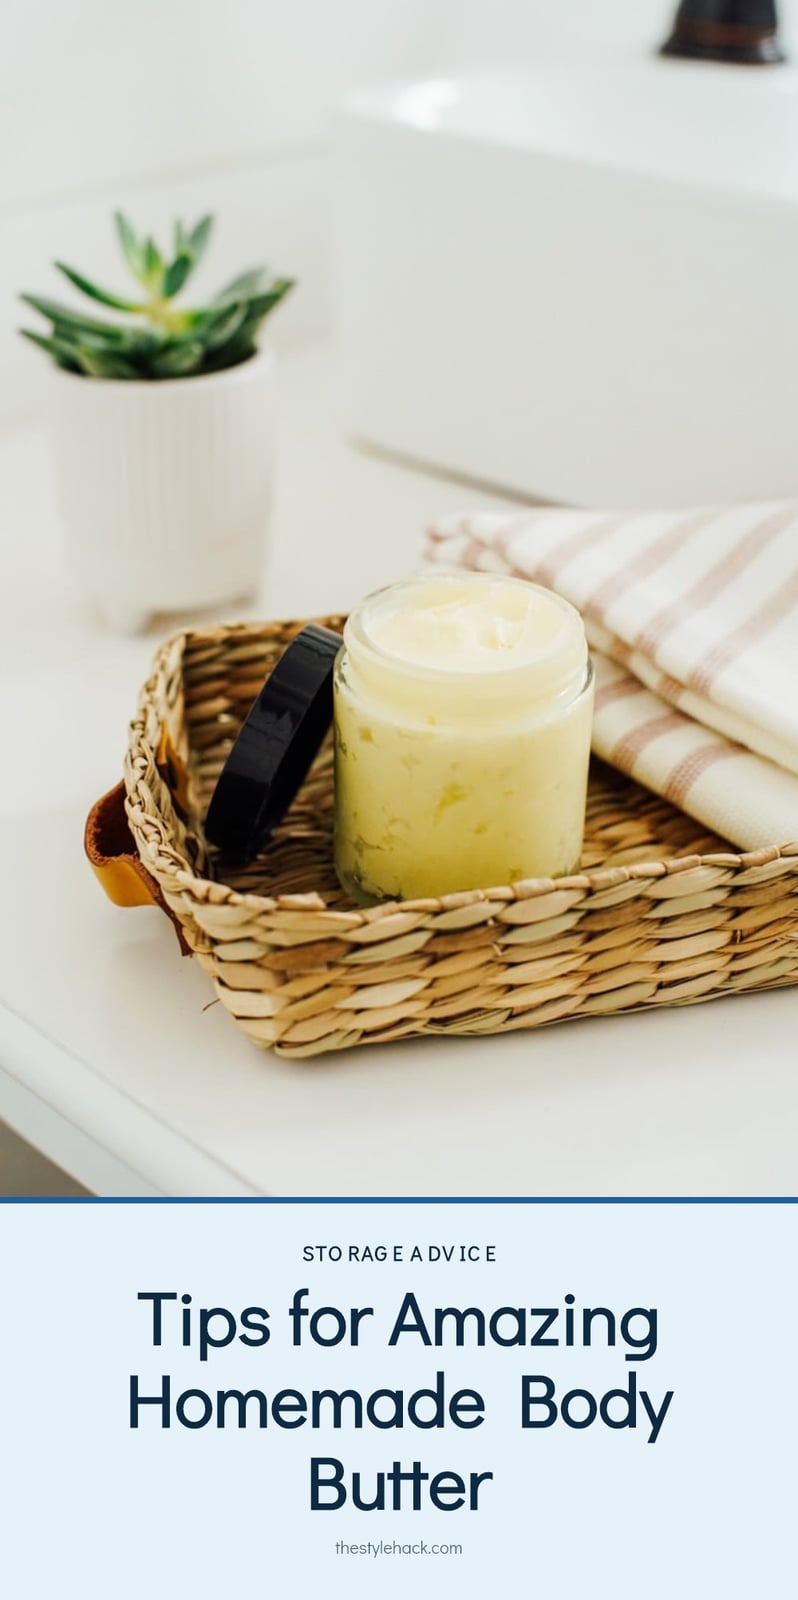
Transfer your body butter to an airtight glass container to prevent oxidation. Store it in a cool, dark place away from direct sunlight or heat sources to avoid melting. The shelf life is typically 6 months to 1 year, depending on the freshness of your ingredients. If it does melt, you can re-whip it after chilling, though the texture may change slightly.
12. Frequently Asked Questions
13. How long does homemade body butter last?
Homemade body butter typically lasts 6 months to 1 year, depending on the freshness of your oils and butters. Store it in an airtight container in a cool, dark place to maximize shelf life. If you notice any off smells or changes in texture, it’s time to toss it.
14. Can I use different butters or oils in my recipe?
Absolutely. You can swap shea butter for mango butter for a lighter feel, or use cocoa butter for a firmer texture. For carrier oils, almond oil can be replaced with jojoba oil or olive oil. Just keep the total ratios similar to avoid altering the final consistency.
15. What if my body butter turns out grainy?
A grainy texture usually means the butter wasn’t fully melted or it cooled too quickly. To fix it, gently re-melt the entire batch in a double boiler, then let it cool slowly at room temperature before whipping again. This should smooth out the crystals.
16. Is body butter better than lotion?
Body butter and lotion serve different needs. Body butter is an occlusive moisturizer that forms a protective barrier, making it ideal for very dry skin or after a shower. Lotion contains water and is lighter, so it absorbs faster. Choose body butter for intense hydration; choose lotion for everyday quick moisture.
17. Do I need a preservative for homemade body butter?
No, you do not need a broad-spectrum preservative for homemade body butter because it contains no water. Water is what allows bacteria and mold to grow. As long as you keep your container and tools clean and avoid introducing moisture, your body butter will stay fresh without added preservatives.
18. Final Thoughts
For your first batch, stick with the base recipe of shea butter, cocoa butter, coconut oil, and almond oil. It’s forgiving and gives you a reliable whipped texture that melts beautifully on your skin. Expect the whole process to take about 30-60 minutes of active time plus a few hours for cooling and whipping. Once you’ve mastered that, feel free to swap in mango butter or jojoba oil to match your skin’s preferences. Making your own body butter is a satisfying way to control exactly what goes onto your skin.
This article is for general informational purposes only and does not constitute medical or professional skincare advice. Individual skin types and allergies vary. Always perform a patch test before using any new product on your skin, and consult a dermatologist for persistent or serious skin concerns.
More Blog ideas
- How to Heal Chapped Lips Overnight with Simple Steps
- Atomic Habits: 5 Lessons to Build Better Habits
- Hyaluronic Acid for Beginners
- How to Build a Gentle Skincare Routine for Sensitive Skin
- Beat Frizzy Hair: Easy Remedies for Smooth, Shiny Strands
- How to Increase Your Daily Drinking Water Intake
- Washing Hair Mistakes to Avoid and What to Do Instead
- Bleaching Hair Tips for Less Damage
- How to Make Your Body Mist Last Longer All Day
- How to Fix Your Skincare Routine
- Nervous System Regulation Tips
- Vagus Nerve Exercises for Stress Relief