How to Blow Dry Your Hair Straight and Smooth in 6 Steps
Learn how to blow dry your hair straight and smooth at home with these 6 essential steps, ensuring a sleek, frizz-free finish every time.

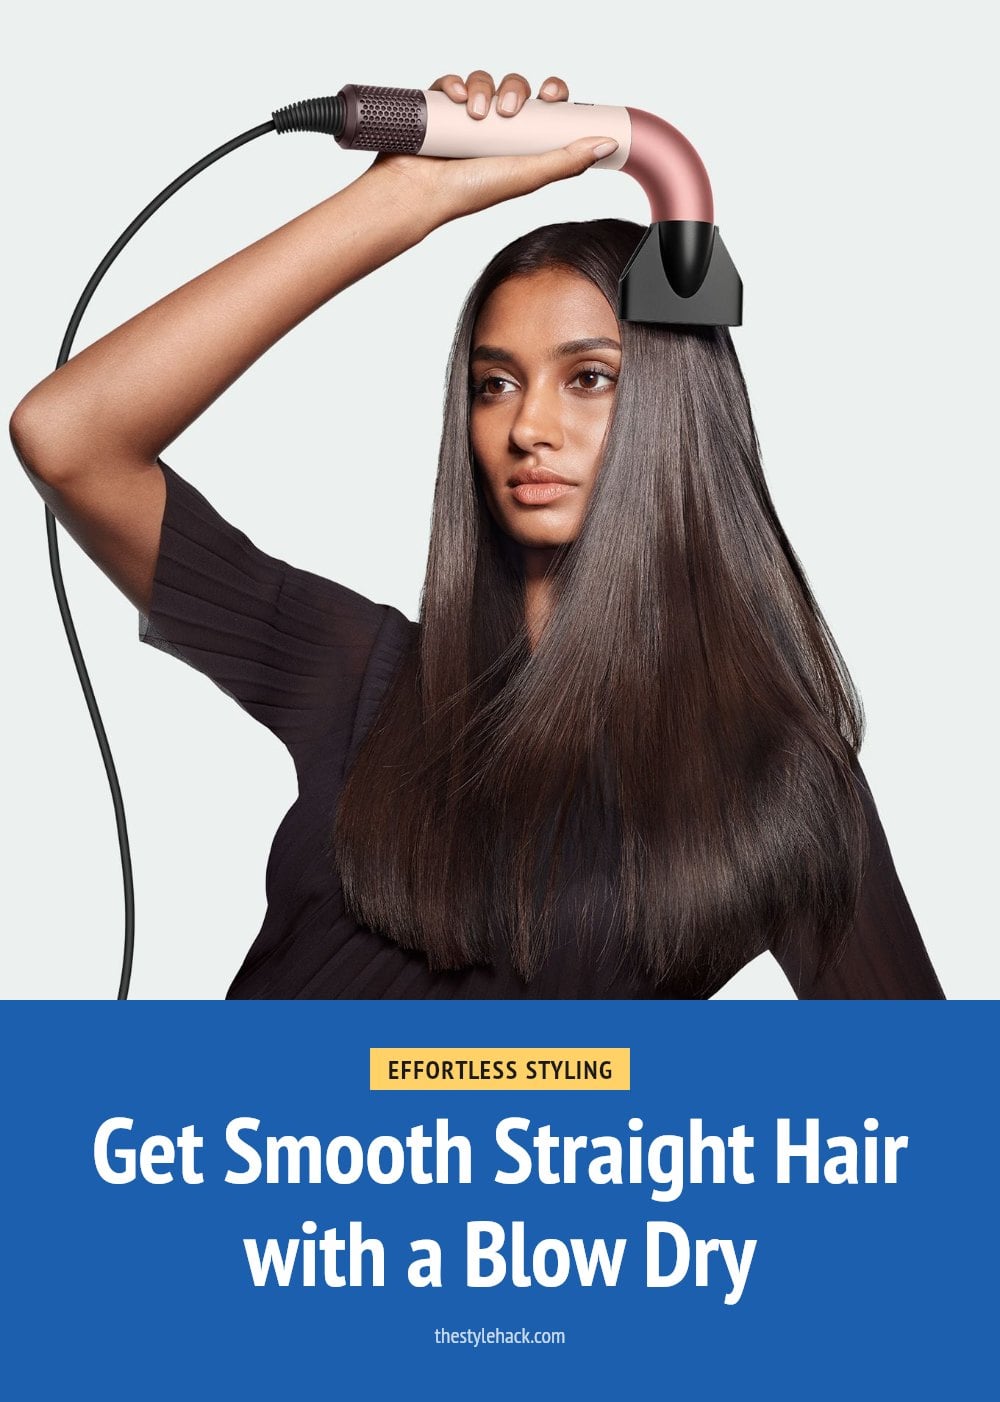
Getting that sleek, straight blowout at home is totally doable once you know the right sequence. It comes down to prepping your hair correctly, using the right brush and nozzle, and pointing the airflow the right way. In this article, I walk you through the six steps that make the difference between a frizzy mess and a smooth, shiny finish, plus the common mistakes to skip.
Key Takeaways
- Start with damp, not soaking wet, hair to cut drying time and heat exposure.
- Always apply a heat protectant before using any hot tool.
- Section hair into 4 to 6 parts for even, controlled drying.
- Point the nozzle downward along the hair shaft to smooth the cuticle.
- Finish each section with the cool shot to lock in shine and set the style.
01. Achieve Salon-Quality Straight Hair at Home
Blow drying your hair straight and smooth at home is absolutely achievable with the right technique and tools. Start with damp, not soaking wet, hair after a thorough towel-dry. Always apply a heat protectant before any heat touches your strands. Section your hair into manageable parts for control, and use a concentrator nozzle to direct airflow down the hair shaft from roots to ends. This seals the cuticle for shine and prevents frizz. Finish each section with the cool shot button to lock in the style. That is the whole formula for salon-quality results without the salon.
02. 1. Prep Your Hair Properly
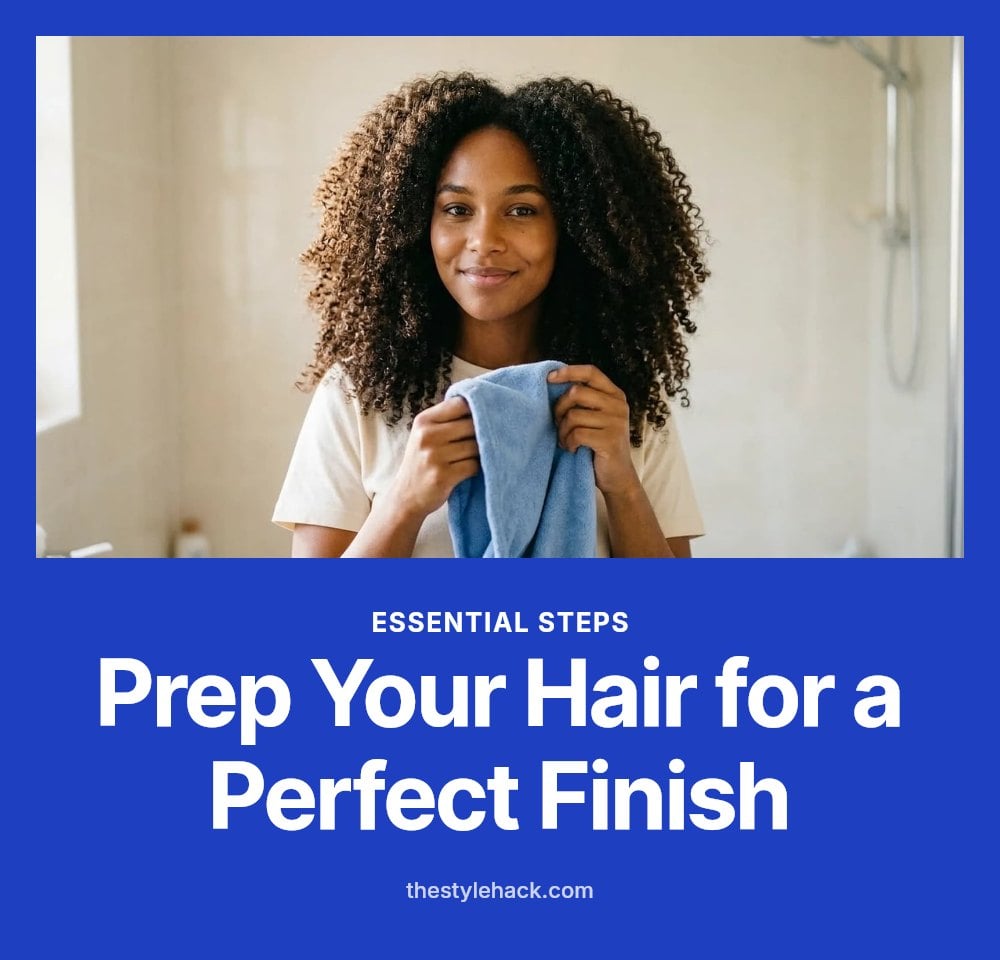
Your hair must be damp, not dripping wet, before you pick up the dryer. I have found that squeezing out excess water with a towel cuts drying time significantly and reduces heat exposure. Then, before plugging anything in, apply a heat protectant spray or cream evenly from mid-lengths to ends. This is non-negotiable for preventing thermal damage.
- Towel-dry thoroughly: Blot and squeeze, never rub, to avoid roughing up the cuticle.
- Apply heat protectant: Coat every strand to create a barrier against high heat.
- Optional leave-in: A lightweight leave-in conditioner or styling cream can add extra smoothness and reduce frizz even more.
03. 2. Section Hair for Control
Trying to blow dry your whole head at once is a recipe for uneven results and frustration. Sectioning your hair into 4 to 6 manageable parts gives you complete control over each piece. Use hair clips to secure the sections you are not working on so they stay damp and ready.
- Divide your hair: Start at the nape of your neck and clip up the top sections.
- Work in order: Dry the bottom sections first, then release and dry the middle, and finish with the crown.
- Keep sections small: Each section should be about 1 to 2 inches wide for thorough drying and smoothing.
04. 3. Choose the Right Brush
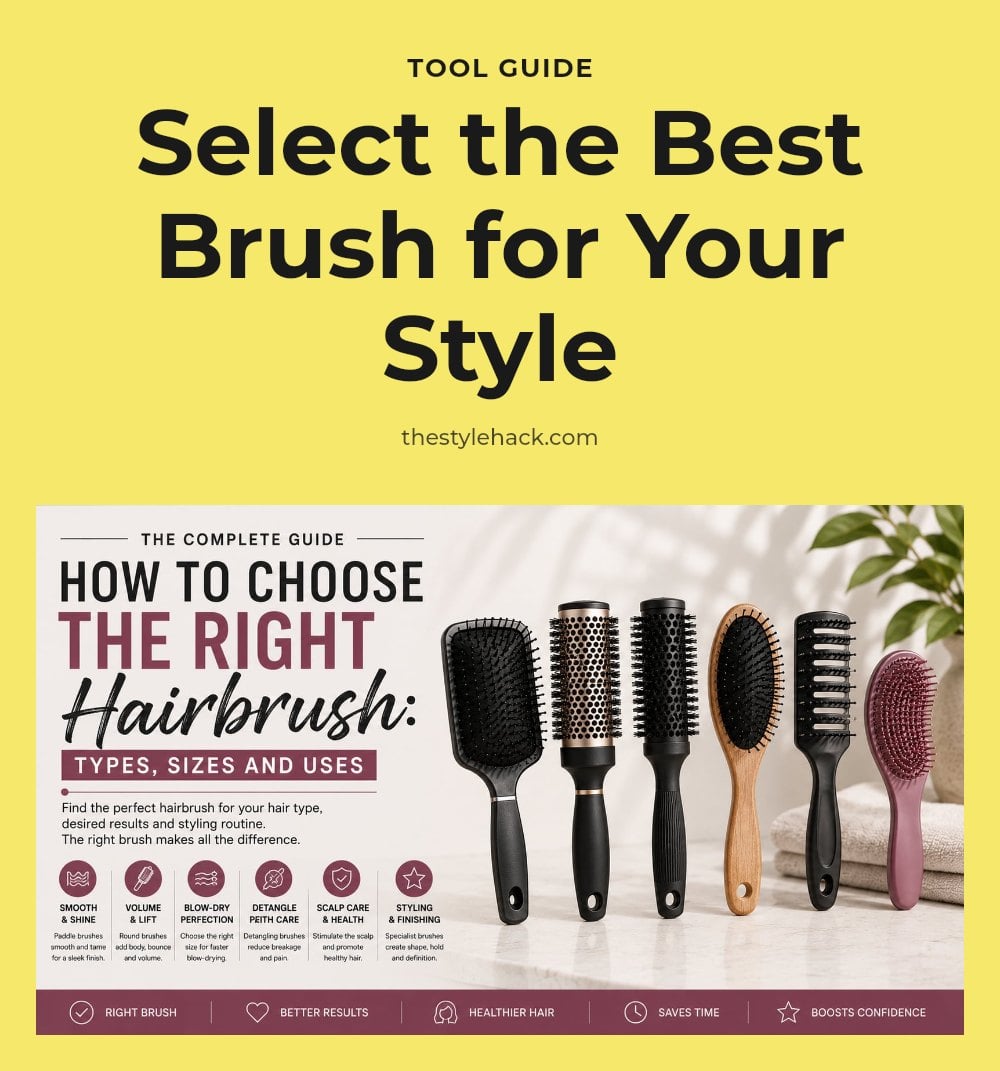
The brush you choose directly affects your final look. For a super straight, sleek finish, a paddle brush is ideal because it creates tension and covers large sections quickly. If you want volume at the roots or a slight bend at the ends, a round brush is your best tool.
- Paddle brush: Best for straight, flat styles on medium to long hair.
- Round brush: Use a larger barrel for loose waves and volume, a smaller one for tighter curls at the ends.
- Match brush size to your hair: A brush that is too small for your section can create kinks; too large and it loses tension.
05. 4. Master Your Blow Dryer Technique
Attach a concentrator nozzle to your blow dryer before you start. This narrow attachment focuses the airflow into a precise stream, which is essential for smoothing the hair cuticle instead of scattering heat and causing frizz. Without it, you are just blasting hot air around, not styling.
My golden rule: always direct the airflow down the hair shaft, from roots to ends. This works with the natural direction of the cuticle, sealing it flat for a smooth, shiny finish. Blowing upwards or at odd angles lifts the cuticle and creates frizz, so keep the nozzle pointed downward.
Keep the dryer moving in slow, steady passes along each section. Hold it a few inches from the brush and hair, and never linger in one spot for more than a couple of seconds to avoid heat damage.
06. 5. Finish with a Cool Shot
Once each section is dry, press and hold the cool shot button for a few seconds before moving on. The cool air snaps the hair cuticles shut, which locks in the smoothness you just created and adds a noticeable shine that heat alone can’t achieve.
I usually do this right after finishing each section, not just at the very end. It takes about 5 seconds per section and makes the difference between a style that lasts and one that falls flat by midday.
- Hold the dryer: Keep it about 6 inches away while using the cool shot.
- Move slowly: Glide down the section once to set the shape.
- Skip the cool shot: Only if you want extra volume, since warm air holds more bend.
07. 6. Avoid Over-Drying
One of the biggest mistakes I see people make is over-drying their hair. Once a section feels smooth and looks shiny, move on to the next. Blasting already dry hair with heat can cause damage, frizz, and a dull appearance, so stop the moment it’s done.
Pay attention to how your hair feels. It should be smooth and cool to the touch, not brittle or overly hot. If you notice a section is drying too fast, lower the heat setting. Fine or damaged hair benefits from a lower temperature, while thicker hair can handle higher heat.
Caution: Hold the dryer about 6 inches away and keep it moving. Lingering in one spot can scorch strands even if the air feels warm, not hot.
08. Common Blow Drying Mistakes to Avoid
Even with the right prep and technique, a few common slip-ups can undo all your hard work. Here is what to avoid and what to do instead.
- Starting with soaking wet hair: This significantly increases drying time and heat exposure, leading to damage. Always towel-dry until damp.
- Skipping heat protectant: Without it, your hair is vulnerable to thermal damage. Always apply a protective product before heat styling.
- Not sectioning hair: Trying to dry all your hair at once makes it hard to achieve even, smooth results. Divide your hair into manageable sections.
- Using the wrong brush: A brush not suited for your hair type or desired style can lead to frizz or lack of polish. Choose between a paddle or round brush based on your goal.
- Directing airflow upwards: Blowing air against the hair cuticle causes frizz. Always direct the nozzle downwards along the hair shaft.
- Over-drying: Continuing to apply heat to already dry hair can cause damage and dullness. Stop drying once the section is smooth and dry.
9. Frequently Asked Questions
10. Can I blow dry my hair every day?
Yes, but it’s best to use the lowest heat setting that works for your hair type and always apply a heat protectant. Daily heat styling can dry out your strands over time, so if you notice increased frizz or dullness, try alternating with air drying a couple of days a week. Also, keep the dryer moving to avoid concentrating heat on one spot.
11. What’s the best heat setting for fine hair?
For fine or damaged hair, use a lower heat setting to minimize the risk of heat damage. High heat can easily over-dry delicate strands, leading to breakage and frizz. Start with medium or low heat and see if it’s enough to smooth your hair. If you need more power, you can increase it slightly, but always keep the dryer moving.
12. How do I prevent my hair from getting frizzy after blow drying?
To prevent post-blowout frizz, make sure your hair is completely dry before you stop, and always finish with the cool shot to seal the cuticle. Also, avoid touching your hair too much while it’s still warm, and consider a light finishing serum or oil to smooth any flyaways. Keeping the airflow pointed downward the entire time is key.
13. Is it better to air dry or blow dry hair?
It depends on your hair type and the look you want. Air drying is gentler and can work well for naturally wavy or curly hair, but it can leave fine hair looking flat or take a long time for thick hair. Blow drying gives you more control and a smoother, straighter finish, but it does expose your hair to heat. If you blow dry, always use a heat protectant and the lowest effective heat setting.
14. How often should I clean my blow dryer filter?
You should clean the air filter on your blow dryer every few weeks, or more often if you use it daily. A clogged filter reduces airflow, which makes the dryer work harder and can overheat, potentially damaging your hair. Just unplug the dryer and remove any lint or dust from the back grill with a soft brush or cloth.
15. Final Thoughts
My tip: invest in a good paddle brush if you want the flattest, straightest result, and always keep the dryer moving so you never hold it in one spot too long. Expect the whole process to take 15 to 45 minutes depending on your hair’s length and thickness, and the results are immediate, so you’ll know right away if you nailed it. Once you get the hang of the sectioning and airflow direction, it becomes second nature.
More Blog ideas
- How to Heal Chapped Lips Overnight with Simple Steps
- Atomic Habits: 5 Lessons to Build Better Habits
- Hyaluronic Acid for Beginners
- How to Build a Gentle Skincare Routine for Sensitive Skin
- Beat Frizzy Hair: Easy Remedies for Smooth, Shiny Strands
- How to Increase Your Daily Drinking Water Intake
- Washing Hair Mistakes to Avoid and What to Do Instead
- Bleaching Hair Tips for Less Damage
- How to Make Your Body Mist Last Longer All Day
- How to Fix Your Skincare Routine
- Nervous System Regulation Tips
- Vagus Nerve Exercises for Stress Relief