How to Make a Body Scrub at Home for Smooth Skin
Learn how to easily make a body scrub at home with natural ingredients. Get a simple recipe, step-by-step instructions, and tips for glowing, smooth skin.

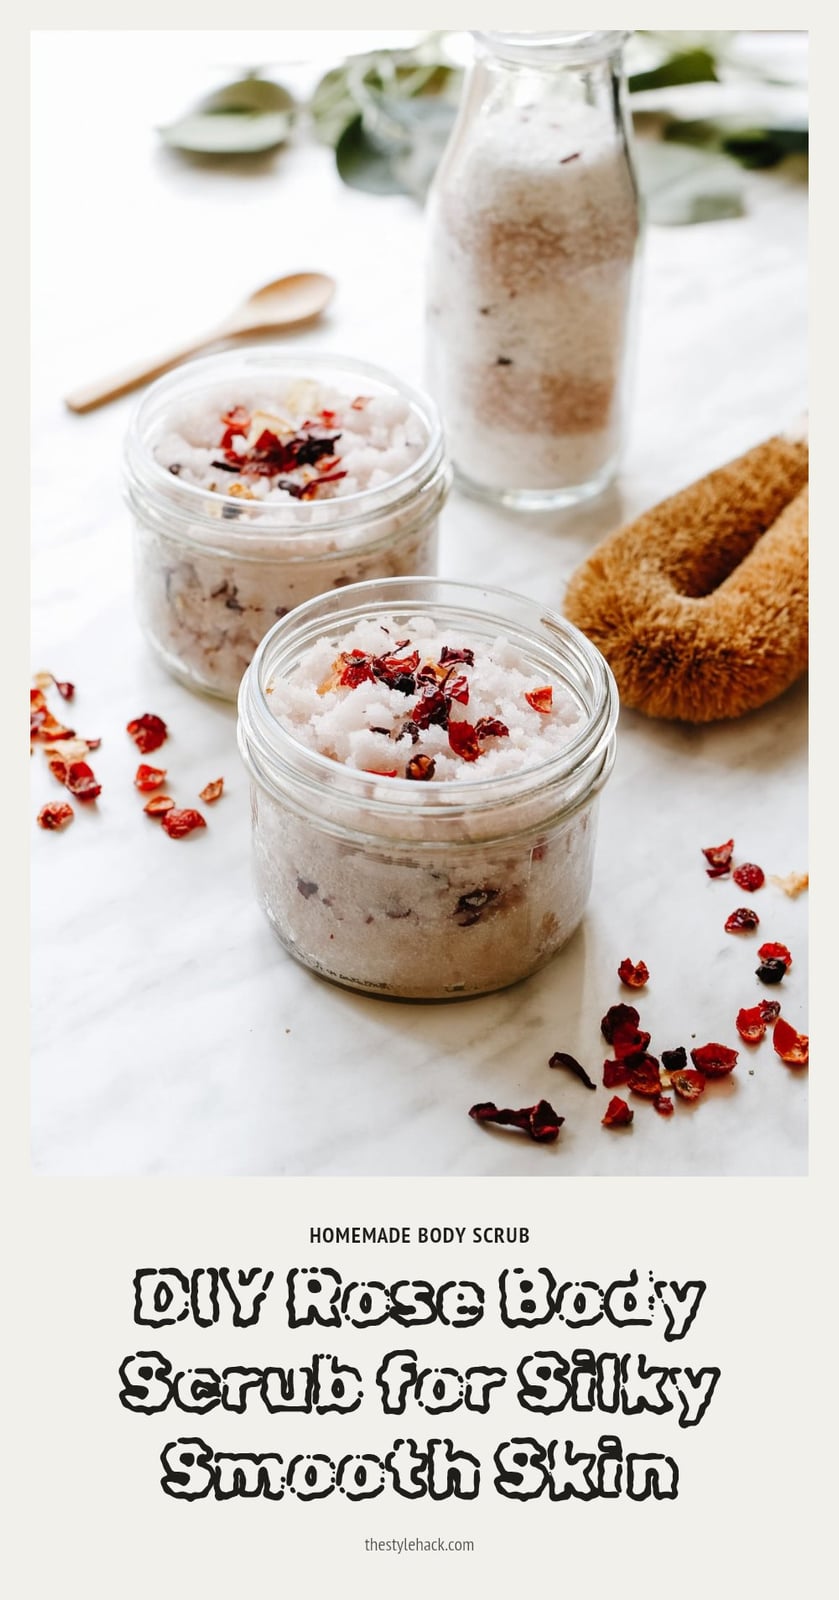
You don’t need fancy products to get smooth, glowing skin. A simple body scrub made from kitchen ingredients can gently slough off dead skin cells and reveal a softer you. In this article, I’ll walk you through a basic DIY recipe, share tips for getting it right, and show you how to customize it to your liking.
Key Takeaways
- Mix 1 cup sugar or salt with 1/2 cup carrier oil and optional essential oils for a basic scrub.
- Apply to damp skin using gentle, circular motions, then rinse and moisturize.
- Use your scrub 1-3 times per week; over-exfoliating can cause irritation.
- Store in an airtight container and keep water out to prevent spoilage.
- Do a patch test before using a new scrub all over your body.
1. Why Make Your Own Body Scrub?
Homemade body scrubs are a simple and effective way to exfoliate your skin, leaving it feeling incredibly smooth and soft. They work by gently removing dead skin cells with natural abrasives like sugar or salt, combined with moisturizing oils. Making your own allows you to customize ingredients for your skin type and preferences, avoiding harsh chemicals found in some store-bought products.
2. Simple DIY Body Scrub Recipe
This recipe uses common kitchen ingredients to create a moisturizing and exfoliating scrub. Yields enough for several uses, depending on how much you scrub.
- 1 cup granulated sugar (or brown sugar for a gentler scrub)
- 1/2 cup carrier oil (coconut, olive, or jojoba)
- 10-15 drops essential oil (optional, for scent)
Mix all ingredients in a bowl. Adjust oil for desired consistency. I like mine a bit thicker. Store in an airtight container.
3. Step-by-Step: Crafting Your Perfect Scrub
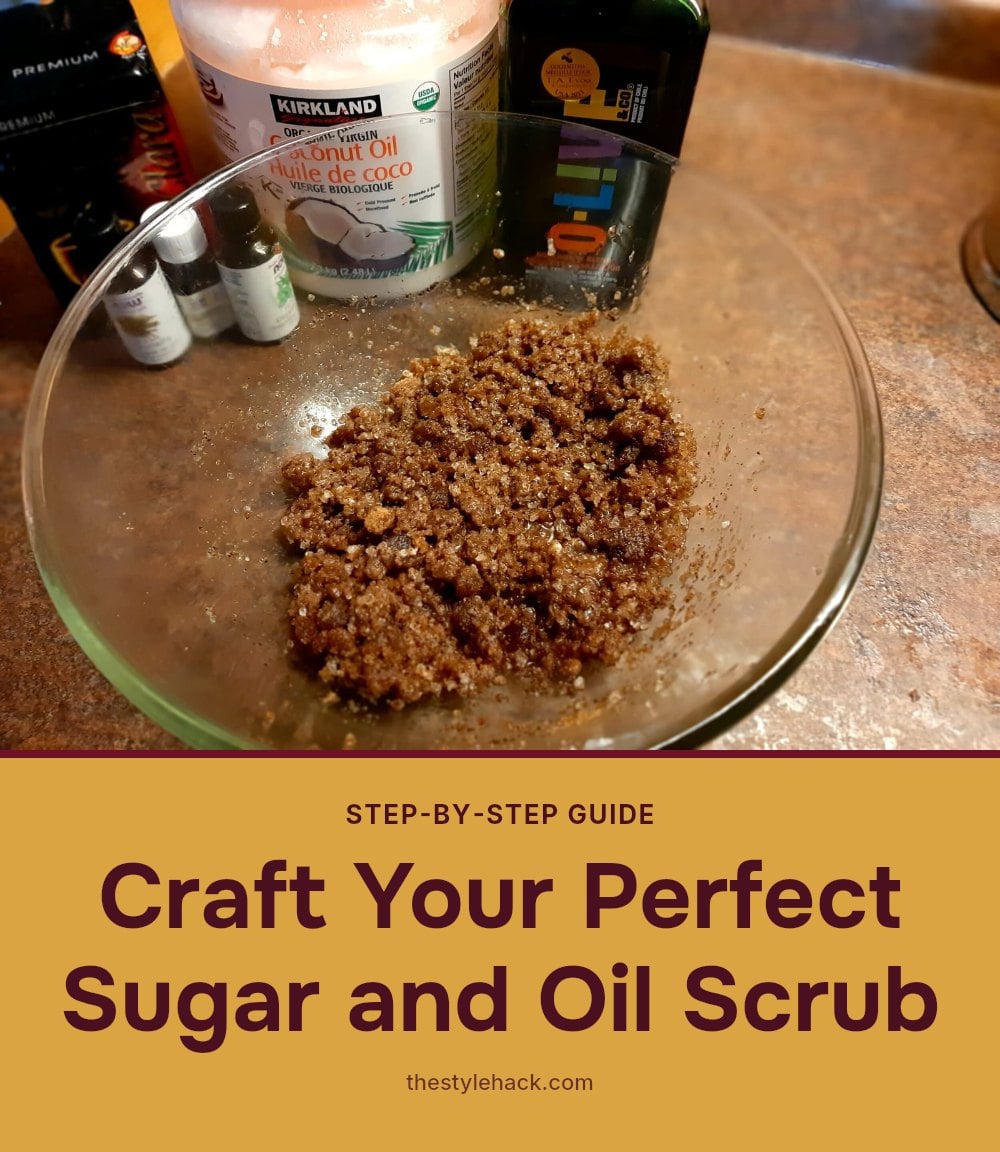
- Combine dry ingredients: In a mixing bowl, thoroughly mix your chosen abrasive (sugar or salt) to ensure an even texture.
- Add the carrier oil: Slowly pour in the oil while stirring, until a paste forms. Stop when the mixture holds together but isn’t greasy.
- Mix in optional additions: Stir in essential oils, honey, or citrus zest if using. Use small amounts, a few drops of essential oil or a teaspoon of honey per cup of scrub.
- Transfer to a container: Spoon the scrub into a clean, airtight jar. Press down lightly to remove air pockets, then seal.
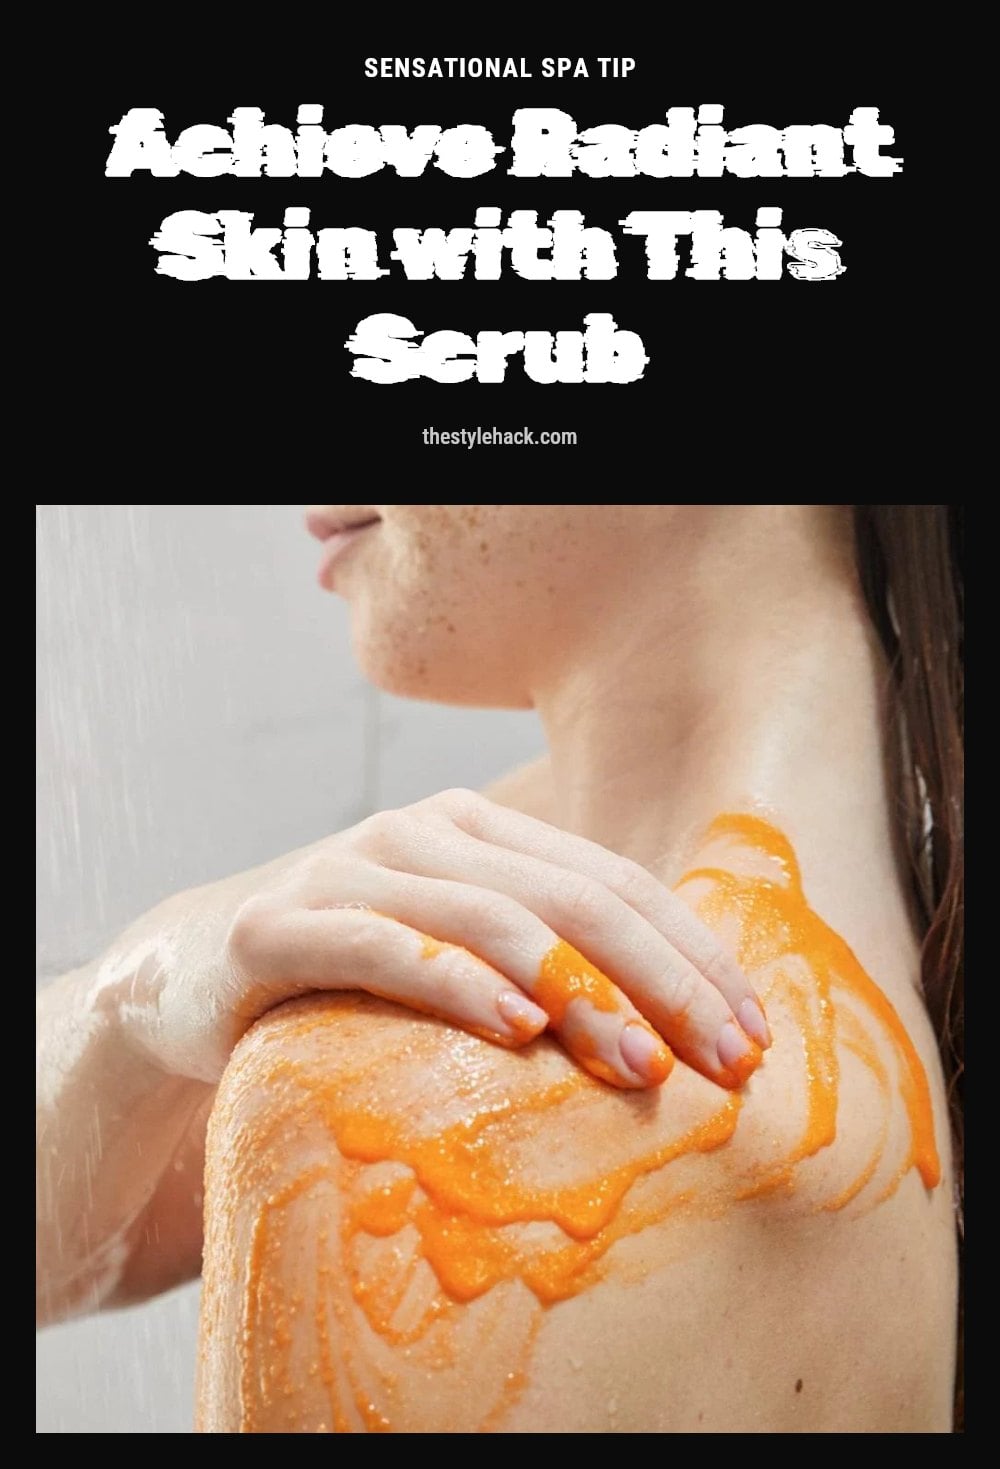
- Apply to damp skin: In the shower or bath, scoop out a small amount and massage onto damp skin using gentle, circular motions. Focus on rough areas like elbows and knees.
- Rinse thoroughly: Wash off with warm water, making sure no gritty residue remains. Pat skin dry with a towel.
- Moisturize: Follow immediately with your favorite lotion or body oil to lock in hydration and keep skin soft.
Here is the method in action: TaraLee demonstrates it in about 14 minutes. The how-to part starts at 0:45.
4. Pro Tips for Your Best Scrub Experience
- Patch Test First: Always try a small amount on a discreet area of your skin to check for any irritation, especially if you’re using new ingredients like essential oils.
- Gentle is Key: Use light, circular motions to avoid irritation. You’re exfoliating, not scrubbing off a layer of skin.
- Don’t Over-Exfoliate: Stick to using your body scrub 1-3 times a week. More frequent use can strip your skin’s natural oils and cause sensitivity.
- Moisturize After: Always follow up your scrub with a good moisturizer. This locks in hydration and keeps your skin feeling soft and supple.
- Avoid Broken Skin: Never use a body scrub on cuts, scrapes, sunburned, or irritated skin. It will only make things worse.
5. Customize Your Scrub: Fun Variations
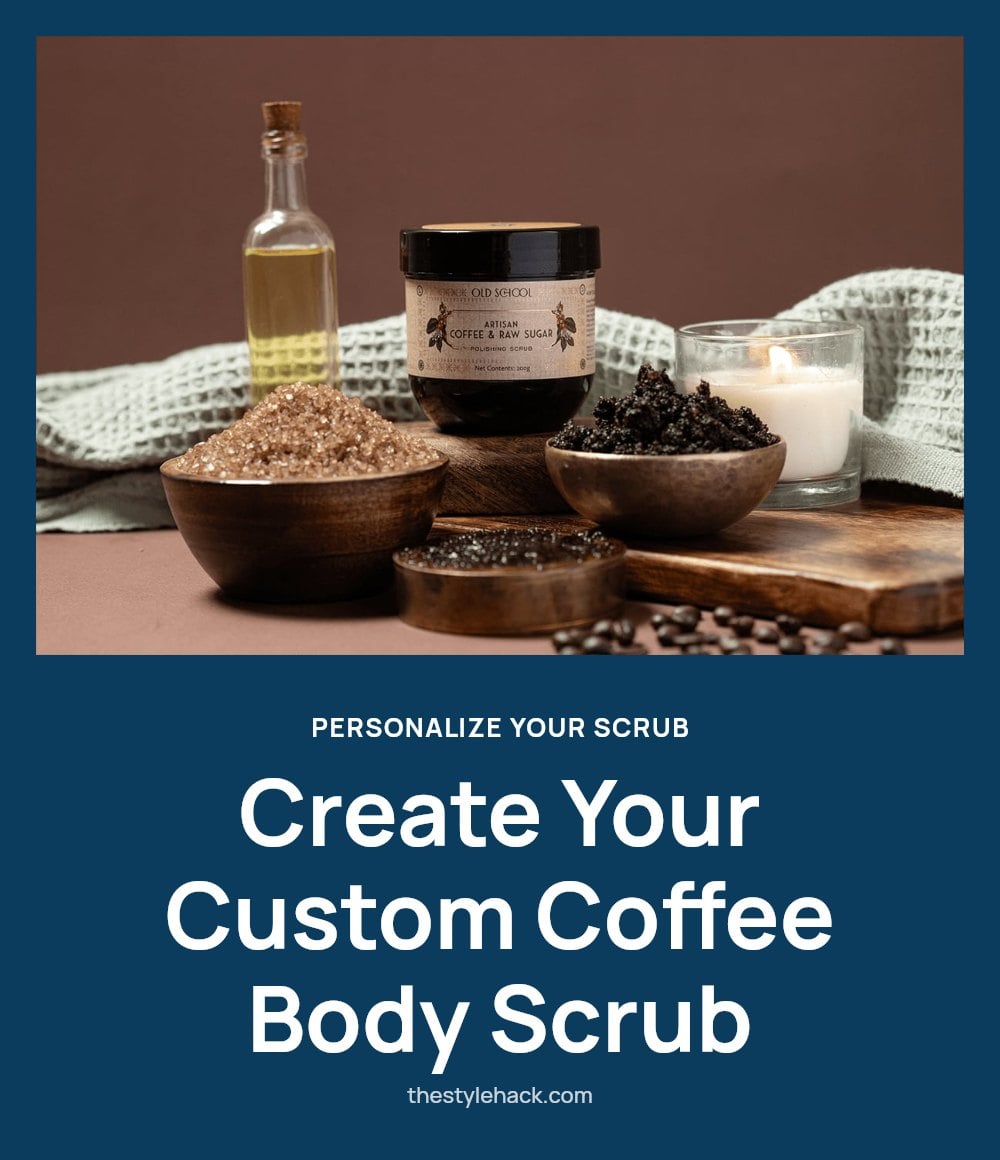
Once you’ve mastered the basic recipe, the possibilities for customization are endless. I love experimenting with different additions to create scrubs for various moods and needs.
For a more invigorating scrub, try adding coffee grounds. They offer a coarser exfoliation and are often praised for their purported skin-tightening effects, though the scientific proof is still out on that one. Plus, the smell is amazing. My tip: use finely ground coffee to avoid any sharp edges on your skin.
If you’re looking for extra hydration and a natural glow, a spoonful of honey can be a fantastic addition. Honey is a humectant, meaning it draws moisture to your skin, leaving it extra soft. For a refreshing twist, you can also add citrus zest like lemon or orange, but be mindful that these can increase your skin’s photosensitivity. Use them in a scrub you plan to apply at night or follow with sunscreen.
6. Storing Your Homemade Body Scrub
Airtight is Key: Always store your homemade body scrub in a clean, airtight container. This prevents moisture from getting in and keeps your scrub fresh.
Keep it Dry: Water is the enemy of homemade scrubs. Introducing water directly into your scrub jar can promote bacterial growth and spoilage. Use a clean spoon or scoop to take out the amount you need for each use, rather than dipping wet fingers into the jar.
Shelf Life: Without preservatives, homemade scrubs typically last a few weeks to a couple of months, especially if kept away from moisture. If you notice any changes in smell, color, or texture, it’s best to discard it and make a fresh batch.
7. Frequently Asked Questions
8. How often should I use a homemade body scrub?
Using a body scrub 1 to 3 times per week is generally enough. Exfoliating more often can lead to redness, dryness, or irritation. Pay attention to how your skin feels and adjust the frequency as needed.
9. Can I use a body scrub on my face?
It’s best not to use a body scrub on your face. Body scrubs usually have larger, more abrasive particles that can be too harsh for the delicate skin on your face. Stick to a gentle facial exfoliant designed for that area.
10. What’s the difference between sugar and salt scrubs?
Sugar scrubs are generally gentler because the crystals are rounder and dissolve more easily in water. Salt scrubs are more abrasive and work well on tougher areas like elbows and feet, but they can irritate sensitive or broken skin.
11. How do I prevent my homemade scrub from going bad?
Always store your scrub in a clean, airtight container. The most important rule is to keep water out, don’t scoop it with wet hands or add water to the jar. If you use perishable add-ins like fresh fruit, the scrub will spoil faster, so make only what you’ll use within a few days.
12. Can I add fresh fruit to my body scrub recipe?
Yes, you can, but be aware that fresh fruit introduces moisture and sugar, which can cause the scrub to spoil quickly. If you add fruit, use the scrub within a day or two and keep it refrigerated. For a longer-lasting option, try dried citrus zest instead.
13. Final Thoughts
My tip: start with the simple sugar and oil recipe before experimenting with add-ins. You’ll see smoother skin right after your first use, and with regular weekly exfoliation, you may notice fewer ingrown hairs and a more even tone over time. Making your own scrub is an easy, affordable way to treat your skin.
More Blog ideas
- How to Heal Chapped Lips Overnight with Simple Steps
- Atomic Habits: 5 Lessons to Build Better Habits
- Hyaluronic Acid for Beginners
- How to Build a Gentle Skincare Routine for Sensitive Skin
- Beat Frizzy Hair: Easy Remedies for Smooth, Shiny Strands
- How to Increase Your Daily Drinking Water Intake
- Washing Hair Mistakes to Avoid and What to Do Instead
- Bleaching Hair Tips for Less Damage
- How to Make Your Body Mist Last Longer All Day
- How to Fix Your Skincare Routine
- Nervous System Regulation Tips
- Vagus Nerve Exercises for Stress Relief