Cuticle Oil DIY: Easy Recipe for Soft Cuticles and Strong Nails
Learn how to make your own nourishing cuticle oil at home with this easy DIY recipe, promoting healthier nails and preventing dryness.

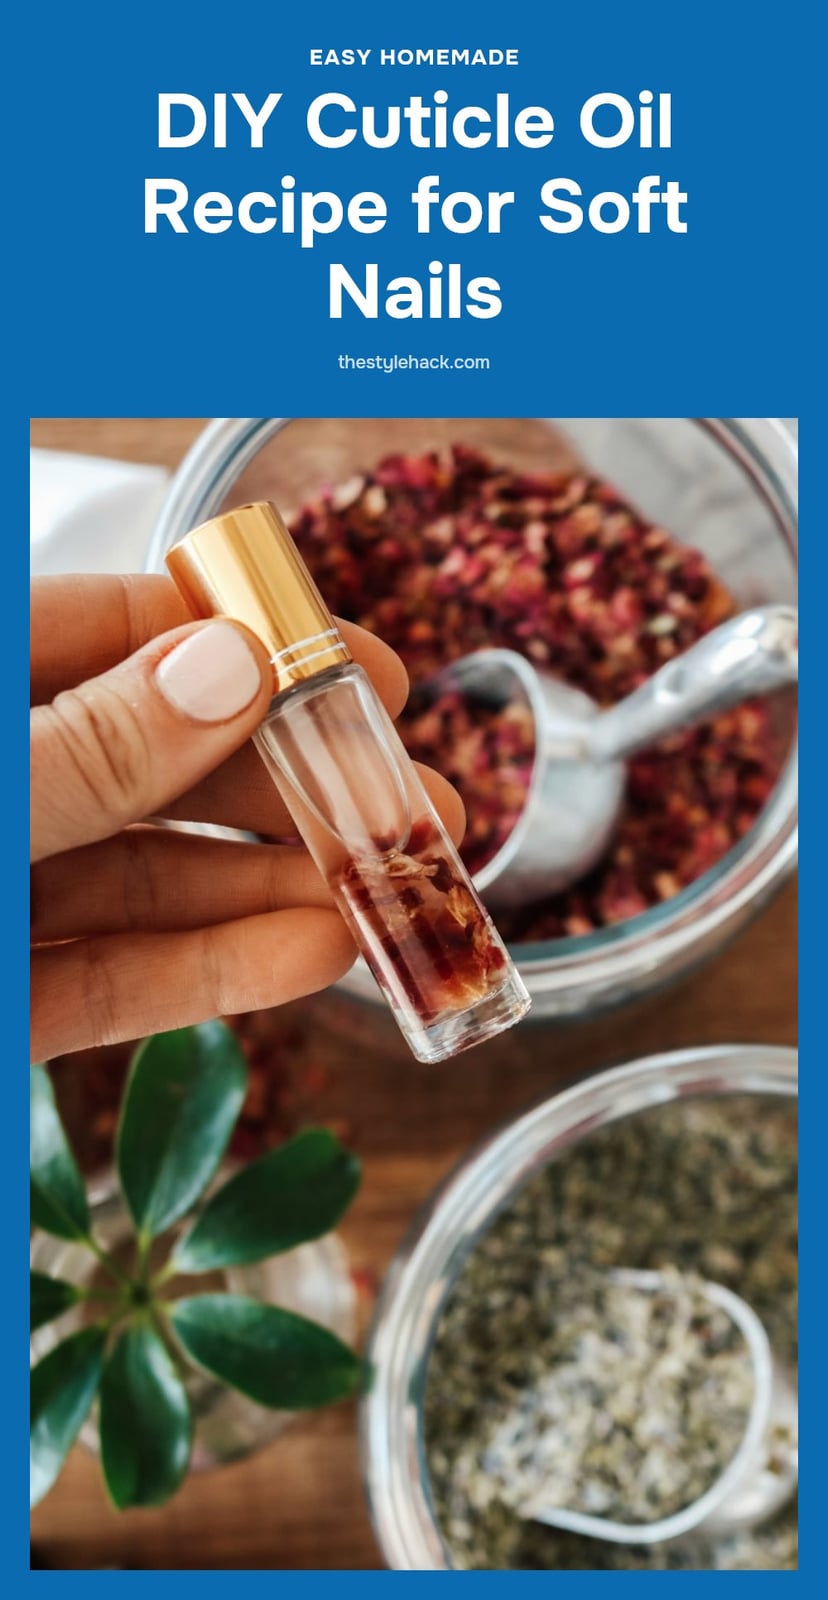
If your cuticles are dry, cracked, or prone to hangnails, a simple DIY cuticle oil can make a big difference. Mixing a few nourishing carrier oils with a drop of essential oil creates a moisturizing blend that supports stronger, healthier nails. In this article, I’ll walk you through an easy recipe, step-by-step instructions, and tips for getting the most out of your homemade oil.
Key Takeaways
- Apply cuticle oil daily, especially after washing hands or showering, to lock in moisture.
- Use jojoba oil as your base; it closely matches your skin’s natural sebum.
- Store your DIY blend in a cool, dark place for up to one year.
- Massage the oil into your cuticles to stimulate blood flow and absorption.
- Patch test essential oils before full use to avoid skin irritation.
1. Why This DIY Cuticle Oil Recipe Works Wonders
This DIY cuticle oil recipe works because it combines nourishing carrier oils with targeted essential oils to deeply moisturize and protect your cuticles and nails. The blend prevents dryness, cracking, and hangnails while supporting stronger, more flexible nail growth. With regular application, it creates a protective barrier that keeps your nails healthy and beautiful.
2. Your Simple DIY Cuticle Oil Recipe
For a standard 10ml rollerball bottle, combine 8ml of jojoba oil with 1ml of sweet almond oil. Jojoba oil is structurally similar to your skin’s natural sebum, so it absorbs deeply and hydrates effectively. Add 0.5ml of vitamin E oil; it acts as an antioxidant and extends the shelf life of your blend.
Then add 3-5 drops of lavender, tea tree, or lemon essential oil for scent and their purported benefits. Always dilute essential oils; they can irritate skin if used undiluted. Use high-quality, cold-pressed carrier oils for the best results.
3. Step-by-Step: Crafting Your Own Cuticle Oil
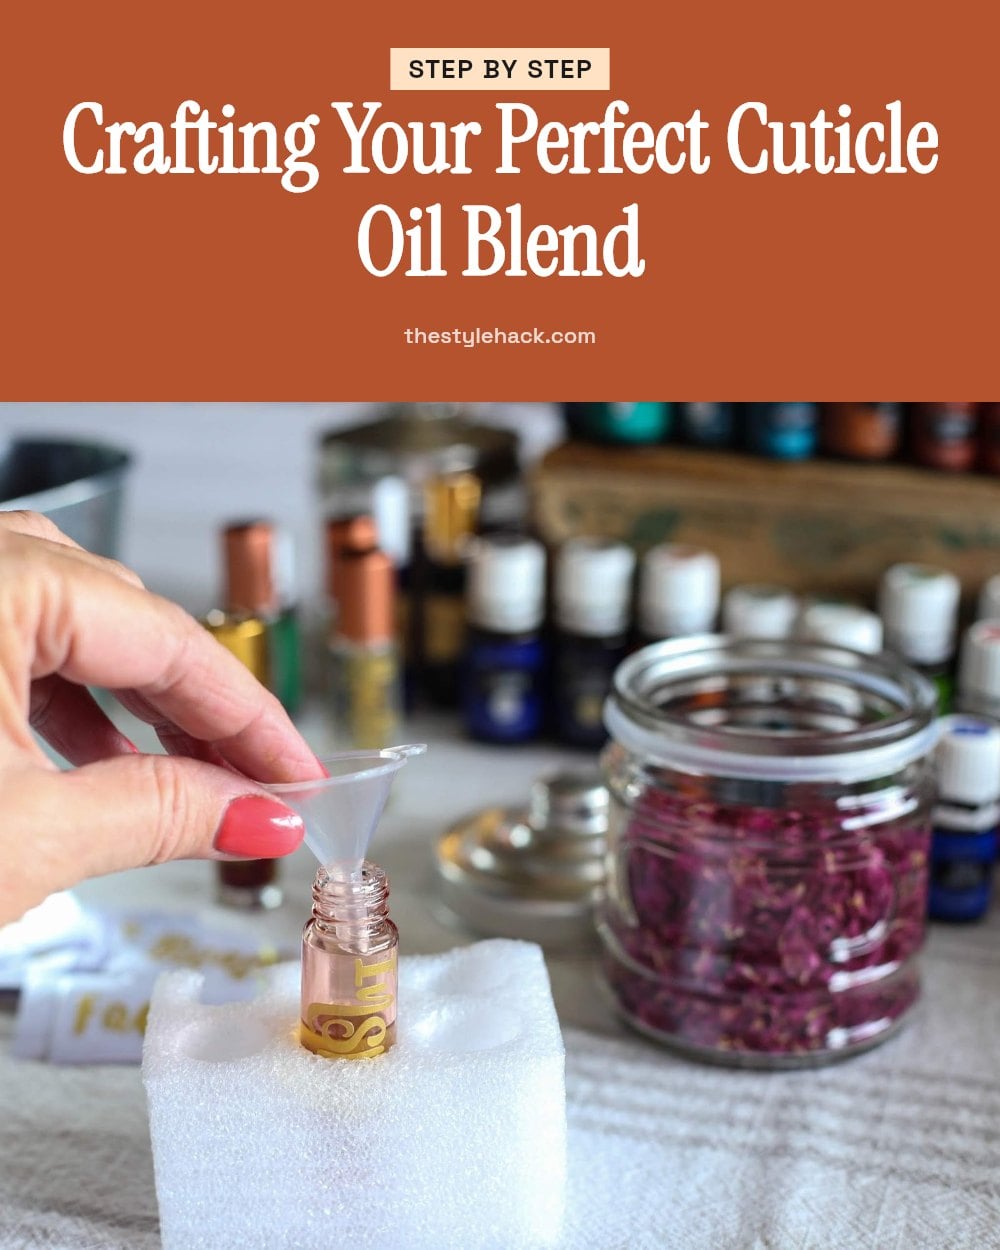
Start with high-quality, cold-pressed carrier oils. Cold-pressed oils retain more nutrients than refined versions, so your cuticle blend works harder. Measure your oils using a small funnel to avoid spills and keep your workspace clean.
- Prepare your bottle: Place a small funnel into the opening of your 10ml rollerball bottle. This makes transferring oils mess-free and prevents waste.
- Add carrier oils: Pour 8ml of jojoba oil and 1ml of sweet almond oil through the funnel. Jojoba mimics your skin’s natural sebum, so it absorbs deeply, while almond oil adds extra nourishment.
- Incorporate Vitamin E: Add 0.5ml of Vitamin E oil to the blend. It acts as an antioxidant and extends the shelf life of your mixture, keeping it fresh longer.
- Mix in essential oils: Add 3-5 drops of lavender, tea tree, or lemon essential oil. Always dilute essential oils properly; undiluted use can irritate your skin. For a 10ml bottle, 3-5 drops is the safe range.
- Shake gently: Secure the rollerball cap and shake the bottle gently for about 10 seconds. This ensures all oils are thoroughly combined without creating excess foam.
Your cuticle oil is ready to use. Apply a drop to each nail and massage it in, focusing on the cuticle and nail matrix. Store the bottle in a cool, dark place to maintain potency. Use daily for best results.
Here is the method in action: Less Talk More Polish demonstrates it in about 3 minutes. The how-to part starts at 0:25.
4. Pro Tips for Using Your Homemade Cuticle Oil

- Apply daily: Use your cuticle oil every day, especially after washing hands or showering, to lock in moisture.
- Massage it in: Gently massage the oil into your cuticles and the skin around your nails to stimulate blood flow and aid absorption.
- Use the right tool: A rollerball bottle or small brush makes application easy and mess-free.
- Patch test first: Before full application, test essential oils on a small skin area to check for sensitivity.
- Don’t cut your cuticles: They act as a protective barrier against infection, so leave them intact.
5. Customizing Your Cuticle Oil: Variations and Benefits
6. Customizing Your Cuticle Oil: Variations and Benefits
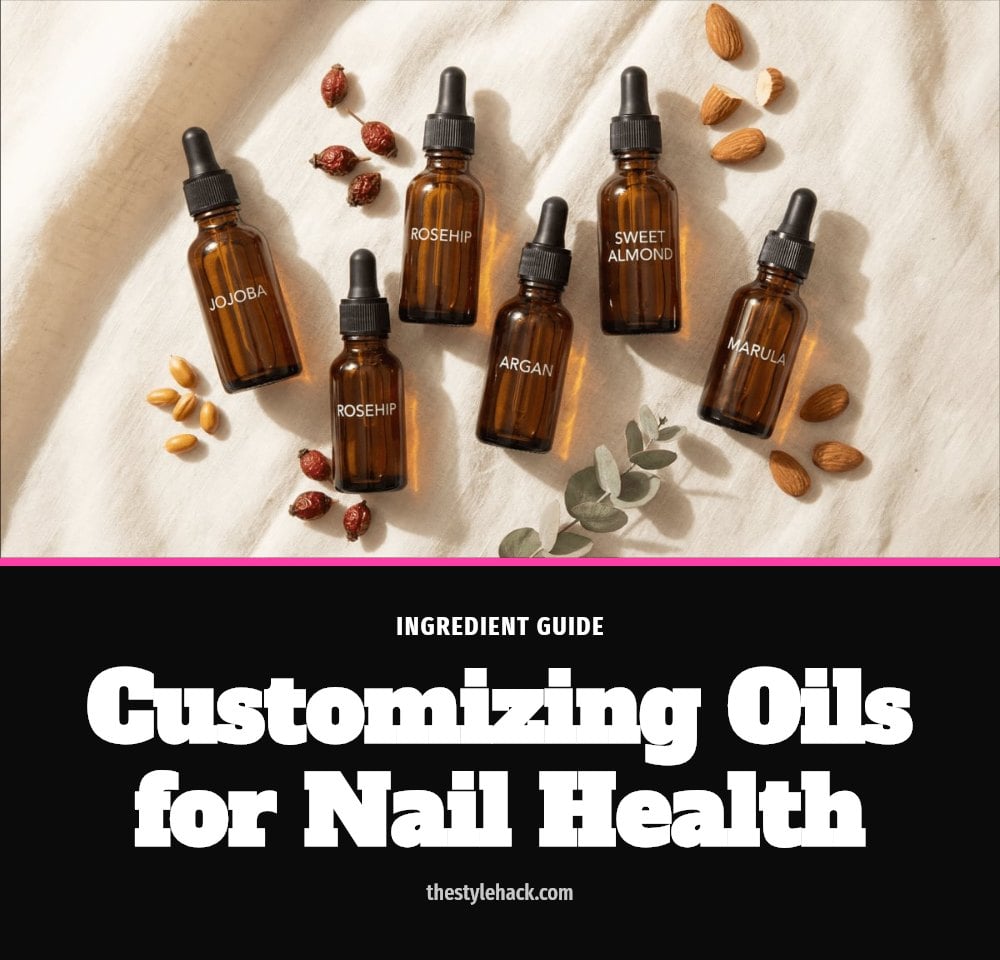
The beauty of a DIY cuticle oil is how easy it is to tailor to your needs. Start with a carrier oil base, and jojoba oil is a top choice because its molecular structure is nearly identical to your skin’s natural sebum, allowing it to penetrate deeply for superior hydration. Almond oil is another excellent option, rich in vitamin E and known for its moisturizing properties. Olive oil and avocado oil are also common carriers, each offering their own blend of fatty acids and nutrients.
From there, you can add a few drops of essential oils for scent and potential benefits. Lavender is calming and soothing, tea tree is known for its antimicrobial properties, and lemon adds a fresh, clean scent. Tip: Always dilute essential oils properly in the carrier oil to avoid skin irritation. Finally, a small amount of vitamin E oil acts as a natural preservative, extending the shelf life of your blend while also delivering antioxidant benefits to your nails.
7. Common Mistakes to Avoid for Best Results
Common Mistakes to Avoid for Best Results
Getting the most out of your cuticle oil means avoiding a few common pitfalls. The biggest one is inconsistency: applying it only once in a while won’t give you the results you’re looking for. Aim for daily use, especially after washing your hands.
Another mistake is overloading your blend with essential oils. More is not better here, as undiluted essential oils can cause redness or irritation. Stick to a few drops per ounce of carrier oil. Also, don’t just dab the oil on and walk away. Massaging it into the cuticle and nail matrix stimulates blood flow and helps the oil absorb properly. Be gentle when pushing back cuticles, as aggressive pressure can damage the protective barrier and lead to infection. Finally, be patient. Nail health improves gradually over weeks and months of consistent care, not overnight.
8. Storing Your DIY Cuticle Oil for Longevity
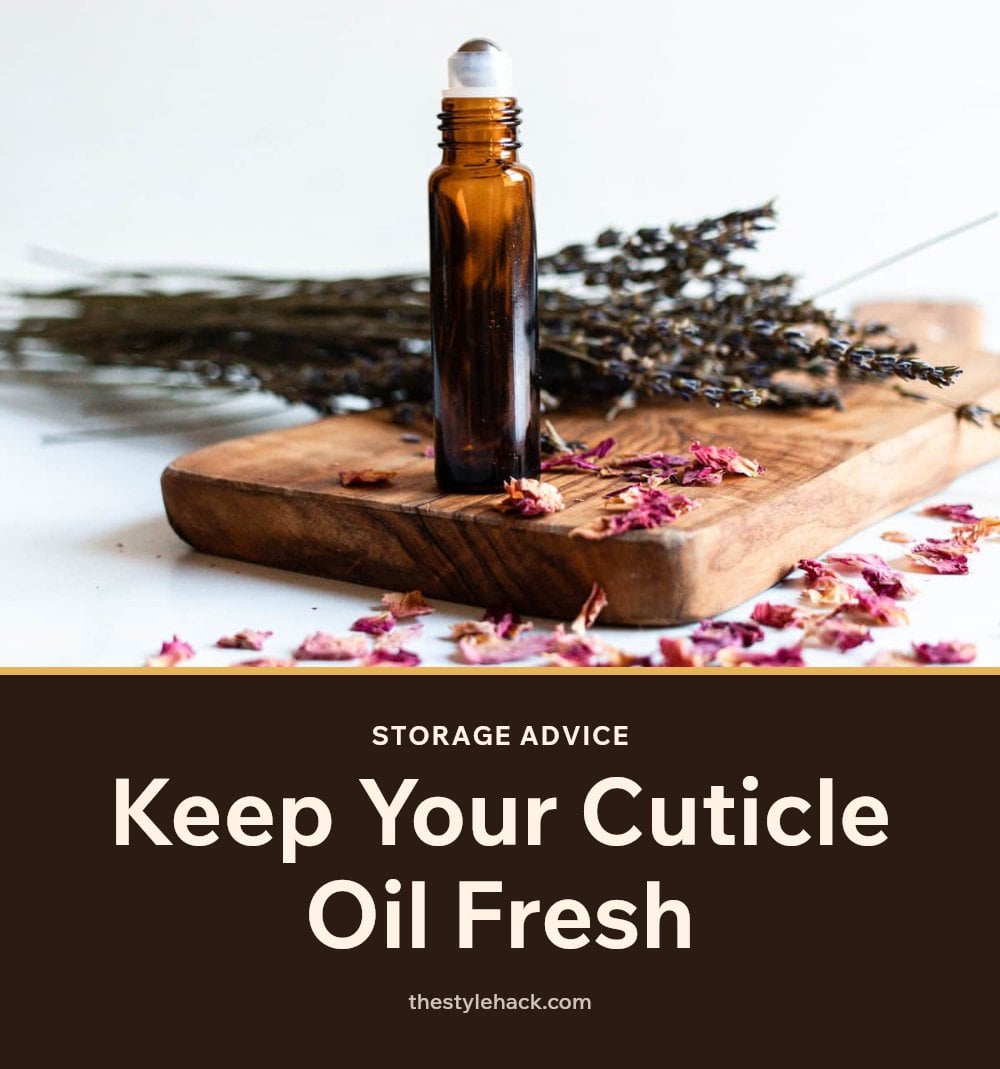
To keep your homemade cuticle oil fresh and effective, store it in a cool, dark place away from direct sunlight and heat. A cabinet in your bathroom or a drawer works perfectly. Properly stored, your oil blend should last up to one year.
Adding vitamin E oil to your recipe not only benefits your nails but also acts as a natural preservative to extend shelf life. Keep an eye on your oil over time. If it develops an off, rancid smell or changes color, it’s time to discard it and make a fresh batch.
9. When to Consult a Professional
When to Consult a Professional
While cuticle oil is great for maintenance, it’s not a treatment for serious issues. If you notice severe redness, pus, or pain around your nail, you may have an infection and should see a doctor rather than self-treating. Discontinue use immediately if you experience redness, itching, or swelling after applying the oil, and consult a healthcare professional.
Never apply cuticle oil to open wounds or infected areas. Also, be aware that some essential oils, particularly citrus oils like lemon, are photosensitive. Avoid applying them before sun exposure, and if you’re unsure about an ingredient, check with a professional.
10. Frequently Asked Questions
11. How often should I apply DIY cuticle oil?
Apply your cuticle oil at least once daily, and more often if your hands are frequently exposed to water or drying conditions. The best times are after washing your hands or showering, when your skin can absorb the oil most effectively. Consistency is key to seeing improvements.
12. Can I use any essential oil in my cuticle oil?
You can use essential oils like lavender, tea tree, or lemon, but always dilute them in a carrier oil. Some citrus oils are photosensitive, so avoid sun exposure after applying them. Always patch test a small area first to rule out sensitivity.
13. What if my DIY cuticle oil smells rancid?
If your oil blend develops an off smell or changes color, it has likely gone rancid. Rancid oils can irritate your skin, so discard the blend and make a fresh batch. Store your oil in a cool, dark place to extend its shelf life.
14. How long does it take to see results from cuticle oil?
You may notice softer cuticles within a few weeks of consistent daily use. However, stronger, healthier nails typically take several months to develop, as nails grow slowly. Be patient and stick with your routine for the best outcome.
15. Is it okay to push back my cuticles after applying oil?
You can gently push back cuticles after oiling, but avoid being aggressive, as this can damage the tissue. The oil softens the cuticle, making it easier to manage. Never cut your cuticles, as they protect against infection.
16. Final Thoughts
For best results, make cuticle oil a daily habit, especially after hand washing. Keep a rollerball bottle in your bag or by your sink for easy application. Expect to see softer cuticles within a few weeks, with optimal nail health after several months of regular use. If you notice any redness or pain, stop using the oil and consult a professional.
This article is for general informational purposes only and is not a substitute for professional medical advice. If you have a persistent nail problem, severe redness, pus, or pain, consult a doctor or dermatologist. Always patch test new ingredients and discontinue use if irritation occurs.
More Blog ideas
- How to Heal Chapped Lips Overnight with Simple Steps
- Atomic Habits: 5 Lessons to Build Better Habits
- Hyaluronic Acid for Beginners
- How to Build a Gentle Skincare Routine for Sensitive Skin
- Beat Frizzy Hair: Easy Remedies for Smooth, Shiny Strands
- How to Increase Your Daily Drinking Water Intake
- Washing Hair Mistakes to Avoid and What to Do Instead
- Bleaching Hair Tips for Less Damage
- How to Make Your Body Mist Last Longer All Day
- How to Fix Your Skincare Routine
- Nervous System Regulation Tips
- Vagus Nerve Exercises for Stress Relief