Hip Dips Workout at Home: Easy Moves for Stronger Hips
Learn how to minimize the appearance of hip dips with targeted at-home exercises. Strengthen your glutes and hips for a smoother, more confident look.

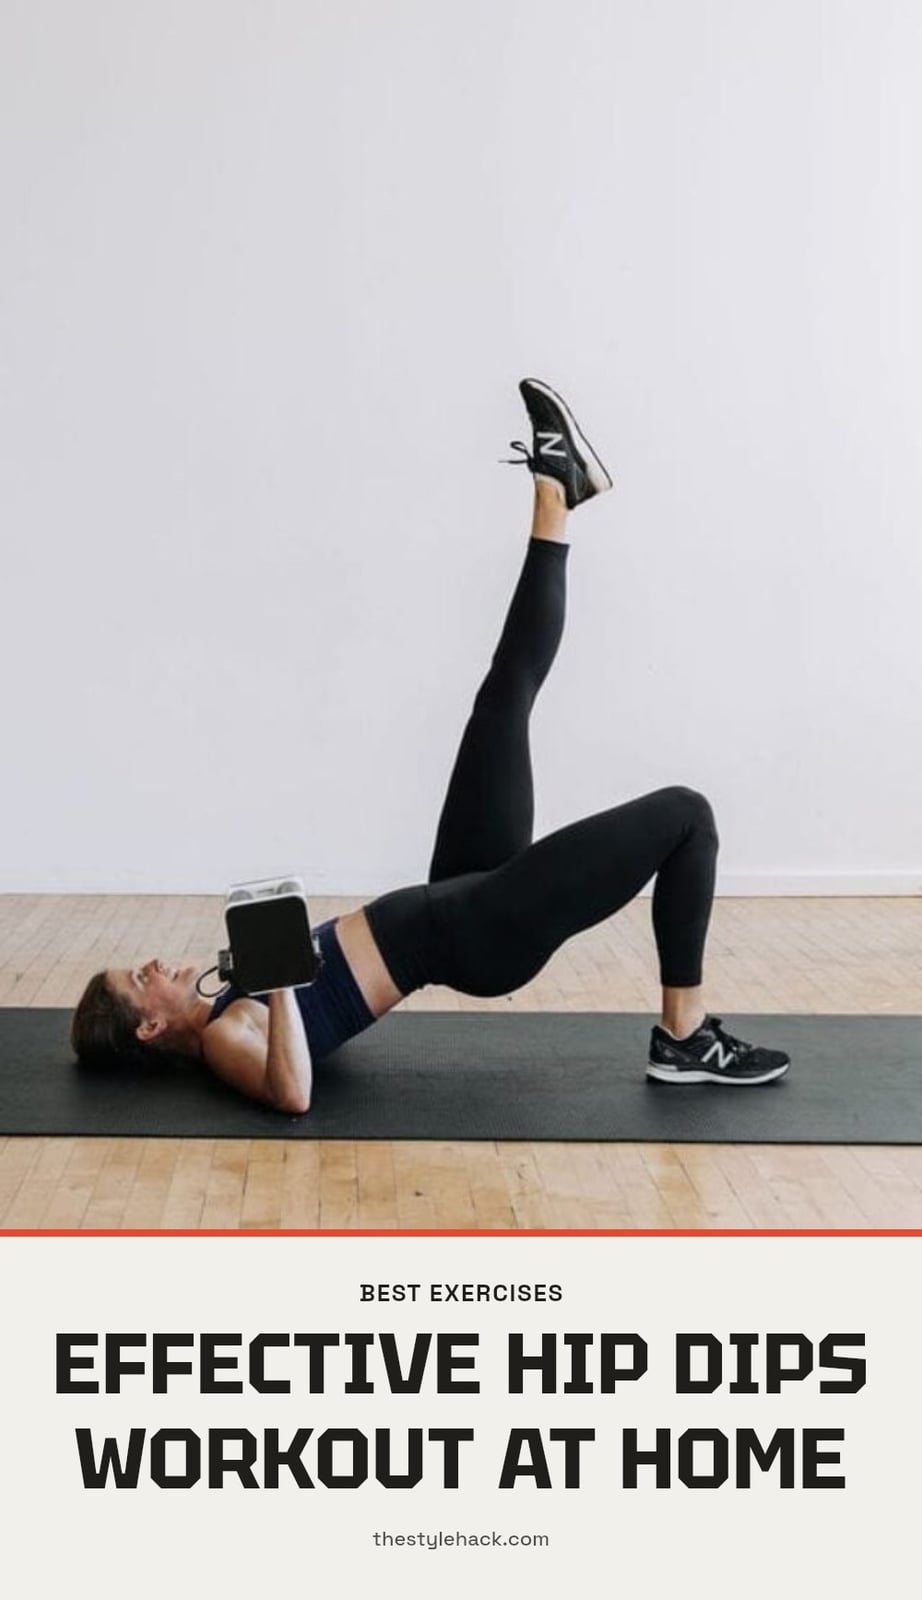
You’ve probably noticed those natural indentations on the sides of your hips and wondered if there’s anything you can do about them. I’m here to tell you that hip dips are completely normal, but if you want to strengthen and shape the area, targeted exercises can help. This article covers what hip dips are, why they happen, and a simple at-home workout routine to build the muscles around them for a stronger, more defined look.
Key Takeaways
- Hip dips are natural indentations caused by bone structure and muscle/fat distribution, not a flaw.
- You cannot change bone structure, but building glute and abductor muscles can alter their appearance.
- Consistent strength training 2-3 times per week for several weeks to months is needed for visible results.
- Use proper form and include both compound moves like squats and isolation moves like clamshells.
- Accept your unique anatomy; hip dips are a normal variation and don’t indicate poor fitness.
1. Can You Get Rid of Hip Dips?
Hip dips are the natural indentations where your thigh bone meets your pelvis. They are not a flaw or a sign of being out of shape; they are simply a result of your bone structure and how fat and muscle distribute around your hips. You cannot change your bone structure, so you cannot eliminate hip dips completely. However, targeted exercises can build muscle in your glutes and hip abductors, filling out the area and reducing their prominence. Consistent strength training also improves overall hip strength and stability.
2. 1. Warm-Up: Glute Bridges
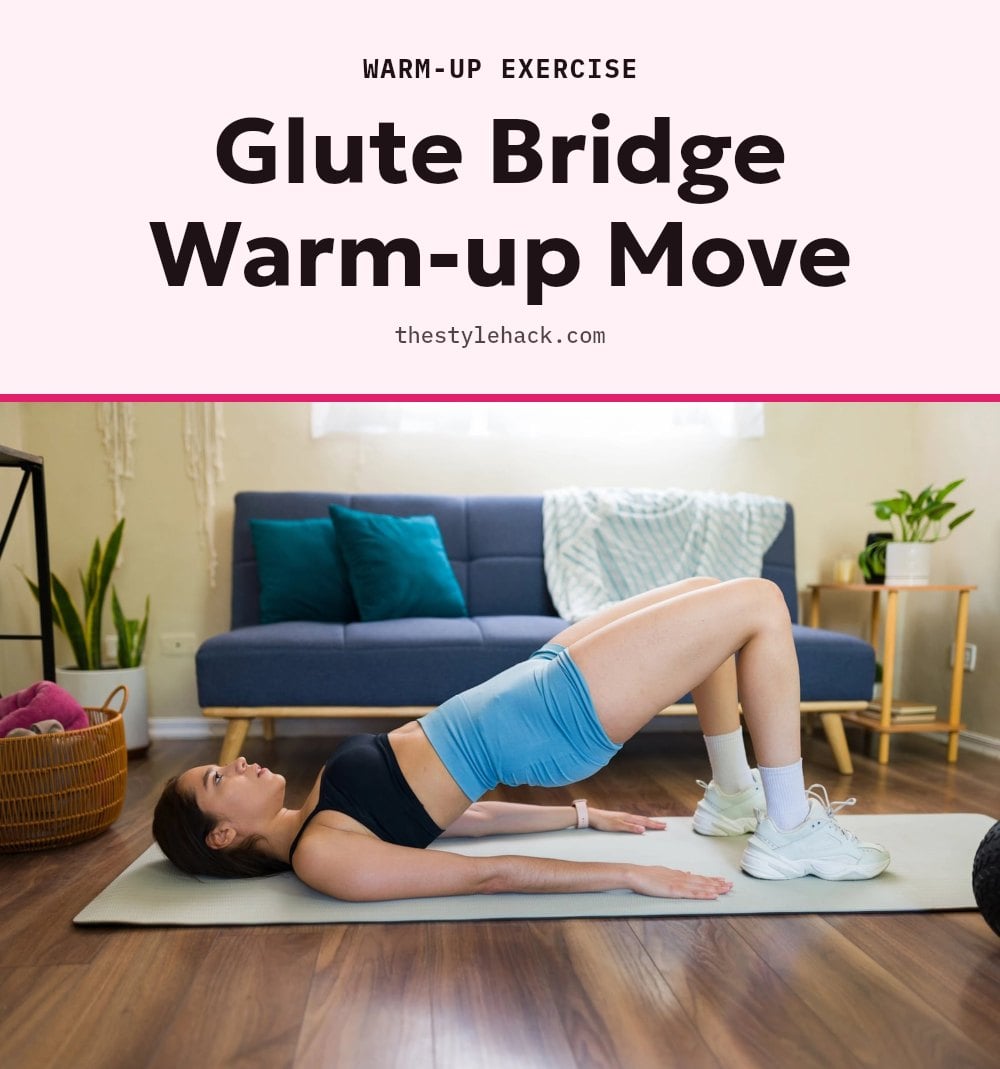
Lie on your back with your knees bent, feet flat on the floor hip-width apart, and arms by your sides. Engage your glutes and lift your hips off the floor until your body forms a straight line from shoulders to knees. Hold for a second at the top, squeezing your glutes, then slowly lower back down.
- Sets and reps: 3 sets of 12-15 repetitions.
- Form cue: Push through your heels to really activate those glutes.
- Make it easier or harder: For more challenge, hold a dumbbell across your hips.
3. 2. Side-Lying Leg Lifts
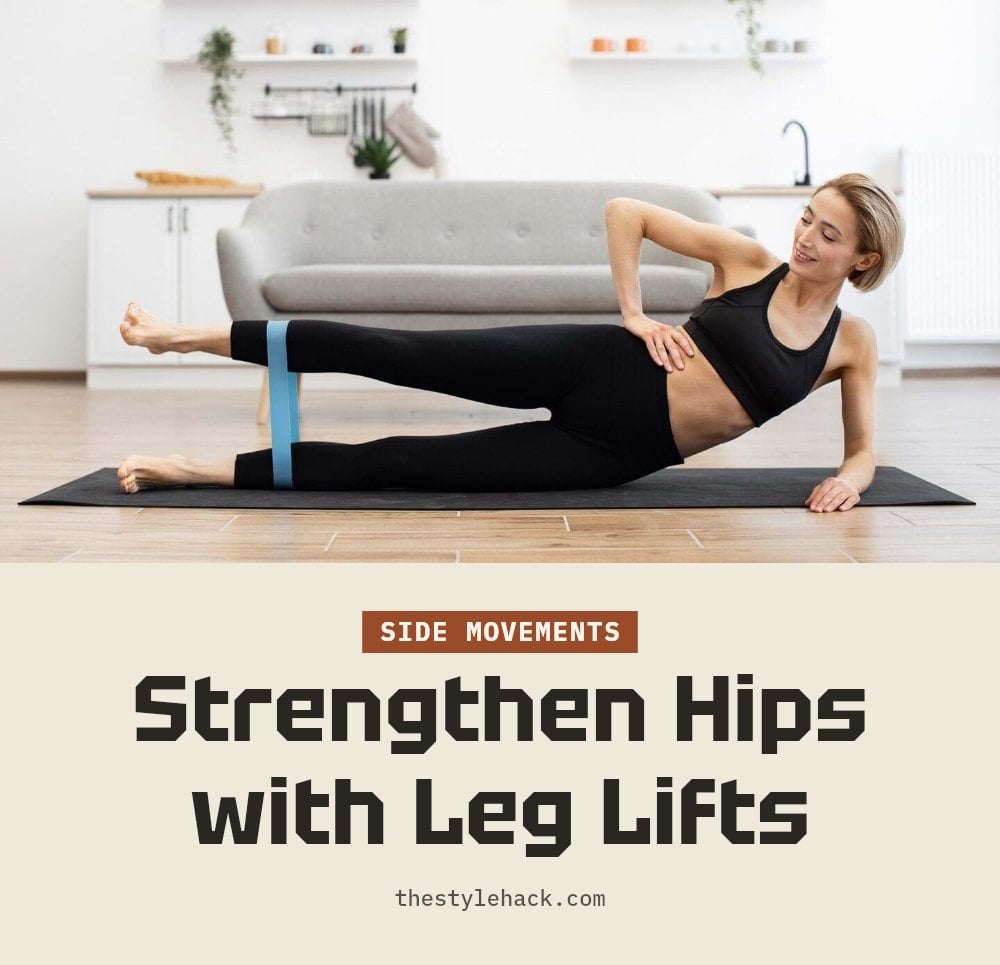
Lie on your side with your bottom arm extended or bent to support your head, and your top hand on the floor for stability. Keep your legs straight and stacked. Slowly lift your top leg toward the ceiling, leading with your heel. Lower it back down with control, without letting it rest completely on the bottom leg.
- Sets and reps: 3 sets of 15-20 repetitions per side.
- Form cue: Keep your core engaged and avoid rocking your torso to isolate the hip muscles.
- Make it easier or harder: Add an ankle weight for more resistance.
4. 3. Clamshells with Resistance Band

Place a resistance band around your thighs, just above your knees. Lie on your side with knees bent at a 45-degree angle and stacked. Keeping your feet together, engage your core and lift your top knee toward the ceiling, stretching the band. Slowly lower your knee back down.
- Sets and reps: 3 sets of 15-20 repetitions per side.
- Form cue: Don’t let your hips roll back; keep them stacked and stable throughout the movement.
- Make it easier or harder: Use a lighter band or place it higher on the thighs to increase resistance.
5. 4. Curtsy Lunges
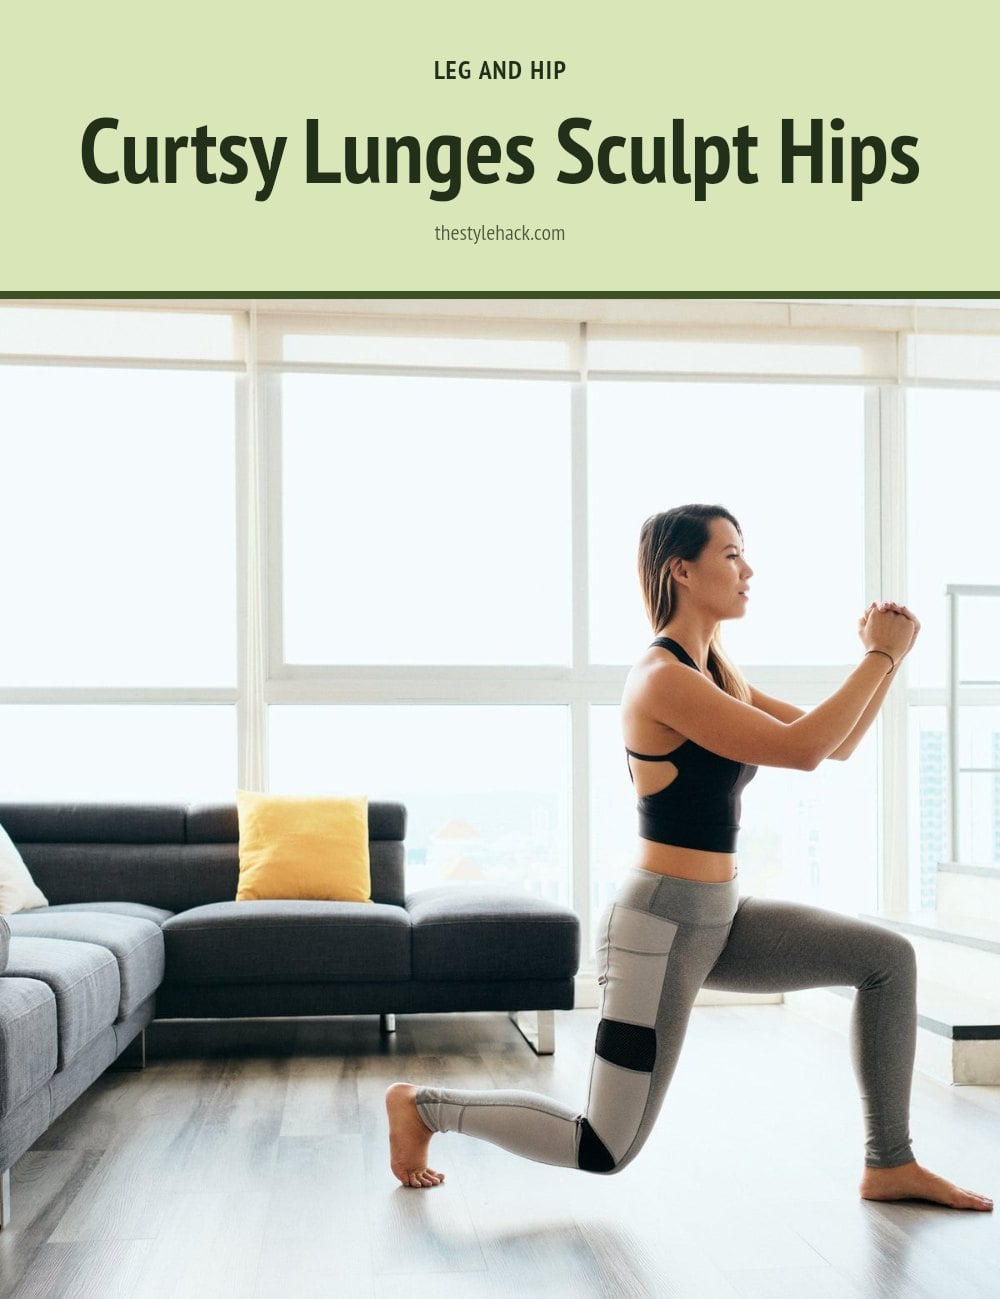
Stand with your feet hip-width apart. Step your right leg behind your left, crossing it over and lowering into a lunge. Keep your front knee aligned over your ankle and your chest upright. Push through your front heel to return to the starting position. Alternate legs for 3 sets of 10-12 repetitions per side.
- Sets and reps: 3 sets of 10-12 per side.
- Form cue: Keep your chest upright and front knee over the ankle.
- Make it easier or harder: Hold a dumbbell in each hand for extra resistance, and consider reducing reps to 8-10 per side.
My tip: Imagine you’re doing a curtsy, it helps maintain the correct angle and targets the outer glutes.
6. 5. Banded Squats
Place a resistance band just above your knees. Stand with feet hip-width apart, toes slightly out. Keeping tension on the band, push your hips back and lower into a squat, as if sitting in a chair. Ensure your knees track over your toes and your chest stays lifted. Drive through your heels to stand back up.
- Sets and reps: 3 sets of 12-15.
- Form cue: Keep your knees pushing out against the band.
- Make it easier or harder: Use a heavier band for harder, or hold dumbbells for harder.
My tip: Really push your knees out against the band to activate your glute medius.
7. 6. Donkey Kicks
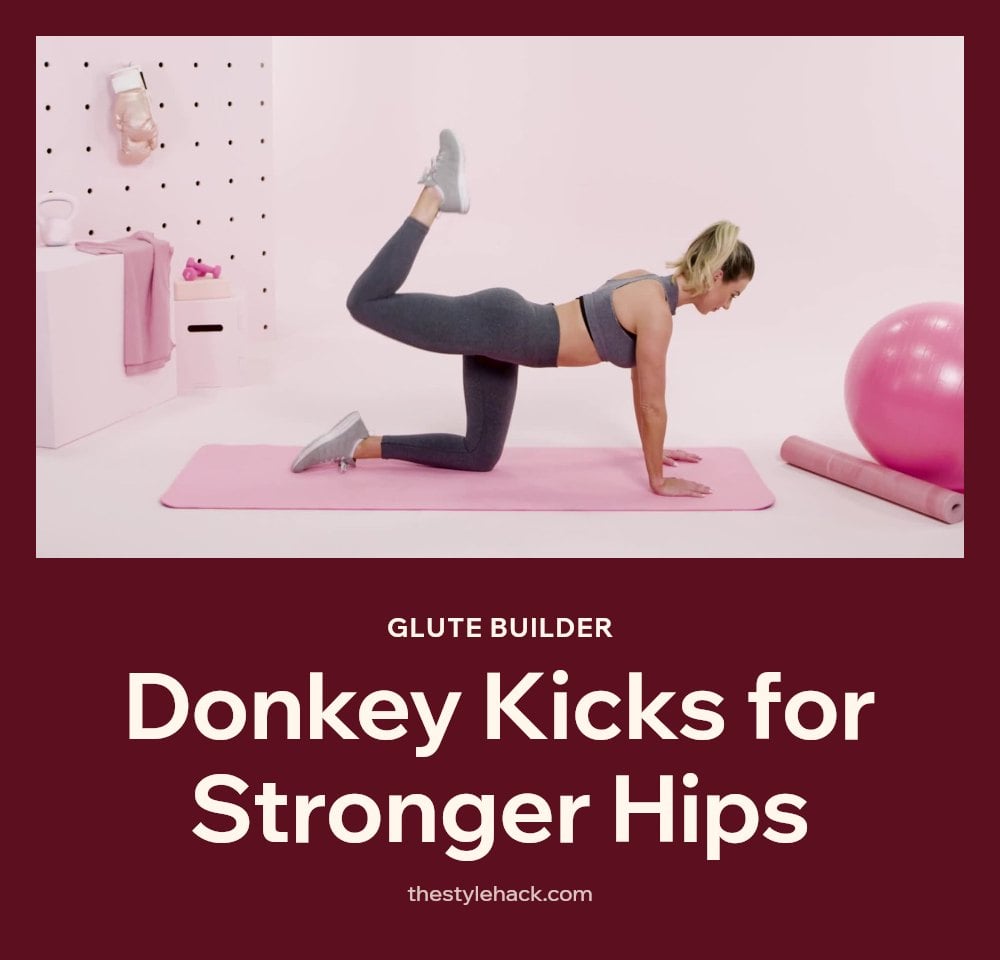
Start on all fours, hands directly under your shoulders and knees under your hips. Keep your back flat and core engaged. Keeping your knee bent at 90 degrees, lift one leg straight up towards the ceiling, pushing through your heel. Squeeze your glute at the top, then slowly lower your leg back down without letting your knee touch the floor. Perform 3 sets of 15-20 repetitions per leg.
- Sets and reps: 3 sets of 15-20 per leg.
- Form cue: Keep your back flat and core engaged.
- Make it easier or harder: Add ankle weights for more challenge.
My tip: Avoid arching your back; the movement should come from your glutes, not your lower back.
8. 7. Fire Hydrants
Begin on all fours, hands under shoulders and knees under hips. Maintain a flat back and engaged core. Keeping your knee bent at 90 degrees, lift one leg out to the side, like a dog at a fire hydrant, without shifting your hips. Only lift as high as you can while keeping your hips stable and square. Slowly lower the leg back down.
- Sets and reps: 3 sets of 15-20 per leg.
- Form cue: Keep your hips square and stable.
- Make it easier or harder: Add ankle weights for more challenge.
My tip: Imagine a glass of water on your lower back, don’t let it spill.
9. 8. Cool-Down: Figure-Four Stretch
Lie on your back with your knees bent and feet flat on the floor. Cross your right ankle over your left knee, then gently pull your left thigh toward your chest until you feel a stretch in your right glute and hip.
- Time: Hold for 20-30 seconds, then switch sides.
- Form cue: Keep your lower back pressed into the mat.
- Make it easier or harder: For a deeper stretch, pull your thigh closer; to ease off, relax your grip slightly.
My tip: Breathe deeply into the stretch to help your muscles relax and release tension.
10. Understanding Why Hip Dips Occur
11. Understanding Why Hip Dips Occur
Hip dips are the indentations you see on the outer thighs, right where your skin attaches to the greater trochanter of your femur, the top part of your thigh bone. This tethering creates a natural hollow that varies from person to person.
The shape of your pelvis and femur, along with how fat and muscle are distributed around your hip bones, determines how pronounced your hip dips are. Some people have a deeper dip simply because of their bone structure, while others have a shallower one due to more muscle or fat in that area.
Genetics play a significant role in whether you have prominent hip dips. They are a normal variation of the human body, not a defect or a sign of being out of shape. Understanding this can help you set realistic expectations: you can strengthen the surrounding muscles, but you cannot change your bone structure.
12. Essential Tools for Your Hip Dip Workout
You don’t need a full home gym to work on hip dips, but a few basics make a real difference. An exercise mat protects your joints and keeps you stable during floor moves like clamshells and fire hydrants. Resistance bands (loop bands) add intensity to squats and clamshells, forcing your glute medius to work harder. Dumbbells let you increase resistance in curtsy lunges and banded squats as you get stronger. Ankle weights are handy for side-lying leg lifts and donkey kicks, making each rep more challenging without changing your form.
- Exercise mat: comfort and grip for floor work.
- Resistance bands: boost glute activation.
- Dumbbells: add load to lunges and squats.
- Ankle weights: intensify leg raises and kicks.
13. Frequently Asked Questions
14. Are hip dips a sign of being unhealthy?
No, hip dips are not a sign of poor health or fitness. They are a normal anatomical feature caused by the shape of your pelvis and femur and how your skin attaches to the bone. Many fit and healthy people have prominent hip dips, so consider them a unique part of your body, not a problem to fix.
15. How long does it take to see results from hip dip exercises?
Results are gradual and typically require consistent effort over several weeks to months. You may start to notice subtle changes in muscle tone and strength after about 4-6 weeks of regular training, but more visible changes in the shape around your hip dips often take 2-3 months or longer. Patience and consistency are key.
16. Can diet help reduce hip dips?
Diet alone cannot eliminate hip dips, but it can support your fitness goals. A balanced diet with enough protein helps build muscle from your workouts, which may fill out the area around the dips. Also, overall body fat percentage can influence how noticeable they are, but since genetics play a big role, changes may be subtle.
17. Should I use weights for hip dip exercises?
You can add weights like dumbbells or ankle weights once you master the basic moves with proper form. Start with bodyweight or resistance bands, then gradually increase intensity to keep challenging your muscles. Just avoid overloading too quickly, as that can lead to injury or poor form.
18. What is the best exercise for hip dips?
There is no single best exercise because hip dips involve multiple muscles. A combination of compound moves like squats and lunges, plus isolation exercises like side-lying leg lifts and clamshells, is most effective. Focus on exercises that target the gluteus medius and minimus to build the area around the dip.
19. Final Thoughts
For the best results, stick with a routine that combines compound exercises like banded squats and curtsy lunges with isolation moves like side-lying leg lifts and clamshells. Expect gradual changes over several weeks to months of consistent effort, not overnight transformation. The goal is stronger, healthier hips, not perfection, so be patient with your body and enjoy the process.
This article is for general informational purposes only and is not a substitute for professional medical or fitness advice. Before starting any new exercise program, consult with a healthcare provider or certified trainer, especially if you have pre-existing conditions or concerns. If you experience pain during any movement, stop immediately and seek guidance.
More Blog ideas
- How to Heal Chapped Lips Overnight with Simple Steps
- Atomic Habits: 5 Lessons to Build Better Habits
- Hyaluronic Acid for Beginners
- How to Build a Gentle Skincare Routine for Sensitive Skin
- Beat Frizzy Hair: Easy Remedies for Smooth, Shiny Strands
- How to Increase Your Daily Drinking Water Intake
- Washing Hair Mistakes to Avoid and What to Do Instead
- Bleaching Hair Tips for Less Damage
- How to Make Your Body Mist Last Longer All Day
- How to Fix Your Skincare Routine
- Nervous System Regulation Tips
- Vagus Nerve Exercises for Stress Relief