How to Braid Hair for Beginners: Your First Perfect Plait
Learn how to braid hair with our easy step-by-step guide for beginners. Master the basic three-strand braid and avoid common mistakes for neat results.

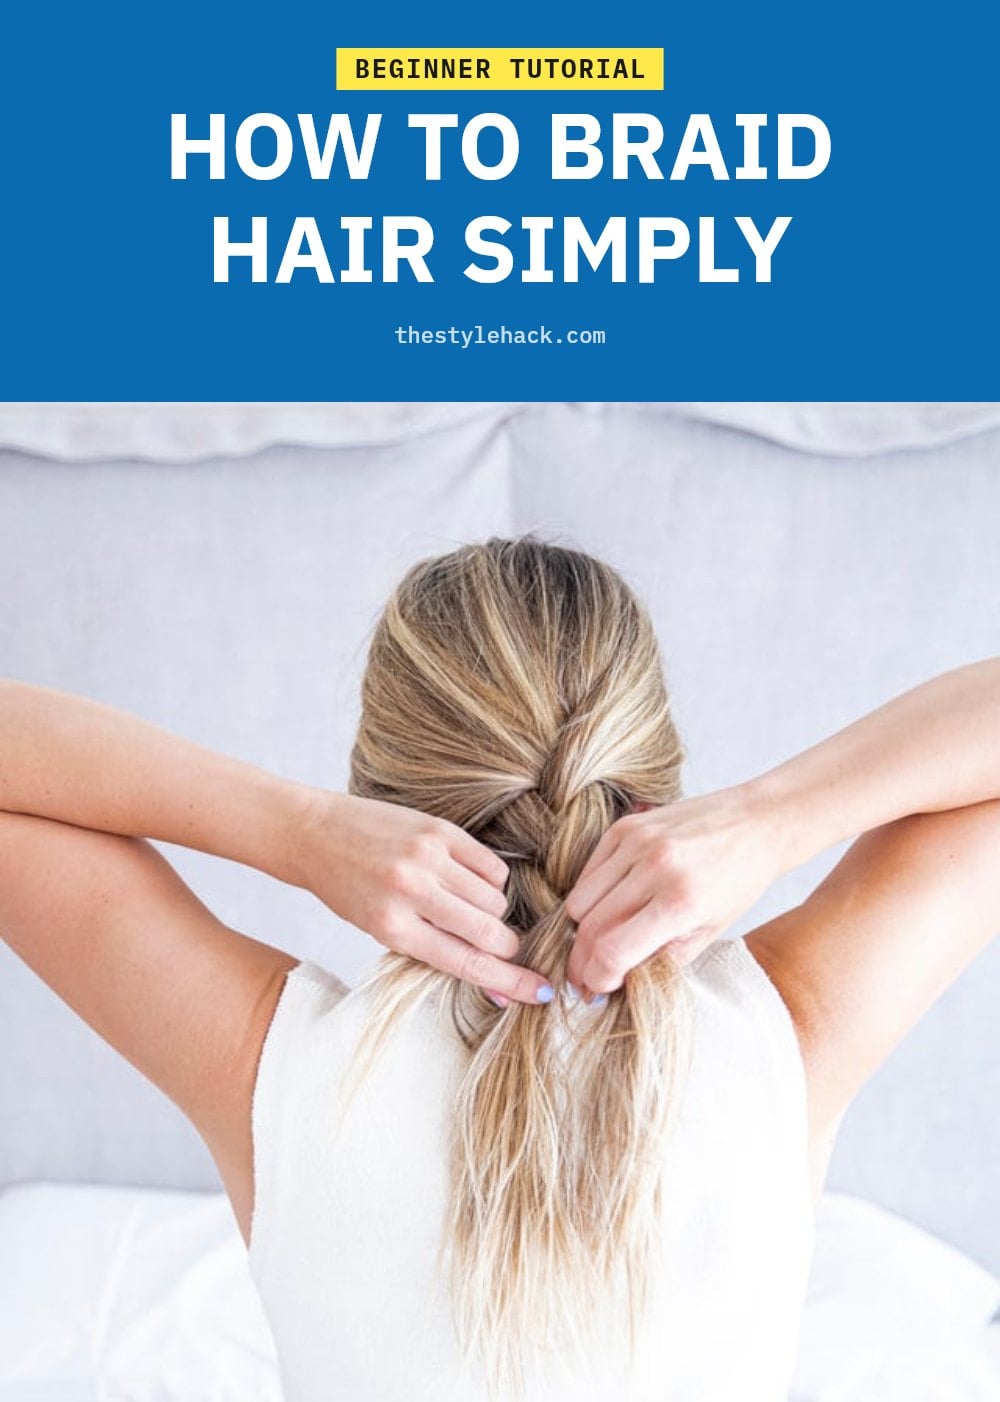
You’ve probably seen those gorgeous braids on social media and wondered if you could ever master the technique. The good news is that braiding your own hair is simpler than it looks, and with a few clear steps, you can create a neat, lasting plait. This article covers the essential tools, the classic three-strand method, and how to level up to French and Dutch braids, plus fixes for the most common mistakes.
Key Takeaways
- Start with a basic three-strand braid: divide hair into three equal sections, then cross the right over the middle, followed by the left over the new middle.
- Always detangle hair thoroughly from ends to roots before braiding to prevent knots and uneven sections.
- Use a fine-tooth comb for clean sections and a small amount of styling product to control flyaways.
- Avoid braiding too tightly to prevent headaches, scalp irritation, and hair breakage.
- Practice over a few days builds muscle memory; your first attempts will likely be loose or uneven.
1. How to Start Braiding Hair for a Classic Look
Braiding hair is simply dividing it into sections and interlacing them into a woven pattern. The classic three-strand braid starts with three equal sections: cross the right over the middle, then the left over the new middle, and repeat down the length. Master this basic technique with proper preparation and steady tension, and you unlock a world of versatile styles.
2. Your Braiding Essentials: Tools for a Smooth Start
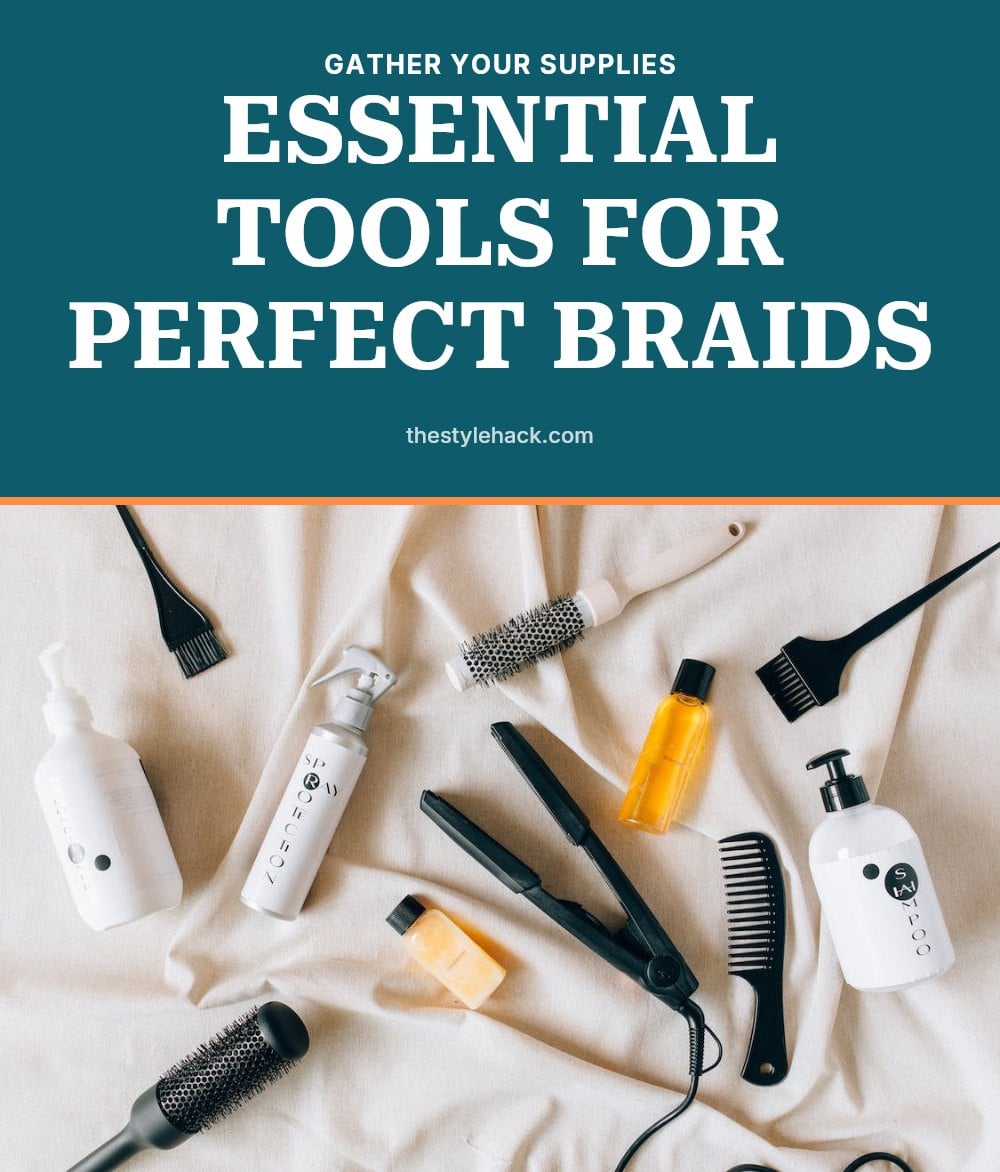
Having the right tools makes a real difference, especially when you are starting out. Here is what I keep on hand:
- Hairbrush or wide-tooth comb: For thorough detangling before you begin.
- Fine-tooth comb: Essential for creating clean, precise sections.
- Hair elastics: To secure the end of your braid and keep it from unraveling.
- Hair clips: To hold sections out of the way while you work.
- Water spray bottle: For lightly dampening hair if it is too slippery.
- Light styling product: A dab of mousse or gel helps control flyaways and adds grip.
3. Step-by-Step: The Classic Three-Strand Braid
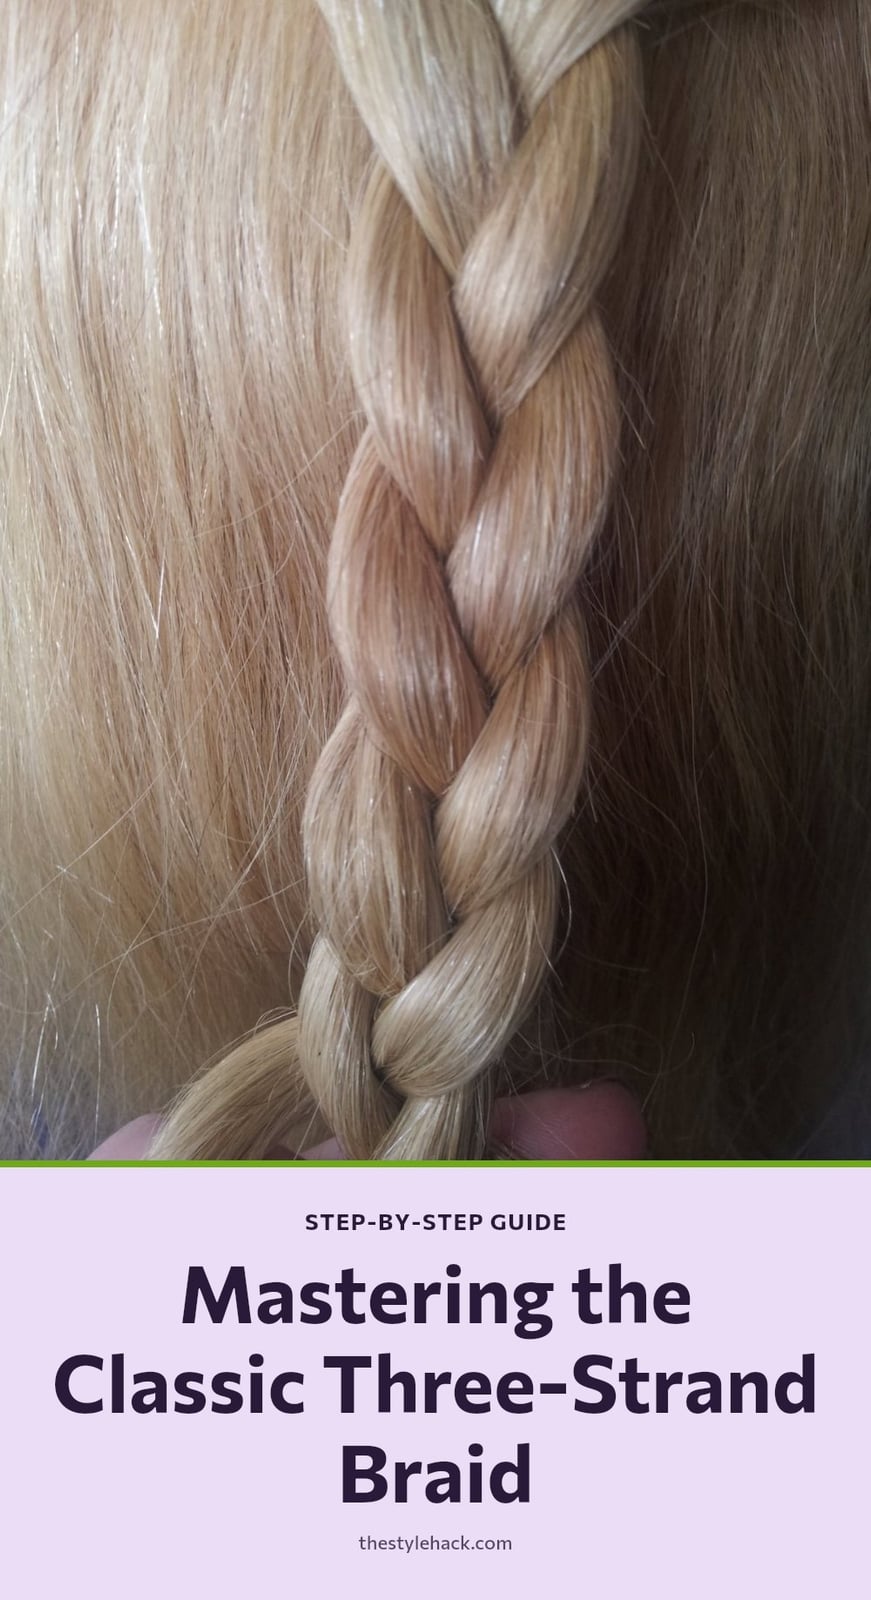
Once your hair is detangled and your tools are ready, follow these steps for a clean three-strand braid.
- Detangle thoroughly: Brush or comb your hair from ends to roots until it is completely smooth. Tangles will cause uneven sections and a messy braid.
- Divide into three equal sections: Use your fingers or a fine-tooth comb to split the hair into three parts of the same size. Hold one section in each hand and let the third hang between them.
- Cross the right section over the middle: Take the right section and bring it over the middle section. The old right section becomes the new middle, and the old middle moves to the right side.
- Cross the left section over the new middle: Bring the left section over the new middle section. The old left becomes the middle, and the old middle moves to the left.
- Repeat the pattern: Continue alternating right over middle, left over middle, all the way down the length of the hair. Keep a firm, even grip on each section as you go.
- Maintain consistent tension: Pull each crossover snugly but not so tight that it pulls at your scalp. Even tension keeps the braid neat from top to bottom.
- Secure the end: Wrap a hair elastic tightly around the end of the braid to prevent it from unraveling. My tip: Use a small elastic that matches your hair color so it blends in.
4. Beyond the Basic: Introducing French and Dutch Braids
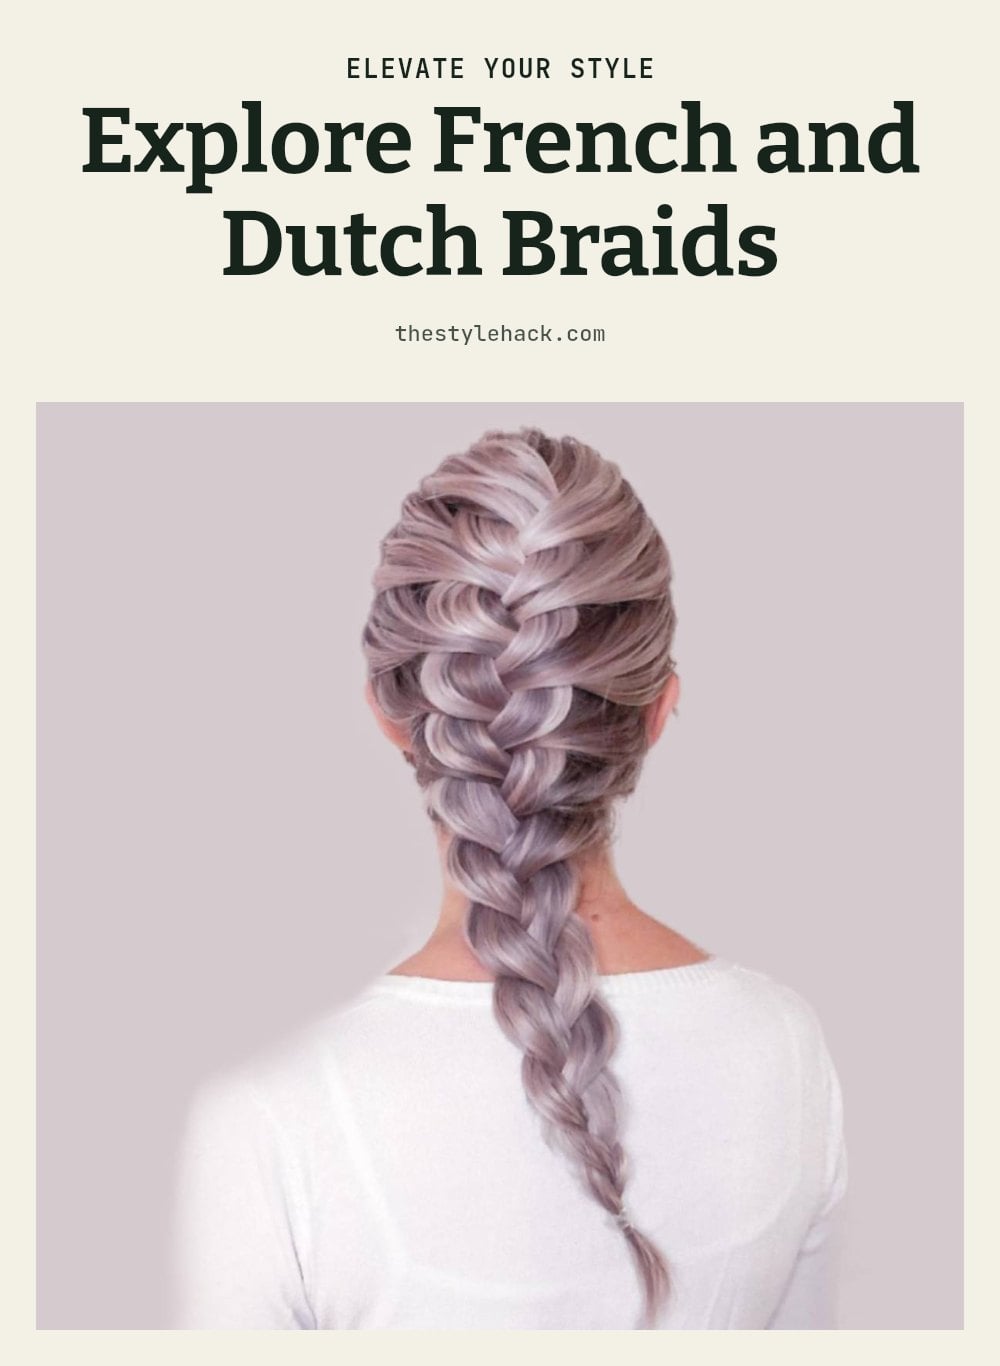
Once you master the basic three-strand braid, you can build on that technique to create French and Dutch braids. They all start with the same foundation.
A French braid works just like a three-strand braid, but before each crossover you add a small section of hair from the side into the strand you are crossing. This pulls hair in from the sides and creates a smooth, flat braid that lies against the head.
A Dutch braid is the reverse: instead of crossing sections over the middle, you cross them under. This lifts the braid off the scalp and gives it a raised, 3D effect that pops out.
Good to know: Master the basic braid first. French and Dutch braids require you to manage extra sections while keeping the pattern going, so solid fundamentals make the transition much smoother.
5. Common Braiding Mistakes and How to Fix Them
Even with the best preparation, a few common mistakes can trip you up. Here is how to fix them fast.
- Not detangling hair: Always brush or comb thoroughly from ends to roots before starting. Tangles create uneven sections and make the braid look messy.
- Inconsistent section sizes: Use a fine-tooth comb to divide your hair into three equal parts. Even sections are the foundation of a neat braid.
- Uneven tension: Keep a firm, steady grip on all three sections as you work. Loose spots appear when you relax your hold mid-braid.
- Pulling too tightly: Be gentle, especially near the scalp. Tight braids can cause discomfort and hair breakage over time.
- Forgetting to secure the end: Always finish with a hair elastic. Without it, the braid will unravel within minutes.
My tip: If you notice a mistake after a few crosses, undo only to that point rather than starting over. It saves time and frustration.
6. Top Tips for Braiding Like a Pro
These small adjustments will make your braids look cleaner and last longer.
- Practice makes perfect: Your first few attempts will probably be loose or uneven. That is normal. Consistent practice over a few days builds muscle memory.
- Slightly damp hair: Braiding on damp hair reduces frizz and makes strands more cooperative. Mist lightly with a spray bottle before you start.
- Use a mirror: When braiding your own hair, a large mirror facing you with a smaller hand mirror for the back helps you see what your hands are doing.
- Start simple: Master the basic three-strand braid before trying French or Dutch styles. The fundamentals are the same, so a solid base makes the variations easier.
- Product for grip: A pea-sized amount of mousse or gel smoothed through damp hair gives slippery hair more texture and holds flyaways in place.
Tip: Practice on a friend or a mannequin head if you can. Working on someone else lets you focus on the technique without twisting your arms.
7. How Long Does It Take to Learn Braiding?
Learning to braid takes very little time and costs almost nothing. Here is what to expect.
- Learning Curve: Expect to spend several attempts over a few days to get the basic three-strand braid to look neat. Muscle memory builds quickly with repetition.
- Proficiency: Consistent practice is the only way to increase speed and neatness. After a week of daily braiding, most people see a clear improvement.
- Time for a Braid: Once you are comfortable, a basic three-strand braid takes just a few minutes to complete from start to finish.
- Cost: Learning to braid is essentially free. You already own a brush, comb, and hair ties, which are all you need to get started.
8. Frequently Asked Questions
9. What is the easiest braid to start with?
The easiest braid to start with is the classic three-strand braid. It uses just three sections and a simple over-under pattern. Once you master that, you can build on the technique to try French and Dutch braids.
10. Can I braid my own hair if it’s short?
Yes, you can braid short hair, but it may be trickier to keep sections from slipping out. Use small hair elastics and try braiding slightly damp hair for better grip. You might also start with a half-up style to practice.
11. How do I make my braid look neat and not messy?
For a neat braid, detangle hair thoroughly before starting and use a fine-tooth comb to create clean, even sections. Keep consistent tension as you braid, and avoid pulling in too much hair from the sides when doing French or Dutch braids.
12. How do I keep my braid from unraveling?
Secure the end of your braid with a hair elastic. For extra hold, you can also apply a light styling product like mousse or gel before braiding to add grip and reduce slippage.
13. Is it better to braid hair wet or dry?
Braiding on slightly damp hair can make it easier to manage and reduce frizz, but avoid soaking wet hair as it can be slippery and take too long to dry. Dry hair works well too, especially if you use a light product for control.
14. How can I practice braiding if I don’t have a mannequin head?
You can practice on a friend’s hair or even on yourself using a mirror. Another option is to braid thick yarn or ribbon tied to a stationary object. The key is to practice the hand movements and tension until they feel natural.
15. Final Thoughts
Start with the classic three-strand braid and practice on slightly damp hair for better control. Expect your first few tries to be loose or uneven, but consistent practice over a few days builds muscle memory. Once you have that down, try the French or Dutch braid for a raised, textured look. With the right tools and a bit of patience, you will be braiding like a pro in no time.
More Blog ideas
- How to Heal Chapped Lips Overnight with Simple Steps
- Atomic Habits: 5 Lessons to Build Better Habits
- Hyaluronic Acid for Beginners
- How to Build a Gentle Skincare Routine for Sensitive Skin
- Beat Frizzy Hair: Easy Remedies for Smooth, Shiny Strands
- How to Increase Your Daily Drinking Water Intake
- Washing Hair Mistakes to Avoid and What to Do Instead
- Bleaching Hair Tips for Less Damage
- How to Make Your Body Mist Last Longer All Day
- How to Fix Your Skincare Routine
- Nervous System Regulation Tips
- Vagus Nerve Exercises for Stress Relief