Laminating Eyebrows: Your Complete Guide to Fuller, Defined Brows
Learn the step-by-step process of laminating eyebrows for a fuller, more defined look. Discover essential aftercare tips to maintain your beautifully shaped.

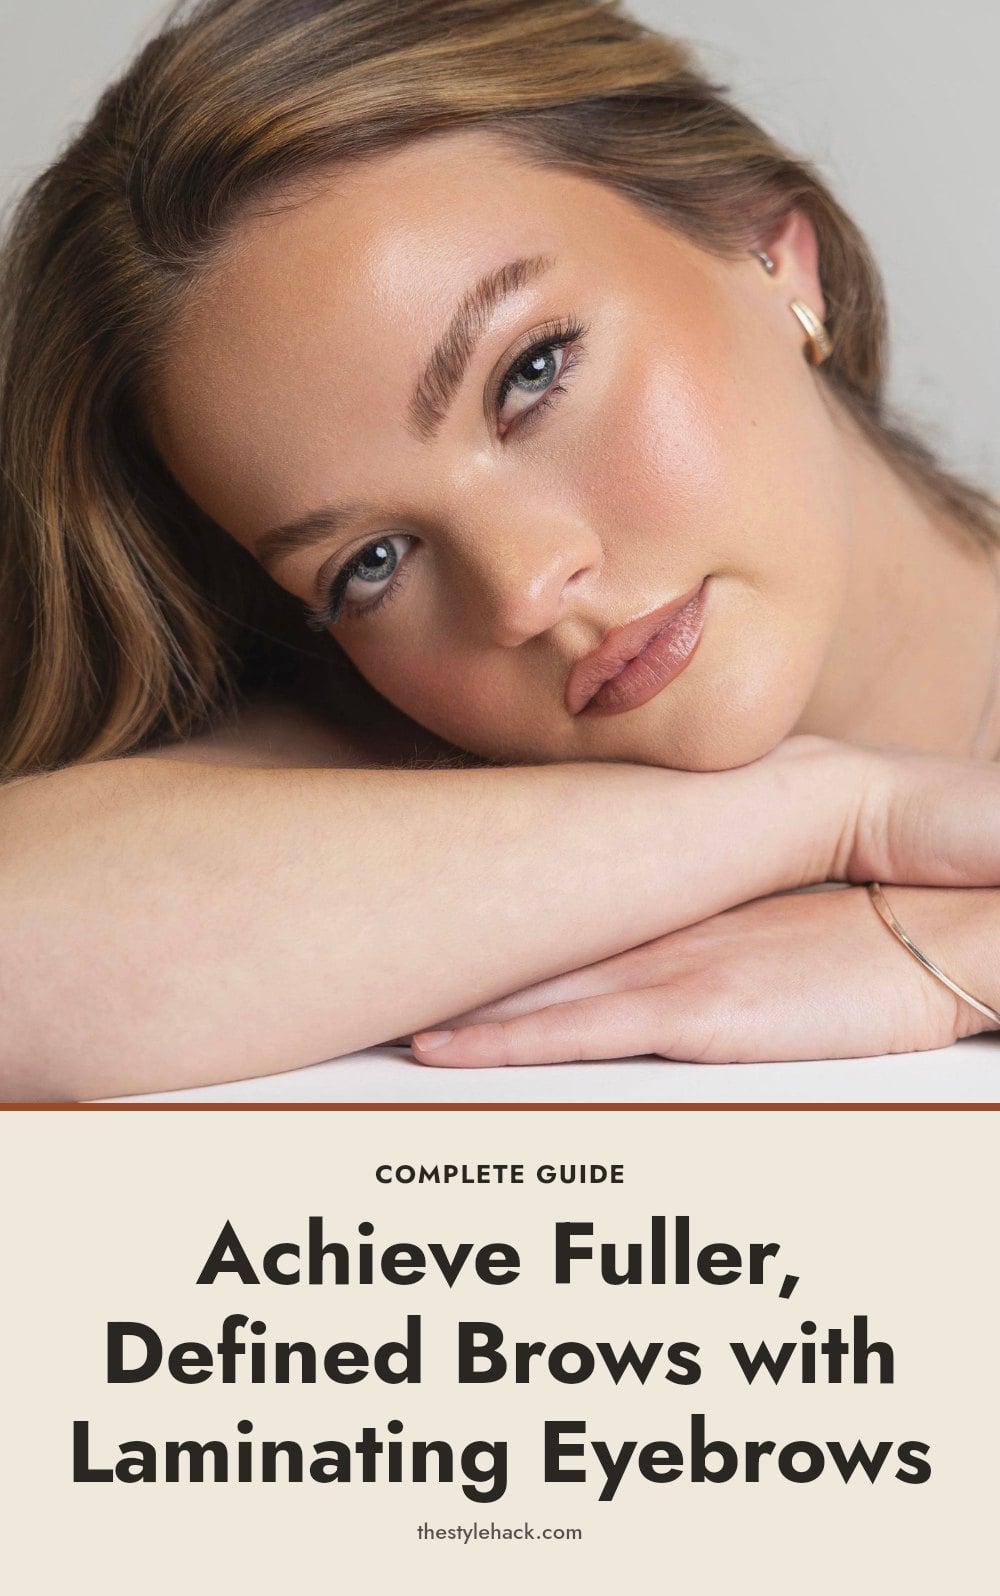
If you’re tired of filling in your brows every morning or want a fuller look without committing to microblading, brow lamination might be your answer. This semi-permanent treatment uses a chemical solution to reshape your natural hairs into a lifted, fluffy style that lasts for weeks. In this article, I’ll walk you through how the process works, what to expect, and how to care for your laminated brows so they stay looking their best.
Key Takeaways
- Brow lamination uses a chemical solution to break and reform disulfide bonds in brow hairs.
- The treatment takes 30 to 60 minutes and results last 4 to 8 weeks.
- Keep brows dry for the first 24 to 48 hours to lock in the shape.
- Always do a patch test 24 to 48 hours before the full treatment.
- See a trained professional, especially if you have sensitive skin or eczema.
1. What Exactly Is Brow Lamination?
Brow lamination is a semi-permanent treatment that realigns your eyebrow hairs to create a fuller, smoother, and more defined look. It uses a chemical solution to relax the hair, then sets it in a new, lifted shape. The whole process involves three key stages: perming, setting, and nourishing the brow hairs. Think of it as a perm for your brows, minus the curls.
2. What You Need for Brow Lamination
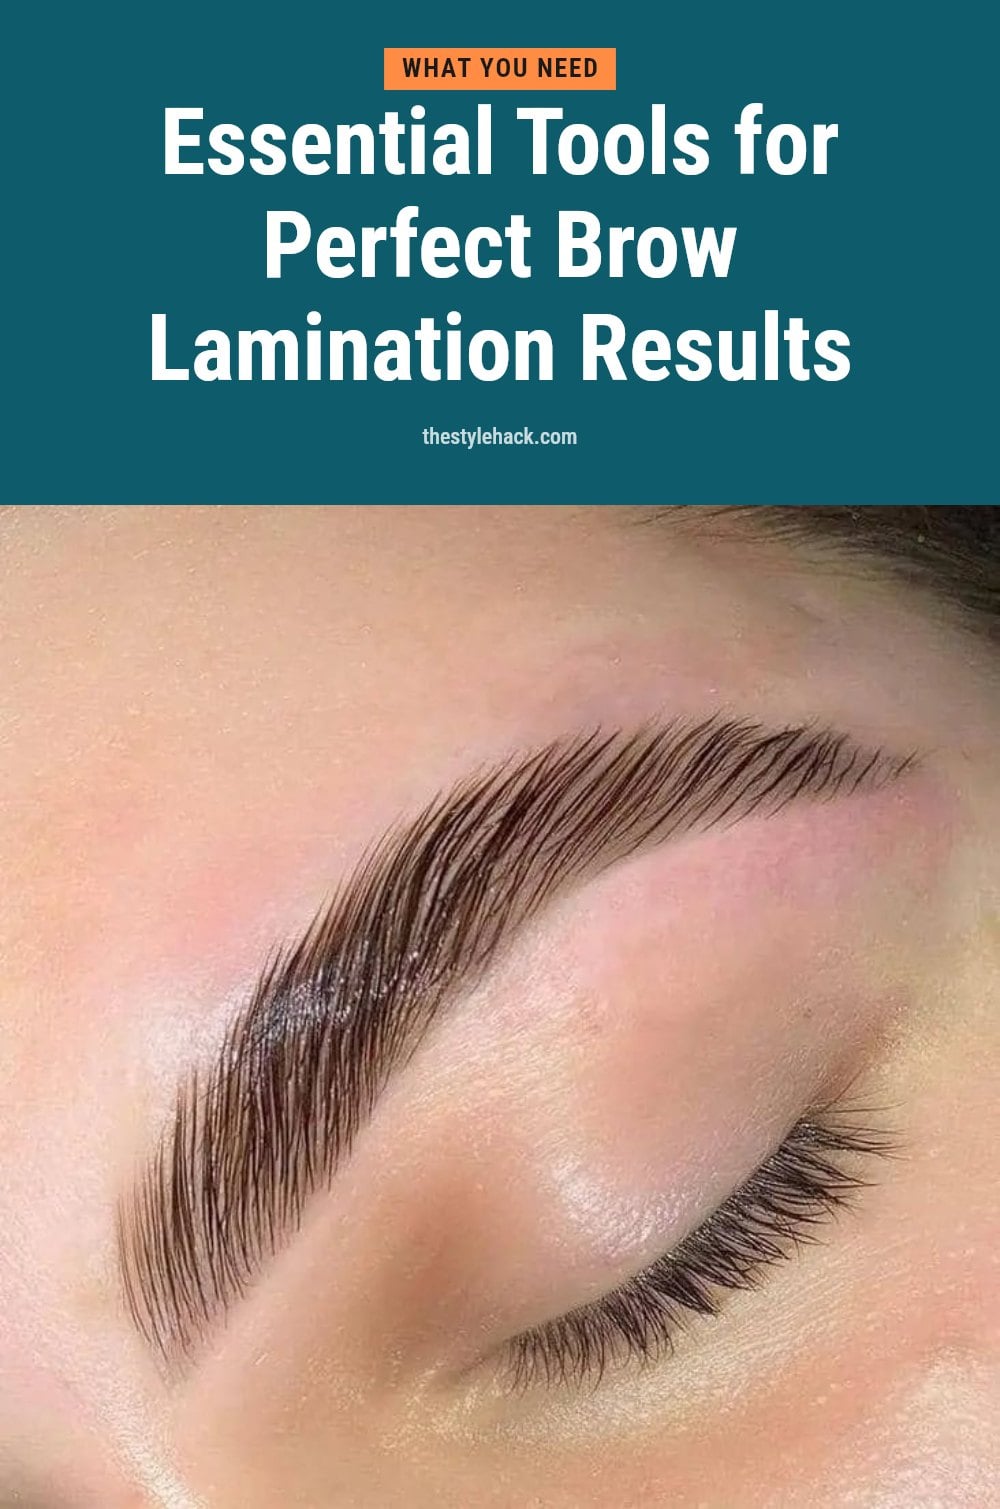
To laminate brows, you need a few specific products, and a professional kit is your best bet for consistent results. Here’s what’s involved:
- Perming solution: breaks down the hair bonds so they can be reshaped.
- Setting solution: reforms those bonds in the new, lifted position.
- Nourishing oil: rehydrates and conditions the brows after the chemical process.
- Adhesive: holds hairs in place while the solutions work.
- Spoolie brushes and cotton pads: for applying products and cleaning up.
Each product plays a specific role, so skipping one can compromise the final look.
3. Step-by-Step: How Brow Lamination Works
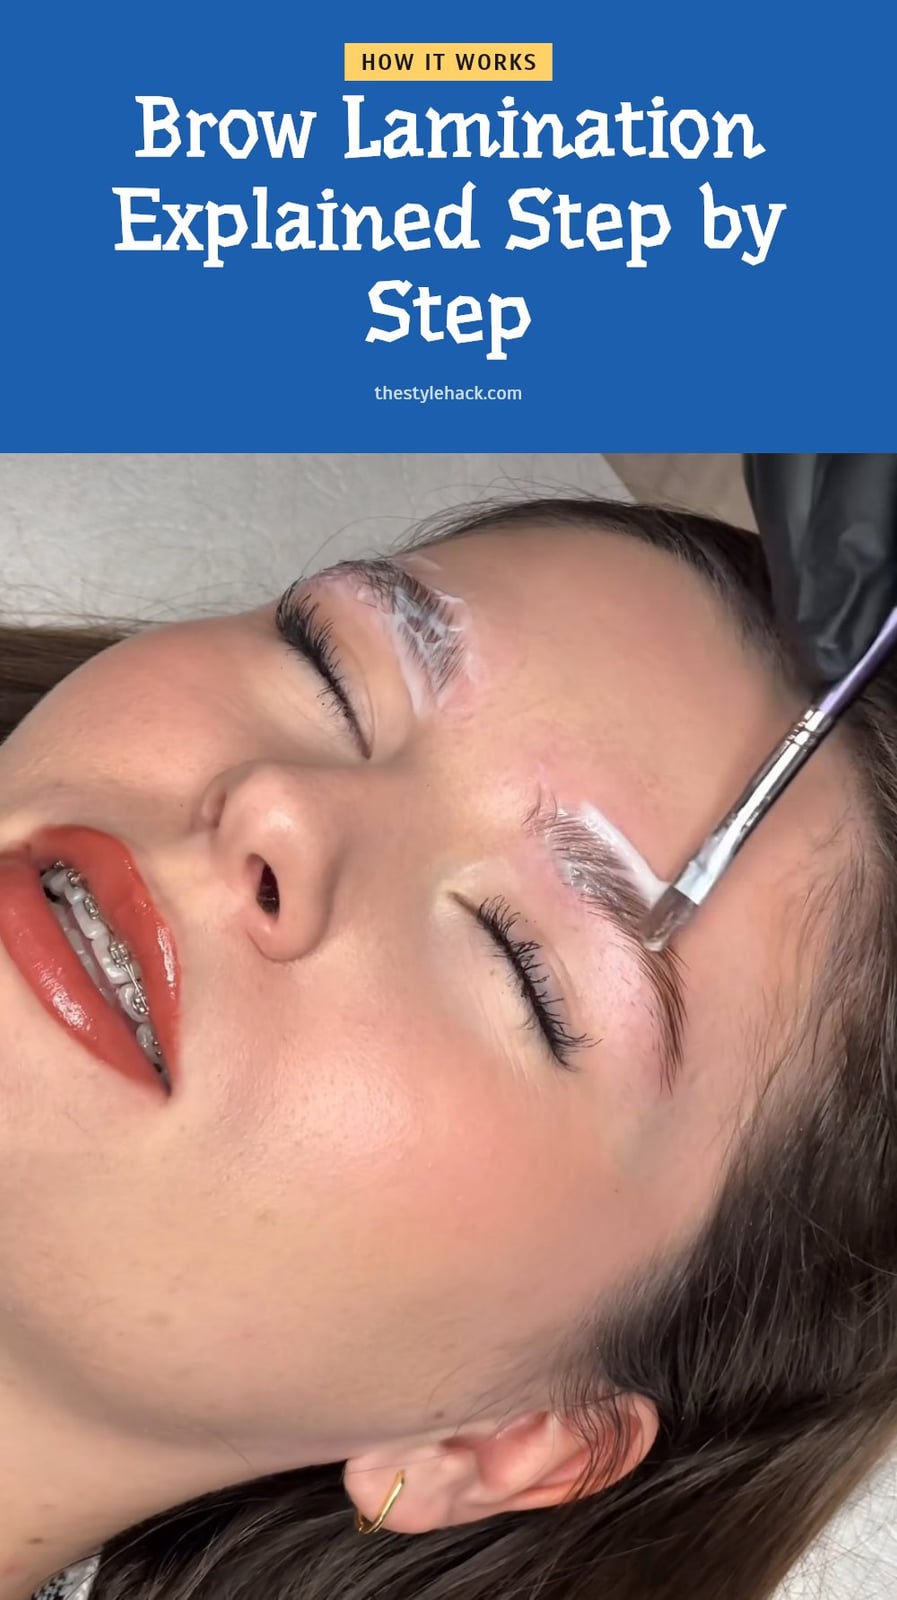
Here’s how a typical brow lamination session goes, step by step. A patch test 24-48 hours before is non-negotiable to rule out allergic reactions.
- Cleanse your brows: Remove all makeup, oil, and dirt so the solutions can penetrate evenly. A clean base is crucial for even results.
- Apply adhesive: Brush the brow hairs upward and apply a thin layer of adhesive to hold them in place. This sets the shape you want to achieve.
- Apply perming solution: Using a cotton pad or applicator, coat the hairs with the perming solution. This breaks the disulfide bonds, making the hairs pliable.
- Let it process: Leave the solution on for the time specified in the product instructions, which is often 5-10 minutes as a general guide. Always follow the exact timing for your specific product to avoid over-processing, which can lead to brittle or damaged hairs.
- Apply setting solution: Without removing the perming solution, apply the setting solution on top. This reforms the bonds in their new, lifted position. Leave it for the recommended duration as per the product instructions.
- Remove and nourish: After the setting solution has done its job, gently remove all solutions with water. Then apply the nourishing oil to rehydrate the hair and soothe the skin. This step is part of the chemical process, not an afterthought.
4. The Science Behind Fuller Brows

Your brow hairs are made of a protein called keratin, and their shape is held by disulfide bonds. Brow lamination uses a chemical solution to break these bonds, allowing the hairs to be brushed upward and into a new position. Then, a setting solution reforms the bonds, locking the hairs in place. The result is a lifted, uniform look that makes brows appear thicker and fuller.
This process is a non-invasive alternative to microblading, giving you definition without needles or pigment. The effect is temporary, so your natural brow shape returns as new hairs grow in. It’s a great option if you want a more polished look without daily styling.
5. Essential Aftercare for Laminated Brows
The first 24 to 48 hours are critical. Keep your brows completely dry. Water or steam can reverse the setting solution before the new shape locks in, which means you lose the lift and fullness. Avoid workouts that make you sweat, skip the sauna, and wash your face carefully to keep water off the brow area.
Apply a nourishing oil or serum daily: This rehydrates the hairs after the chemical process. Dryness makes brows look brittle and can shorten how long the lamination lasts. A few drops on a spoolie each morning is enough.
Brush brows into place daily: Use a clean spoolie to brush hairs upward and outward. This trains them to stay in the set shape and keeps the look polished.
Avoid heavy makeup or harsh skincare products on brows: Foundations, powders, retinoids, and exfoliants can interfere with the chemical bonds or strip moisture. Keep the area clean and bare for the first 24 hours at minimum.
Do not rub or pick at your brows: Rubbing can loosen the setting solution and disturb the hair alignment. Picking at dry flakes or stray hairs can pull out treated hairs and cause uneven patches.
6. Common Mistakes to Avoid When Laminating Brows
The most common mistake is getting your brows wet within the first 24 to 48 hours. Water or steam can reverse the setting solution before the new shape locks in, so skip workouts that make you sweat and avoid washing your face normally.
Over-processing is another frequent error. Leaving the perming solution on longer than the instructions say can make hairs brittle and damaged. Always follow the exact timing your professional or kit provides, and never guess.
Skipping a patch test is risky. It can lead to severe allergic reactions, redness, or irritation on a sensitive area. A patch test 24 to 48 hours before the full treatment is the only way to know how your skin will respond.
Attempting DIY lamination without proper knowledge often ends in uneven results or hair damage. The chemical process requires precision, so a trained professional is the safer choice.
Neglecting aftercare also causes premature fading and dryness. Without daily nourishing oil and gentle brushing, your brows may lose their shape faster than the expected 4 to 8 weeks.
7. How Long Does Brow Lamination Last, and What’s the Cost?
A full brow lamination appointment takes about 30 to 60 minutes, so you can fit it into a lunch break. Results typically last 4 to 8 weeks, depending on your natural hair growth cycle and how well you follow aftercare. Most people see the lifted effect fade gradually as new hairs grow in.
Costs vary by salon and location, but lamination is generally less expensive than microblading. You will likely need a repeat treatment every 6 to 8 weeks to maintain the look. Many salons offer a package or discount for recurring appointments, which can help you plan your beauty budget.
8. When to See a Professional for Your Brows
Brow lamination uses chemicals that can irritate skin, so a trained and certified professional is your safest choice. They know how to apply and time each solution to avoid over-processing and damage. If you have sensitive skin, eczema, or psoriasis, talk to a professional before booking, since the solutions may trigger flare-ups.
Caution: See a doctor if you notice severe irritation, swelling, or signs of an allergic reaction after treatment. Skip DIY kits unless you fully understand the chemical process. If your brows are very sparse or short, there may not be enough hair to laminate, so a pro can advise on better options.
9. Frequently Asked Questions
10. How long does brow lamination last?
Brow lamination typically lasts between 4 and 8 weeks. The exact duration depends on your natural hair growth cycle and how well you follow aftercare instructions. Keeping your brows dry for the first 24 to 48 hours and brushing them daily can help maintain the shape for as long as possible.
11. Can I get my eyebrows wet after lamination?
You should avoid getting your brows wet or exposing them to steam for the first 24 to 48 hours after treatment. Water can reverse the setting solution before the new shape locks in, which may cause the lamination to fail. After that, you can resume normal washing, but avoid harsh exfoliants near your brows.
12. Is brow lamination safe for sensitive skin?
Brow lamination uses chemical solutions that can cause irritation, redness, or allergic reactions, especially if you have sensitive skin. A patch test 24 to 48 hours before the full treatment is essential to check for adverse reactions. If you have eczema, psoriasis, or recently had a facial peel, talk to a professional before proceeding.
13. What’s the difference between brow lamination and microblading?
Brow lamination is a non-invasive treatment that reshapes your existing brow hairs to look fuller and more defined, without adding pigment. Microblading, on the other hand, involves tattooing fine lines to mimic hair strokes, which is more invasive and longer-lasting. Lamination is a good option if you want a temporary lift without needles.
14. Can brow lamination damage my natural brows?
If done correctly by a trained professional, brow lamination is unlikely to cause damage. However, over-processing the hairs with the chemical solution for too long can lead to brittle or damaged hairs. That’s why it’s important to follow the timing and aftercare instructions, and to avoid trying to laminate your brows at home without proper training.
15. Final Thoughts
If you want a low-maintenance way to get fuller, more defined brows without daily makeup, brow lamination is worth considering. My tip: book with a certified professional and follow the aftercare strictly, especially keeping your brows dry for the first two days. Expect the results to last about 4 to 8 weeks, and you’ll need a repeat appointment to maintain the look. With proper care, you can enjoy that lifted, fluffy brow style with minimal effort.
This article is for general information only and is not a substitute for professional advice. Brow lamination involves chemicals that can cause irritation or allergic reactions. Always consult a licensed professional or dermatologist if you have concerns about your skin or hair health, especially if you have a pre-existing condition or experience persistent issues.
More Blog ideas
- How to Heal Chapped Lips Overnight with Simple Steps
- Atomic Habits: 5 Lessons to Build Better Habits
- Hyaluronic Acid for Beginners
- How to Build a Gentle Skincare Routine for Sensitive Skin
- Beat Frizzy Hair: Easy Remedies for Smooth, Shiny Strands
- How to Increase Your Daily Drinking Water Intake
- Washing Hair Mistakes to Avoid and What to Do Instead
- Bleaching Hair Tips for Less Damage
- How to Make Your Body Mist Last Longer All Day
- How to Fix Your Skincare Routine
- Nervous System Regulation Tips
- Vagus Nerve Exercises for Stress Relief