Mastering the Art of Blow Drying Your Hair
Learn essential blow drying techniques to achieve smooth, bouncy hair at home. Discover the right tools and methods to avoid damage and add shine.

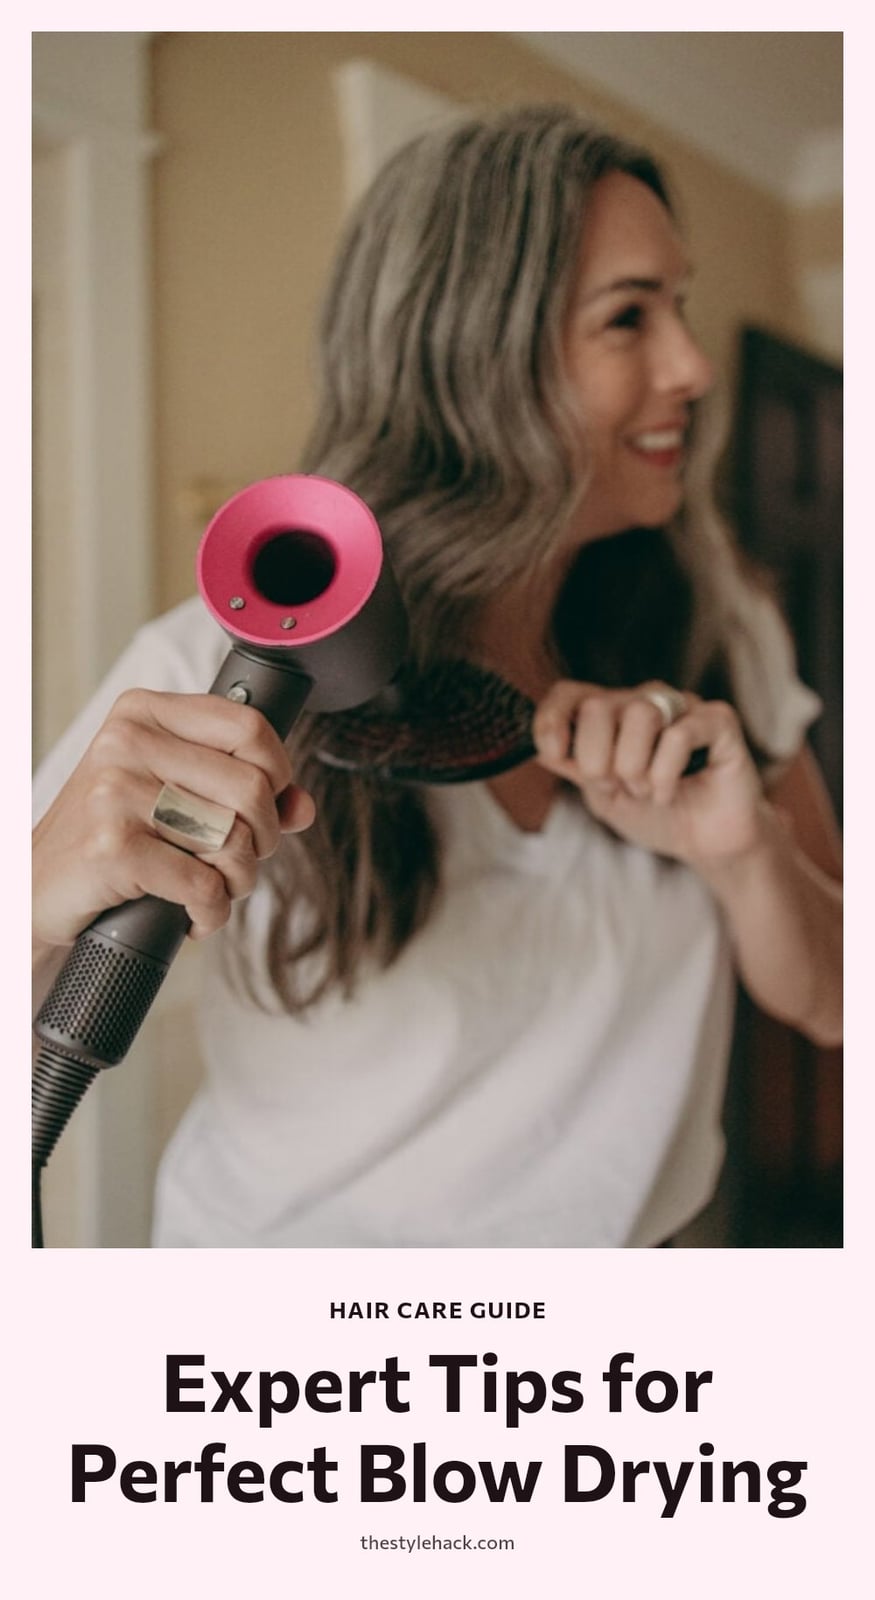
You’ve probably had those mornings where you rush through blow drying and end up with frizz, flyaways, or flat roots. The good news is that with a few simple adjustments, you can get smooth, bouncy hair right at home. This article covers the essential tools, step-by-step techniques, and common mistakes to avoid so you can style your hair with confidence.
Key Takeaways
- Always use a heat protectant before applying any heat to your hair.
- Rough dry hair until it’s 60-80% dry before you start styling with a brush.
- Section hair into four parts for even drying and better control.
- Direct the nozzle down the hair shaft from roots to ends to smooth the cuticle.
- Finish each section with the cool shot button to lock in shape and shine.
1. Achieving Smooth, Bouncy Hair with Blow Drying
Blow drying uses heat and airflow to shape wet hair into smooth, voluminous, and bouncy styles. The key is pairing the right tools with proper technique: heat protection, sectioning, and directing airflow down the hair shaft. This approach minimizes damage while working with your natural texture to add shape and shine. It’s a versatile method that gives you salon-like results at home.
2. 1. Gather Your Essential Tools
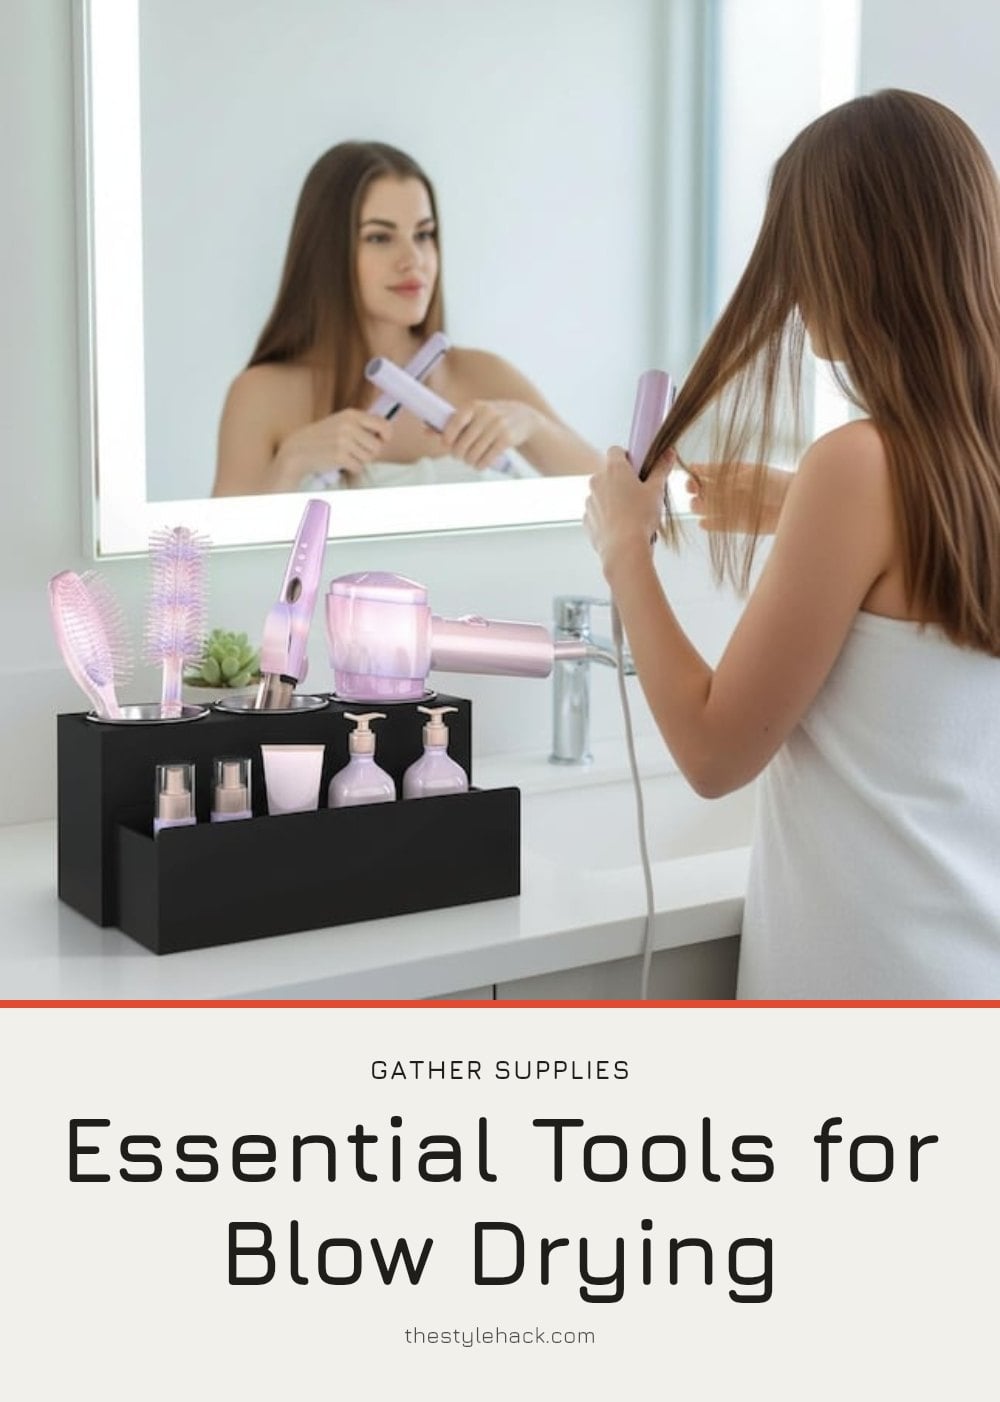
Start with a quality blow dryer that has a nozzle attachment. The concentrator focuses airflow to prevent frizz and gives you precise control. A heat protectant spray or cream is non-negotiable; it shields your hair from damage. Hair clips are essential for sectioning, making the process manageable.
- Round brush: Best for volume and curls.
- Paddle brush: Ideal for sleek, straight styles.
- Vent brush: Speeds up drying time.
3. 2. Prep Your Hair Properly
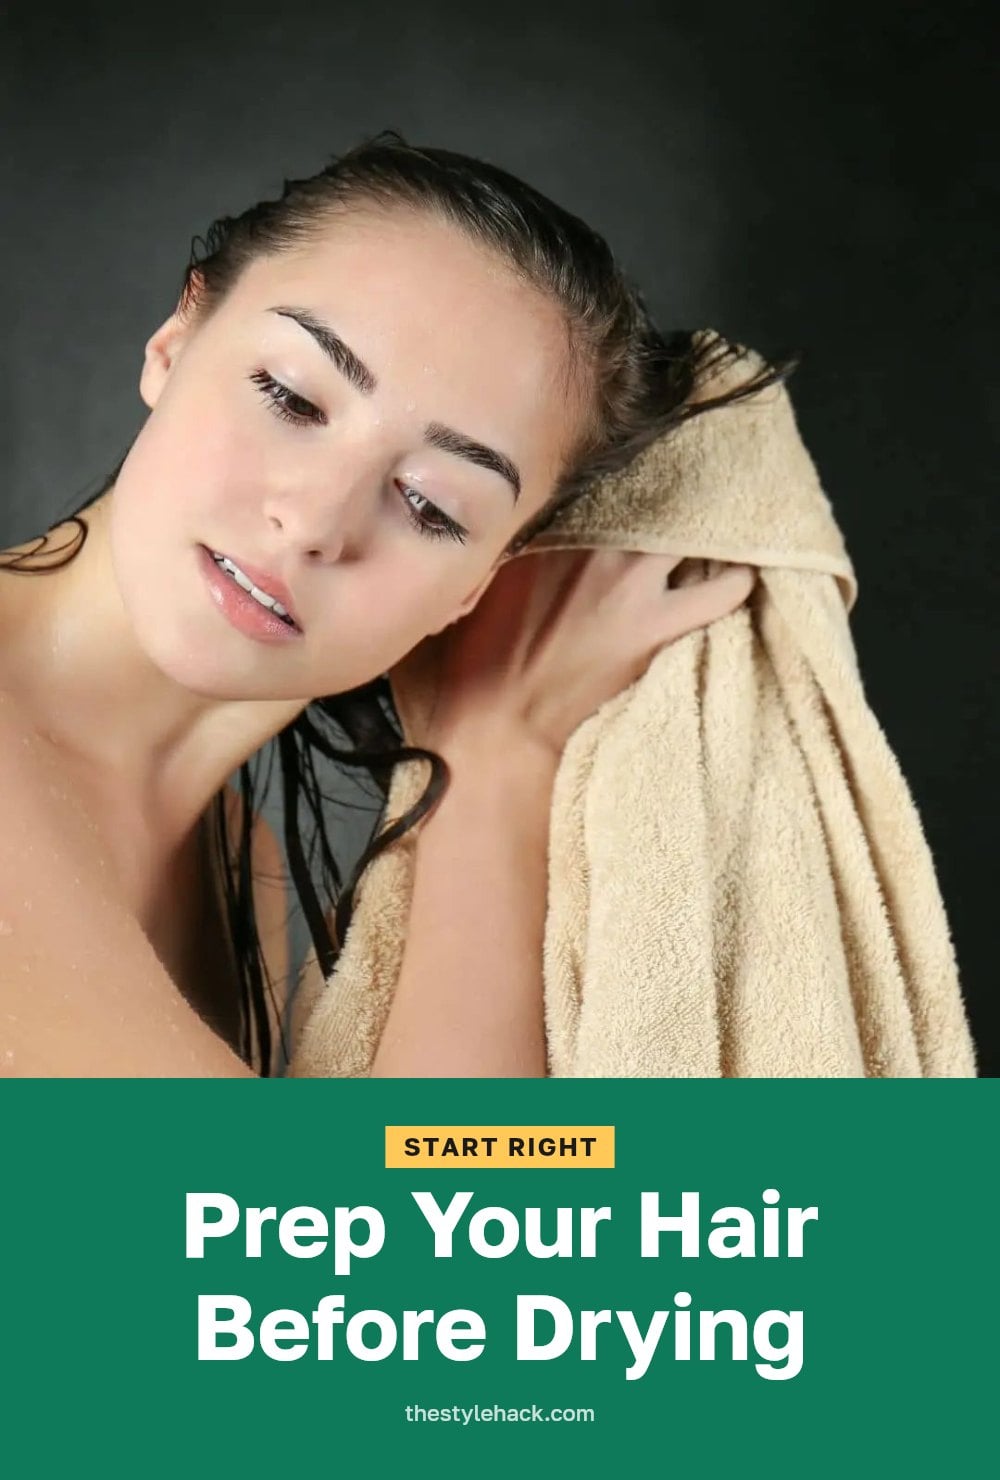
Gently towel dry your hair to remove excess water. Avoid vigorous rubbing, which causes frizz. Apply a generous amount of heat protectant spray or cream evenly from roots to ends.
My tip: Don’t start styling on soaking wet hair. Rough dry with the blow dryer until your hair is about 60-80% dry. This reduces heat exposure time and prevents damage.
4. 3. Section Hair for Control
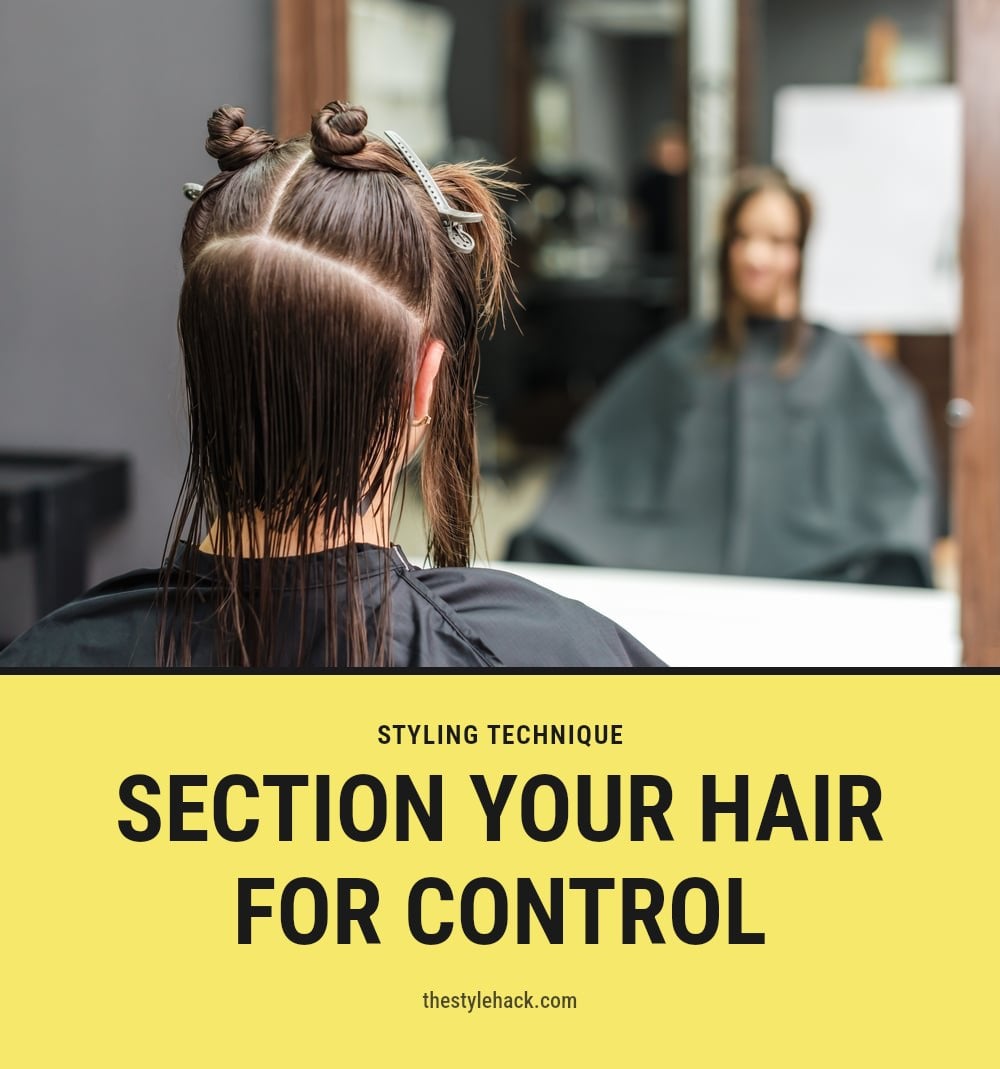
Divide your hair into manageable sections using clips. I usually start with four main sections: two on top and two on the bottom. This ensures you dry thoroughly and evenly, leaving no damp spots behind. Working in smaller sections gives you more control and helps achieve a smoother finish.
5. 4. Use the Concentrator Nozzle
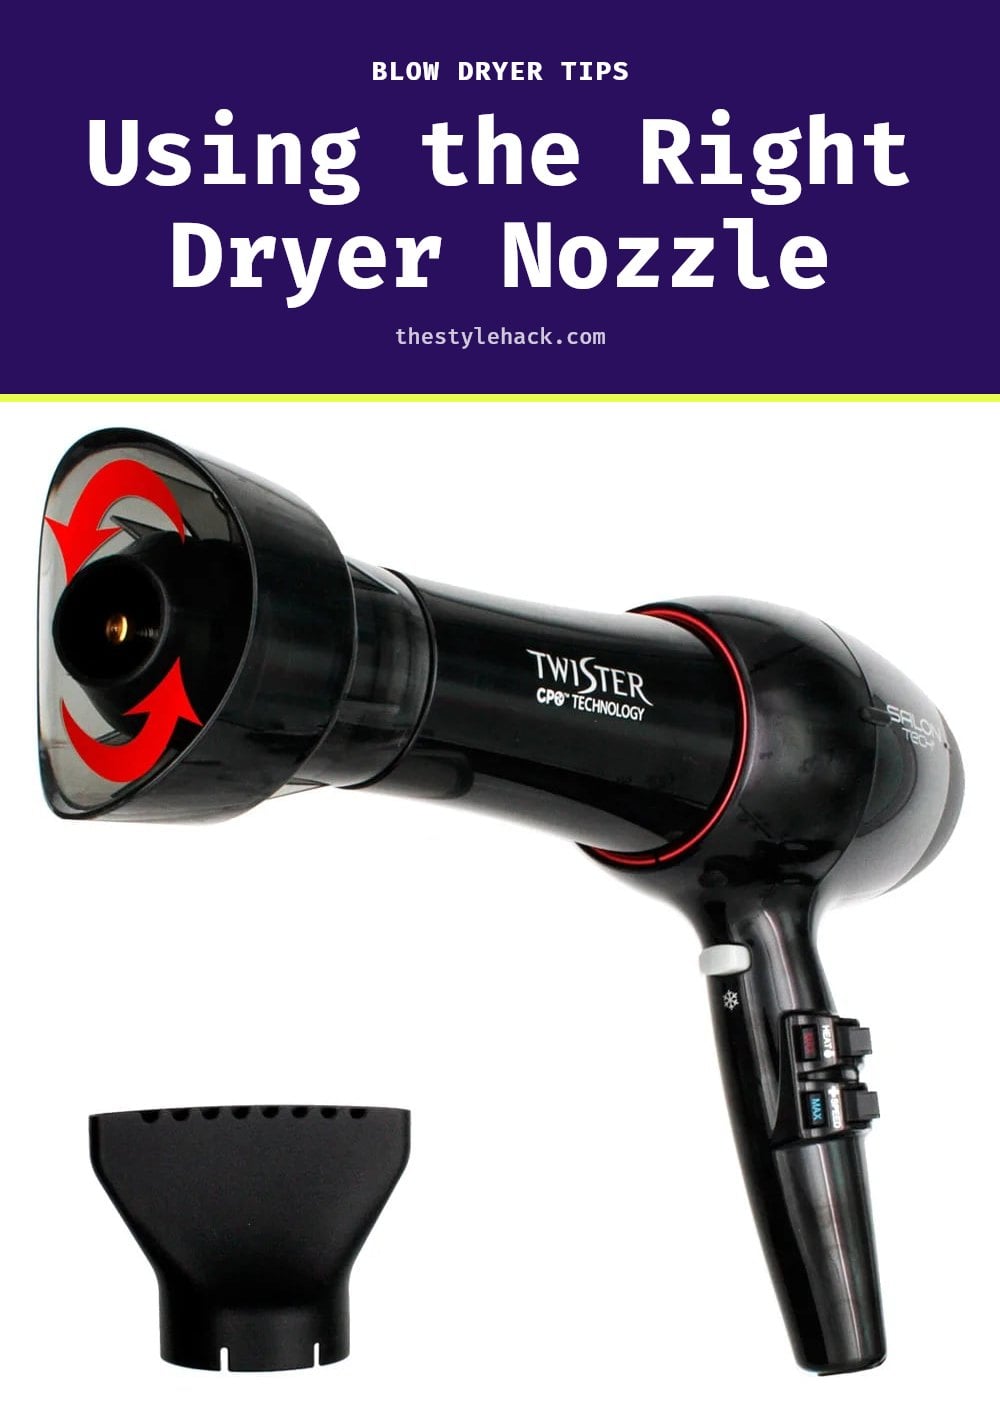
Always attach the concentrator nozzle before you turn the dryer on. That narrow tip focuses the airflow into a precise stream instead of blasting hot air everywhere, which is what causes frizz. Point the nozzle down the hair shaft from roots to ends so the cuticle lies flat and reflects light for a smooth, shiny finish.
Tip: Keep the nozzle parallel to the section you are drying. Angling it sideways can blow strands apart and create flyaways before you have brushed them into place.
6. 5. Master Your Brush Technique
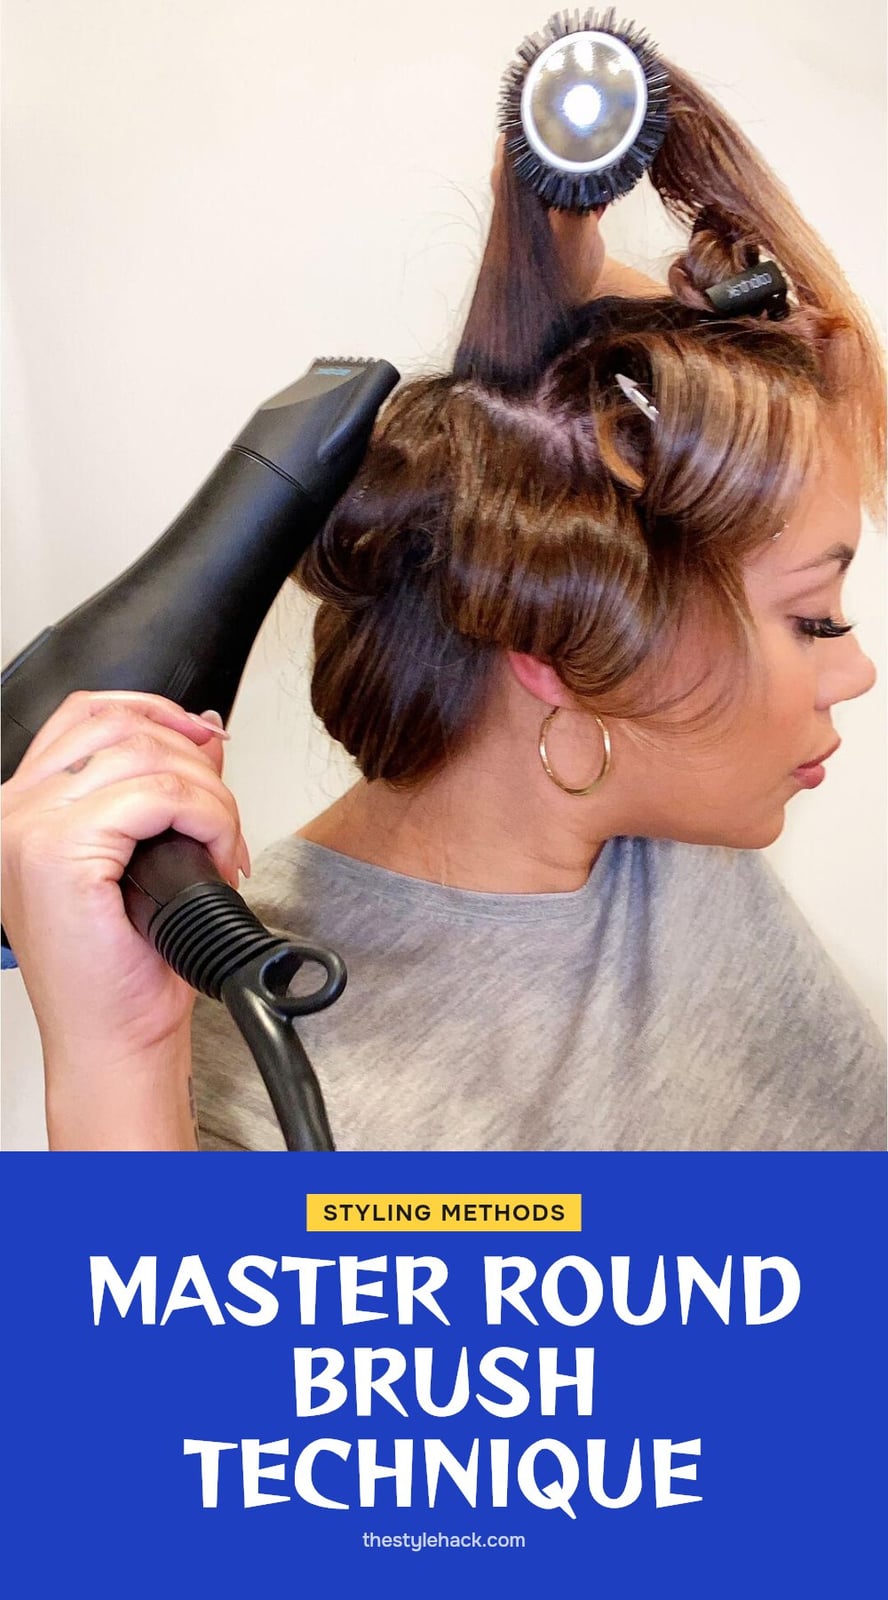
Your brush controls the final shape. For volume at the crown, place a round brush under the roots and lift upward while you aim the dryer at the base. For a sleek, straight finish, wrap the hair around the brush and pull it taut, following with the dryer as you glide down the length. Keep the brush moving continuously so no one spot gets overheated.
My tip: Hold the dryer about 3 to 4 inches from the brush. Any closer and the heat can burn your scalp or damage the hair.
7. 6. Control Heat Settings
Medium heat works for most hair types and still dries quickly. Reserve the high setting only for very thick or coarse hair, and even then use it sparingly. High heat weakens the cuticle over time, which leads to frizz, breakage, and dullness. Choose the lowest temperature that gets the job done.
Good to know: If your hair is fine, damaged, or color-treated, stick with low or medium heat and extend the drying time by a couple of minutes instead of cranking up the temperature.
8. 7. Finish with a Cool Shot
Once a section is completely dry, press the cool shot button and run the dryer over that section one more time. The cold air locks the shape in place and seals the cuticle, which traps shine and prevents humidity from sneaking in later. Do this on every section before you move on.
Pro move: After the final cool shot, hold the section in the brush for 5 seconds before releasing. That extra pause helps the hair hold the curve or bend longer.
9. 8. Avoid Over-Drying Your Hair
Stop drying once your hair is completely dry but not brittle. Over-drying pulls moisture out of the hair shaft, leading to dryness, damage, and a dull finish. You want the hair to feel smooth and cool to the touch, not stiff or hot.
It takes practice to recognize that sweet spot, but you will learn to feel when it is done. Tip: If your hair feels excessively hot or smells burnt, stop immediately and let it cool. That is a clear sign you have gone too far.
10. 9. Add Shine and Frizz Control
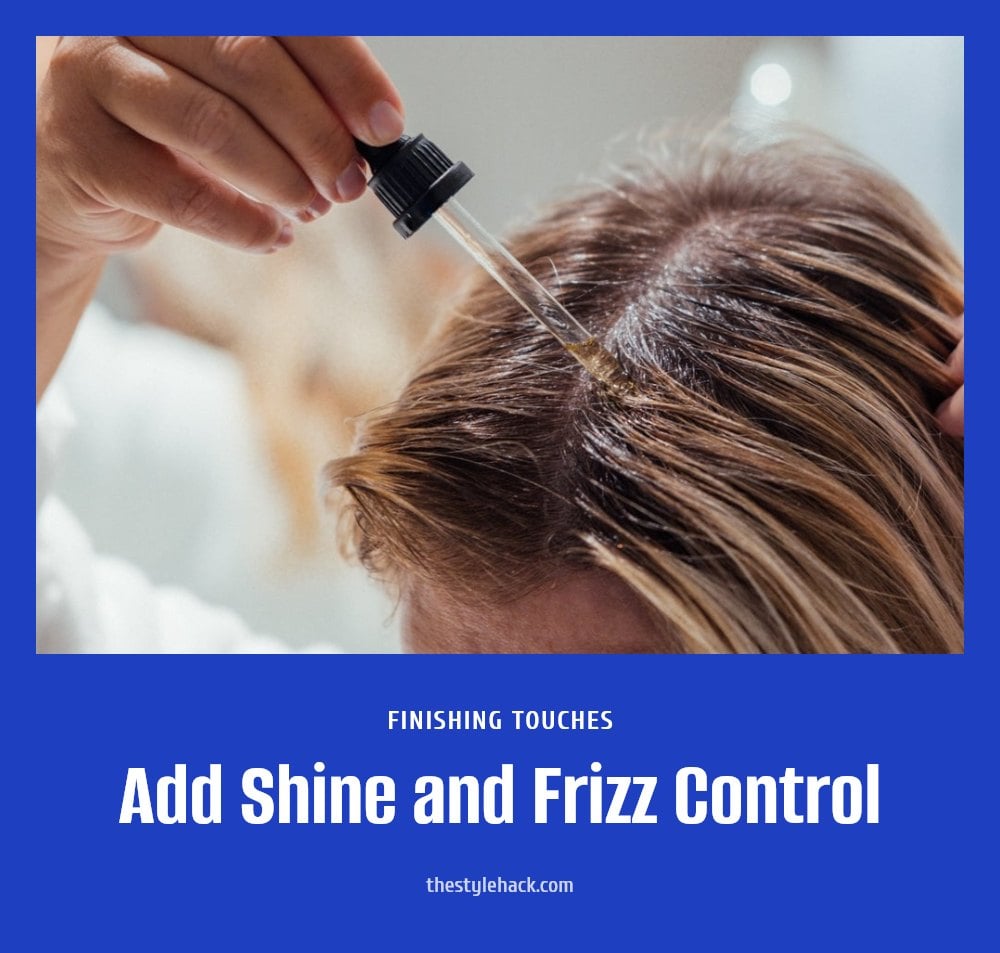
Once you finish drying, rub a drop of hair serum or oil between your palms and smooth it over the mid-lengths and ends. This adds a layer of shine and seals the cuticle, which helps tame flyaways and control frizz.
Avoid the roots, or the oil will make your hair look greasy. Start with a pea-sized amount and add more only if needed. Too much product weighs down the style and kills the volume you just created.
11. 10. Clean Your Dryer Filter
Check the filter on the back of your dryer once a month. Lint and dust build up quickly, and a clogged filter forces the motor to work harder, which can cause the dryer to overheat and even become a fire hazard.
Most filters pop off easily and can be wiped clean with a dry cloth or an old toothbrush. A clean filter keeps the airflow strong, dries your hair faster, and extends the life of the tool.
12. 11. Practice Makes Perfect
Do not expect a perfect blowout on the first try. Smooth, bouncy results come from repeating the steps until your hands learn the motion. Each time you practice, you get better at controlling the angle, the tension, and the heat.
Try different brush sizes and drying techniques to see what suits your hair length and texture. The more you experiment, the more you understand what works. With patience, you will build the muscle memory to style your hair in half the time.
13. Common Blow Drying Mistakes to Avoid
Not using heat protectant: This is a cardinal sin. Always apply a heat protectant to shield your hair from damage. Drying soaking wet hair: Rough dry your hair until it’s 60-80% dry first to minimize heat exposure. Using too high a heat setting: Opt for medium heat and only use high heat sparingly for very thick hair. Not sectioning hair: This leads to uneven drying and makes styling much harder. Sectioning is key for control. Ignoring the cool shot button: The cool shot sets your style and adds shine; don’t skip it. Moving the dryer erratically: Always direct the airflow down the hair shaft with the nozzle to smooth the cuticle and prevent frizz.
14. Frequently Asked Questions
15. How long does it take to blow dry hair?
Blow drying usually takes 10 to 30 minutes, depending on your hair’s length, thickness, and how much you towel dry first. The more moisture you remove before starting, the faster the process will be.
16. Can blow drying damage my hair?
Yes, excessive heat can damage the hair cuticle, leading to frizz and breakage. However, using a heat protectant, choosing medium heat, and avoiding over-drying can greatly reduce the risk. The key is to stop once your hair is dry but not brittle.
17. What’s the best heat setting for blow drying?
Medium heat works well for most hair types. Reserve high heat only for very thick or coarse hair, and use it sparingly. For fine or damaged hair, stick to the lowest heat setting to minimize stress on the strands.
18. How often should I clean my blow dryer filter?
Check the filter on the back of your dryer once a month. Lint and dust can clog it, forcing the motor to work harder and potentially causing the dryer to overheat. Most filters pop off for easy cleaning.
19. Final Thoughts
Blow drying doesn’t have to be a battle. Focus on the basics: heat protection, sectioning, and directing airflow downward. Start with medium heat and a concentrator nozzle, and always finish with a cool shot. Expect to spend about 10 to 30 minutes depending on your hair length and thickness. With consistent practice, you’ll get smoother, bouncier results that last until your next wash.
More Blog ideas
- How to Heal Chapped Lips Overnight with Simple Steps
- Atomic Habits: 5 Lessons to Build Better Habits
- Hyaluronic Acid for Beginners
- How to Build a Gentle Skincare Routine for Sensitive Skin
- Beat Frizzy Hair: Easy Remedies for Smooth, Shiny Strands
- How to Increase Your Daily Drinking Water Intake
- Washing Hair Mistakes to Avoid and What to Do Instead
- Bleaching Hair Tips for Less Damage
- How to Make Your Body Mist Last Longer All Day
- How to Fix Your Skincare Routine
- Nervous System Regulation Tips
- Vagus Nerve Exercises for Stress Relief