Master Nail Shaping: Your Guide to Perfectly Formed Nails
Learn the art of shaping nails with our easy guide. Discover techniques to create beautiful, strong nails and prevent breakage at home.

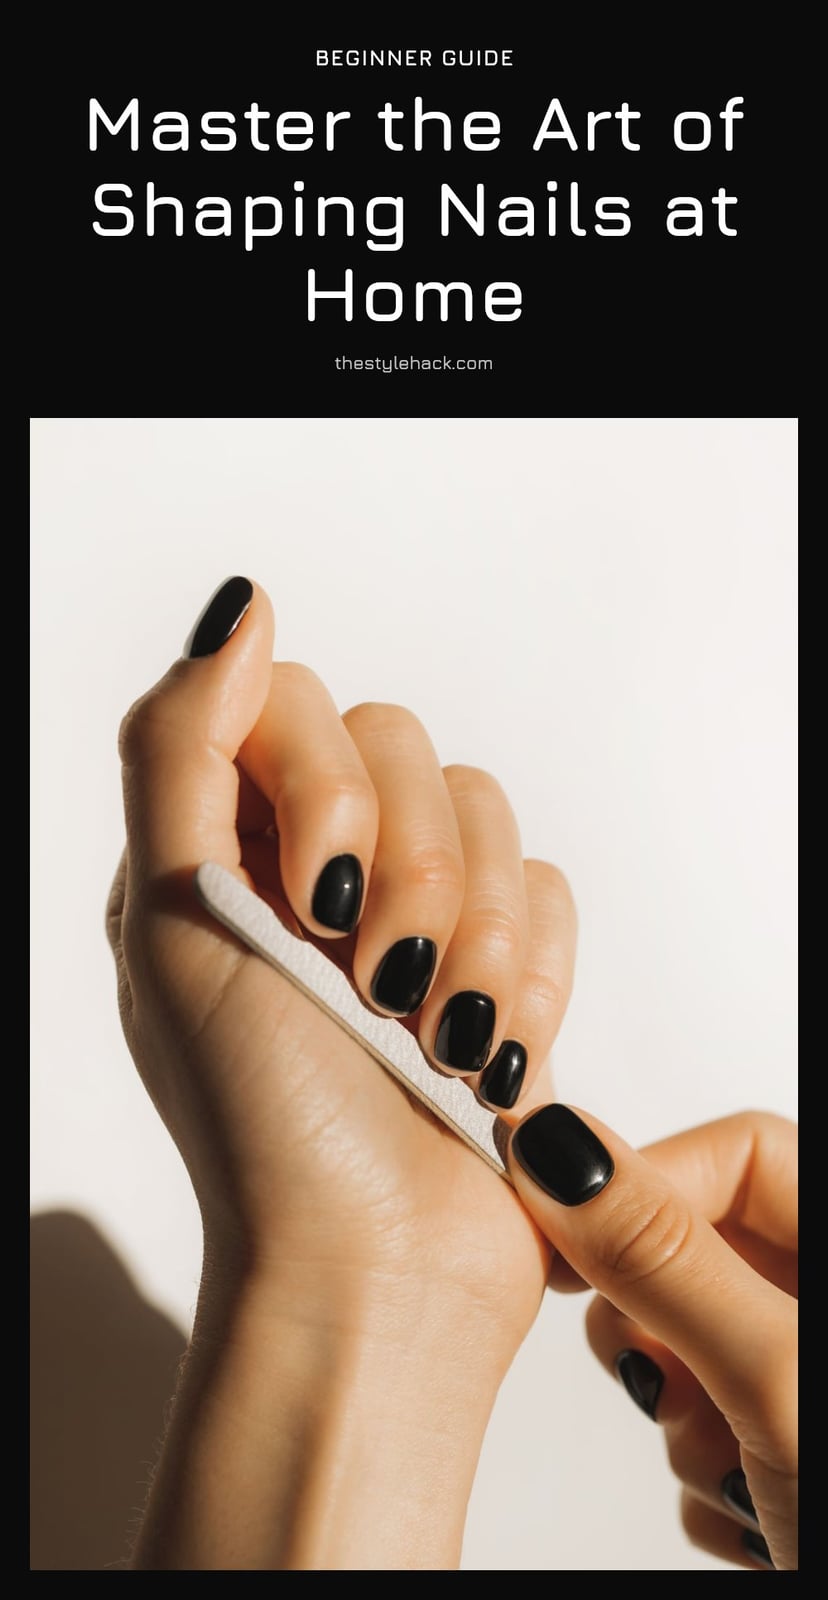
Shaping your nails at home is one of the simplest ways to keep them looking neat and healthy, but it’s easy to get it wrong if you don’t know the basics. The good news is that with the right tools and a few gentle techniques, you can achieve a salon-worthy shape without leaving your bathroom. This article walks you through the essential steps, from picking the perfect shape to filing like a pro, so you can avoid common mistakes and keep your nails strong.
Key Takeaways
- Always file completely dry nails to prevent splitting and peeling.
- Choose a nail file with a grit between 180 and 240 for natural nails.
- File in one direction only, from side to center, lifting with each stroke.
- Shape nails every 1 to 2 weeks to maintain your desired look.
- Finish with cuticle oil and hand cream to lock in moisture.
1. The Secret to Perfectly Shaped Nails
Shaping your nails is about knowing the shapes, using the right tools, and filing gently in one direction. Always file dry nails to avoid splitting and peeling, and choose a grit between 180 and 240 for natural nails. Regular maintenance every 1-2 weeks plus moisturizing keeps nails strong and healthy.
2. 1. Start with Dry Nails
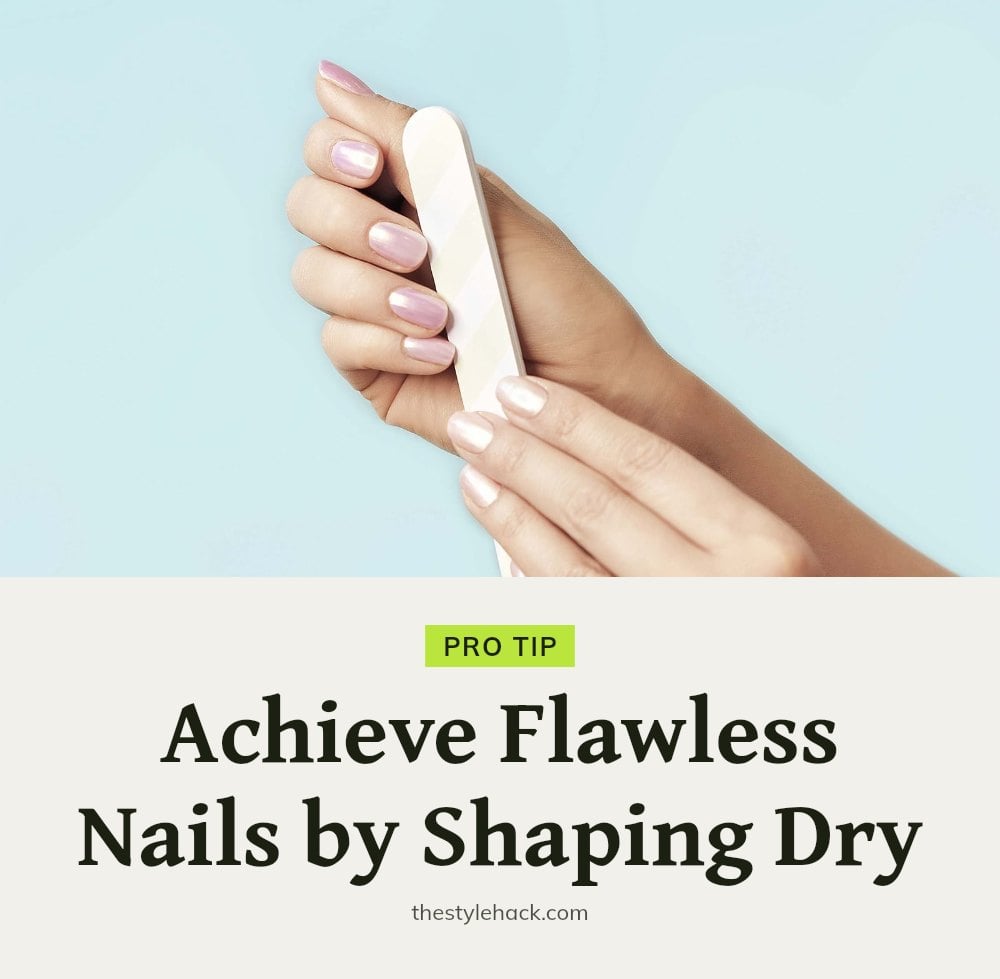
Make sure your nails are completely dry before you start filing. Wet nails are weaker and more prone to splitting and peeling, which can undo all your hard work.
My tip: Give your nails at least 30 minutes to dry after washing or showering before you pick up your file.
3. 2. Choose the Right Nail File
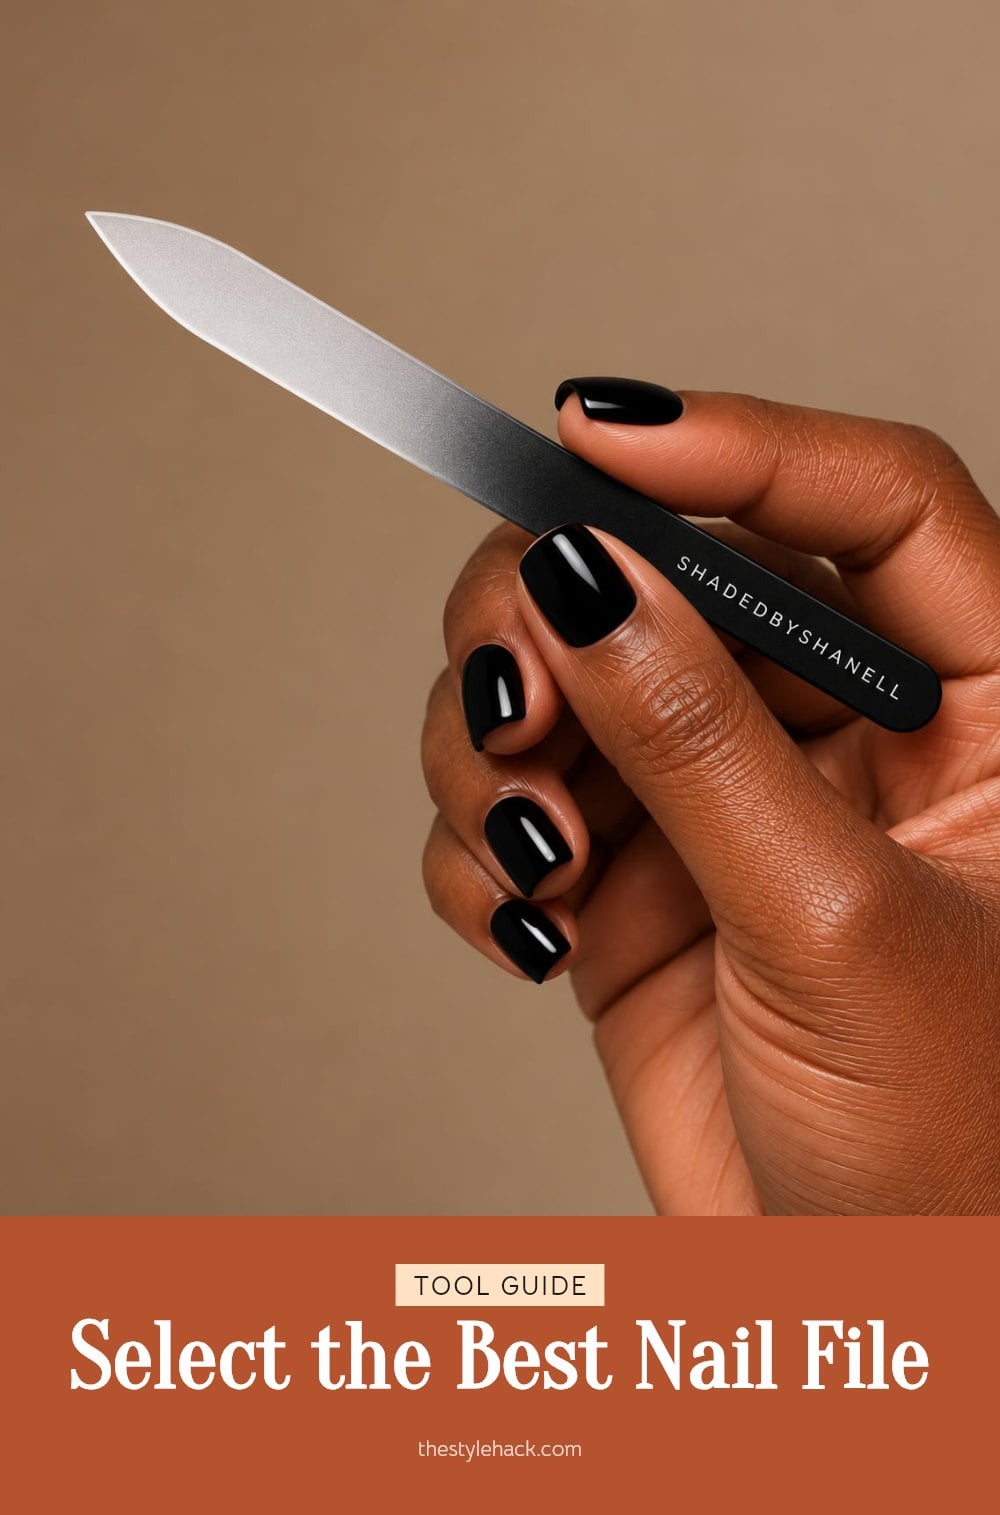
For natural nails, choose a file with a grit between 180 and 240. The coarse side (lower grit number) is great for initial shaping and removing length, while the finer side (higher grit number) is perfect for smoothing the edges.
Avoid metal files, as I’ve found they can be too harsh and cause damage to natural nails, leading to fraying.
4. 3. Pick Your Ideal Nail Shape
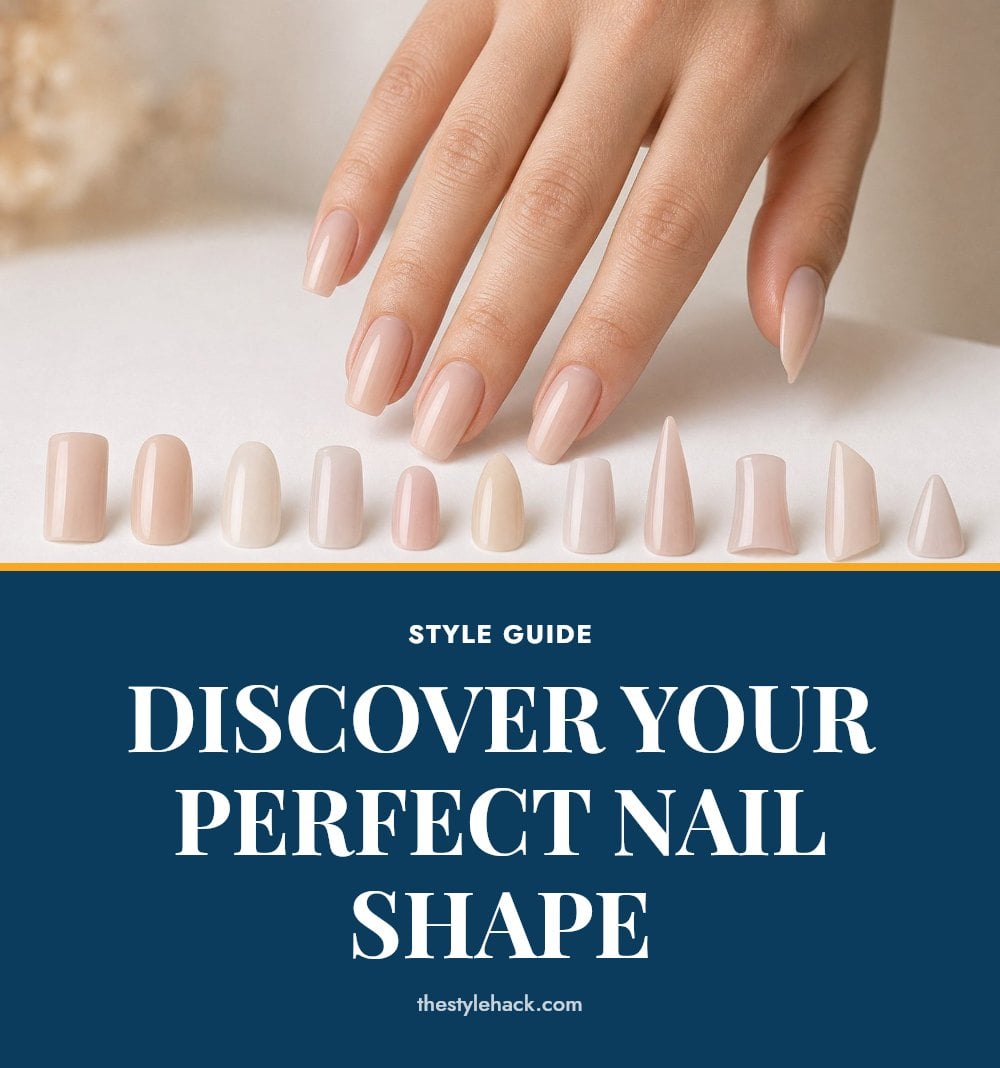
Before you even touch a file, decide on the shape you want: round, oval, square, squoval, almond, or coffin. Consider your natural nail bed and finger length; some shapes naturally complement different hands better.
My tip: Longer nails offer more versatility for shapes like almond or coffin, while round or oval are great for shorter nails.
5. 4. File in One Direction Only
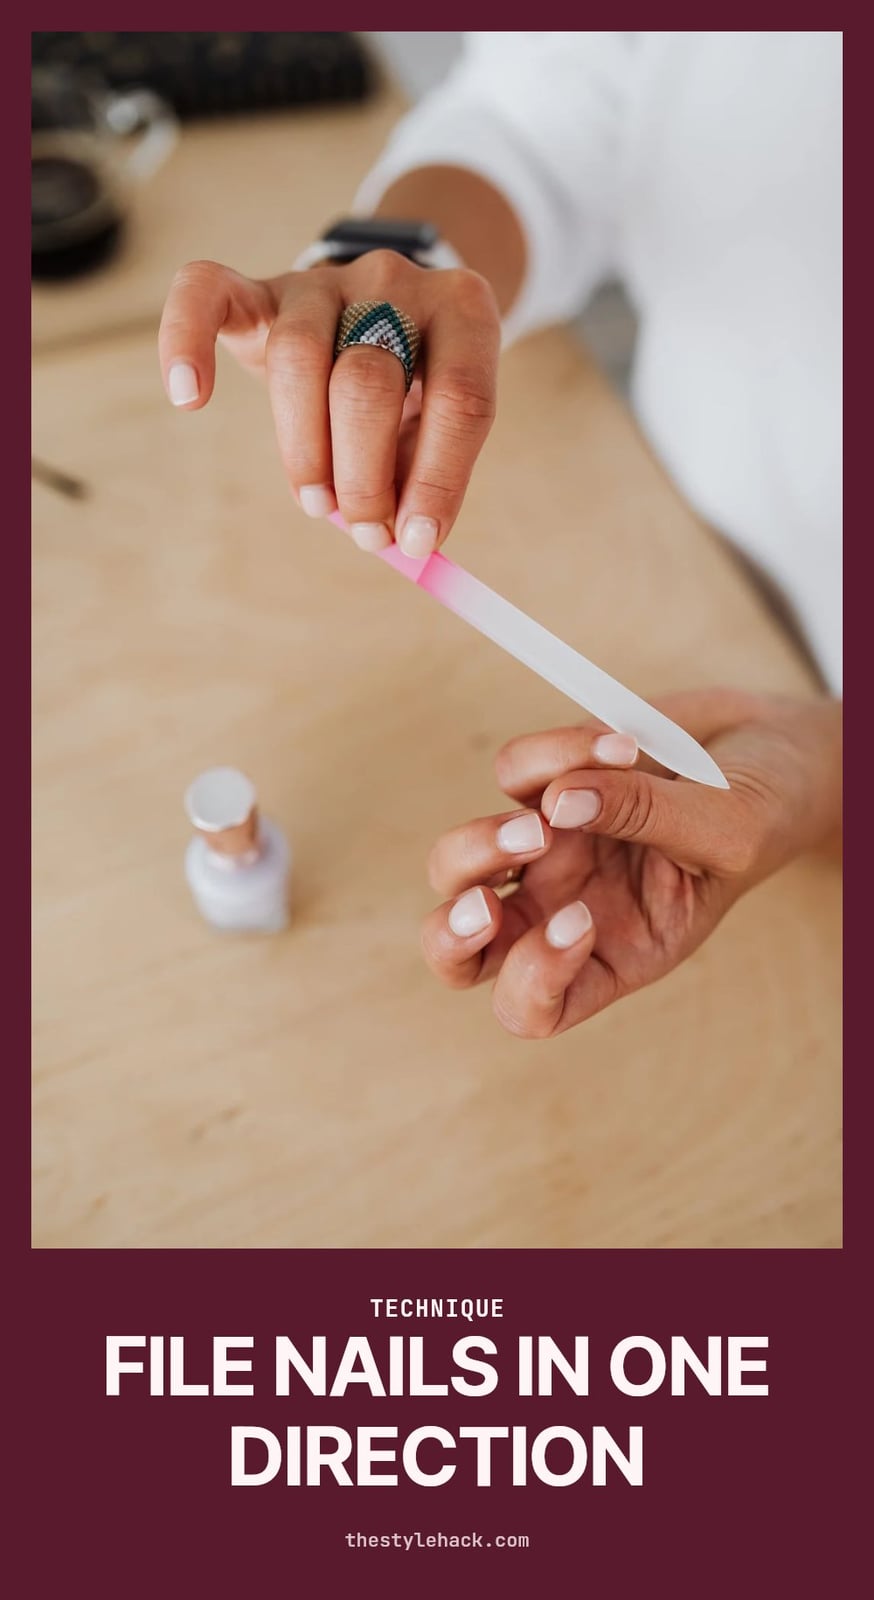
Always file your nails in one gentle, consistent direction. A back-and-forth sawing motion frays the nail edge, causing splitting and peeling that weakens the nail over time. Start from the side of the nail and file toward the center, lifting the file with each stroke so you never drag it backward.
6. 5. Shape the Sides First
Begin by gently filing the sides of your nail to create the initial angle or curve. Be careful not to file too deeply into the sides, as this can weaken the nail and make it prone to breakage. Once the sides are established, move to shaping the free edge, which is the tip of your nail.
7. 6. Use Nail Clippers for Length
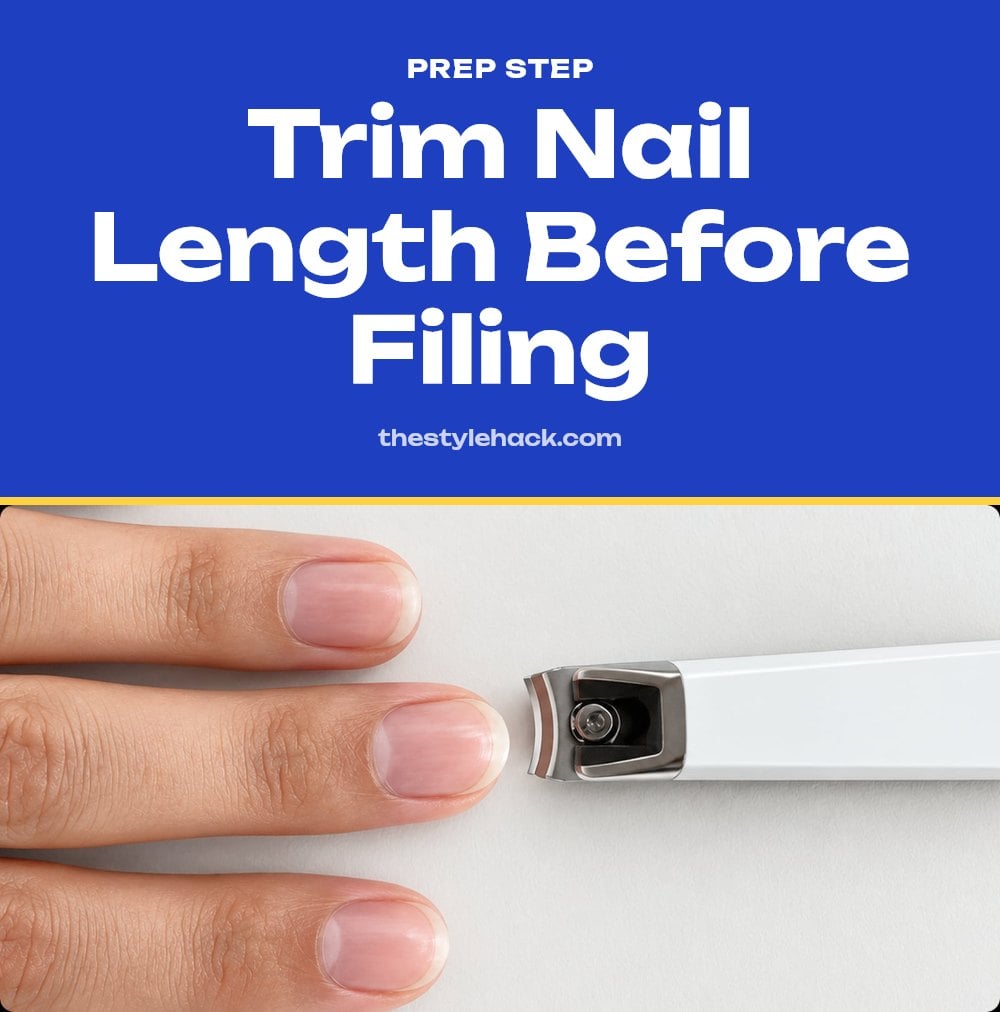
If your nails are significantly long, use nail clippers to reduce the length before filing. Clipping first makes the filing process much quicker and prevents over-filing. Tip: Clip straight across, leaving a little length to file down to your desired shape.
8. 7. Gently Push Back Cuticles
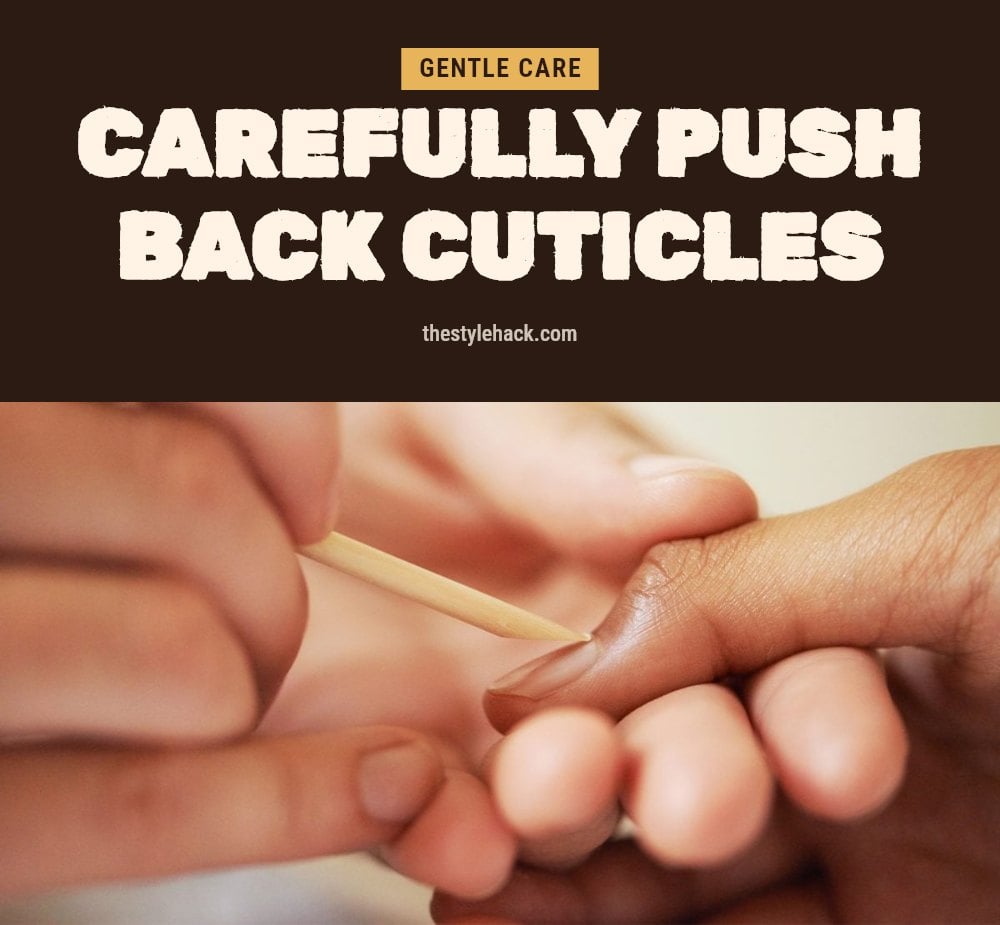
Before shaping, gently push back your cuticles using a cuticle pusher. This creates a cleaner look and can make your nail bed appear longer, giving you more surface area to work with. Always be gentle; never cut or aggressively push back your cuticles, as this can lead to infection.
9. 8. Smooth with a Finer Grit
Once the shape is right, switch to the finer grit side of your file. Run it lightly along the free edge and corners to remove any roughness left by the coarser side.
This smoothing pass prevents snags and keeps the edge from catching on fabric or hair. A smooth edge is also less likely to peel or break later.
10. 9. Don’t Ignore Hangnails
If you spot a hangnail, trim it carefully with cuticle nippers instead of pulling or tearing it. Pulling can rip the skin further and open the door to infection.
My tip: always use clean, sharp nippers for a precise cut. Dull blades crush the skin, which makes healing slower and increases the risk of a jagged edge.
11. 10. Moisturize Your Nails and Cuticles
Finish your shaping session by applying cuticle oil to each nail and the surrounding skin. Massage it in for a few seconds, then follow up with a hand cream to lock in the moisture.
This hydrates the nail plate and cuticles, which keeps them flexible and less prone to cracking. Regular oiling also gives your nails a healthier, more polished appearance between manicures.
12. 11. Maintain Regularly
Plan to shape and file your nails every 1 to 2 weeks, or whenever you notice snags or uneven edges. Keeping up with this schedule prevents nails from growing too long and makes each session faster.
Consistency matters more than perfection. Regular maintenance keeps the nail edges smooth and the shape intact, so you avoid the need for aggressive filing later.
13. Common Nail Shaping Mistakes to Avoid
Even with the best technique, a few common mistakes can undo your progress. Filing wet nails is the top offender, since damp nails are weaker and more likely to split or peel. Always wait until your nails are completely dry before you pick up the file.
Another habit to break is the back-and-forth sawing motion. It frays the nail edge, so file gently in one direction only, from the side toward the center. Over-filing the sides is just as damaging: going too deep into the sides weakens the nail structure and makes breakage more likely. Keep the file angled and stop once you reach the desired curve.
Using a file that’s too coarse can also harm natural nails. Stick to a 180-240 grit file, and save lower grits for artificial nails or heavy length removal. Finally, don’t skip moisturizing after you shape. Apply cuticle oil and hand cream to hydrate the nail plate and surrounding skin, which keeps everything flexible and less prone to cracking.
14. Frequently Asked Questions
15. How often should I shape my nails?
You should shape and file your nails every 1 to 2 weeks, or whenever you notice snags or uneven edges. Keeping to this schedule prevents nails from growing too long and makes each session quicker. If you’re active or your nails grow fast, you might need to file a little more often, but avoid over-filing to keep them strong.
16. Can I shape my nails with a metal file?
It’s best to avoid metal files on natural nails because they can be too harsh and cause damage, such as peeling or weakening the nail. Instead, choose an emery board or a glass file with a grit between 180 and 240. These are gentler and give you more control, reducing the risk of splitting.
17. What is the best nail shape for short fingers?
For short fingers, oval or almond shapes can create an elongating effect, making your fingers appear longer. These shapes draw the eye upward and soften the look. Round or squoval shapes are also good choices if you prefer a more practical, low-maintenance style. Avoid very square or coffin shapes, as they can make fingers look shorter.
18. Why do my nails keep splitting after filing?
Splitting after filing often happens because you’re filing wet nails or using a back-and-forth sawing motion. Both weaken the nail edge. Make sure your nails are completely dry, file in one direction only, and use a fine-grit file for smoothing. Also, moisturize your nails and cuticles after shaping to keep them flexible and less prone to splitting.
19. Final Thoughts
Mastering nail shaping comes down to a few simple habits: start with dry nails, pick the right file, and always file in one gentle direction. Choose a shape that complements your natural nail bed and finger length, and don’t forget to moisturize after each session. With regular maintenance every 1 to 2 weeks, you’ll keep your nails looking polished and reduce the risk of breakage. Consistency is key, so make it a small part of your routine and enjoy the results.
More Blog ideas
- How to Heal Chapped Lips Overnight with Simple Steps
- Atomic Habits: 5 Lessons to Build Better Habits
- Hyaluronic Acid for Beginners
- How to Build a Gentle Skincare Routine for Sensitive Skin
- Beat Frizzy Hair: Easy Remedies for Smooth, Shiny Strands
- How to Increase Your Daily Drinking Water Intake
- Washing Hair Mistakes to Avoid and What to Do Instead
- Bleaching Hair Tips for Less Damage
- How to Make Your Body Mist Last Longer All Day
- How to Fix Your Skincare Routine
- Nervous System Regulation Tips
- Vagus Nerve Exercises for Stress Relief