How to Make Your Own Relaxing Bath Salts at Home
Learn how to easily make your own relaxing bath salts at home with natural ingredients, avoiding harsh chemicals and customizing scents for your perfect soak.

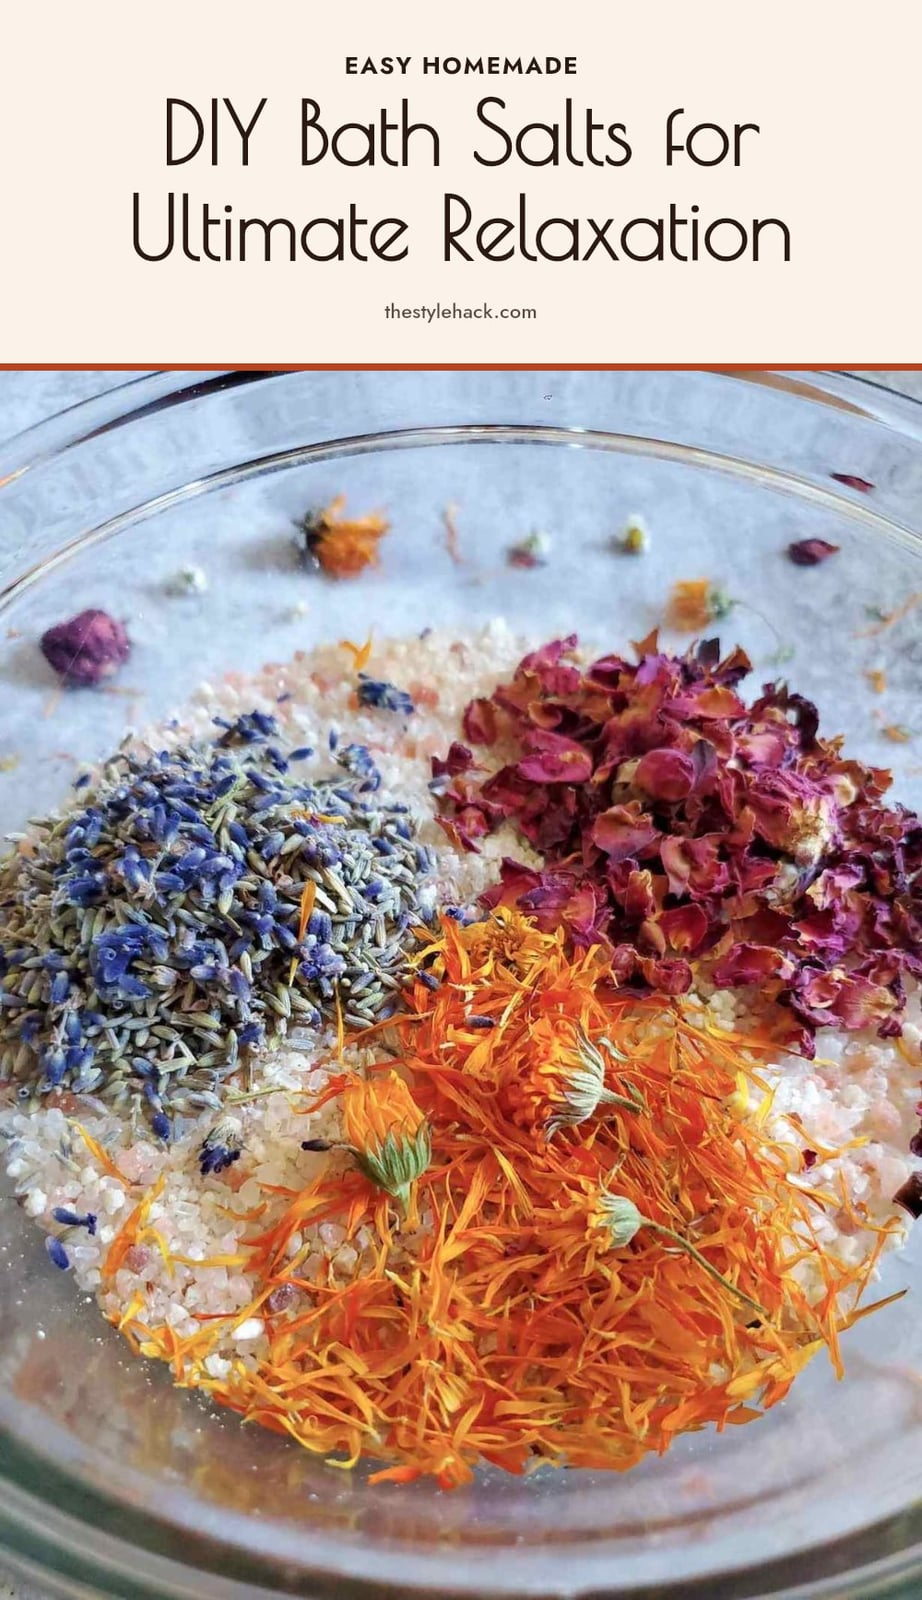
Making your own bath salts at home lets you skip the synthetic fragrances and harsh chemicals found in many store-bought options. You control exactly what goes into your soak, from the type of salt to the essential oils you choose. This article covers the simple ingredients, step-by-step process, and common mistakes to avoid so you can create a custom blend that helps you unwind.
Key Takeaways
- Use a base of Epsom salt or sea salt, then add 5-10 drops of essential oil per cup.
- Store finished bath salts in an airtight container in a cool, dark place to preserve scent.
- Allow salts to sit for 24 hours before using to let the scents meld and deepen.
- Do not use food coloring or synthetic fragrance oils, as they can irritate skin or stain your tub.
- Use 1/2 to 1 cup of bath salts per warm bath for the best relaxation experience.
1. Make Your Own Bath Salts for a Custom Relaxing Soak
Homemade bath salts are one of the easiest DIY projects you can try. You only need a base like Epsom salt or sea salt, then you add your favorite essential oils for scent. Toss in natural colorants or dried herbs for a pretty look. The best part is total control over what goes in, so you skip synthetic fragrances and harsh chemicals entirely.
2. Essential Ingredients for DIY Bath Salts
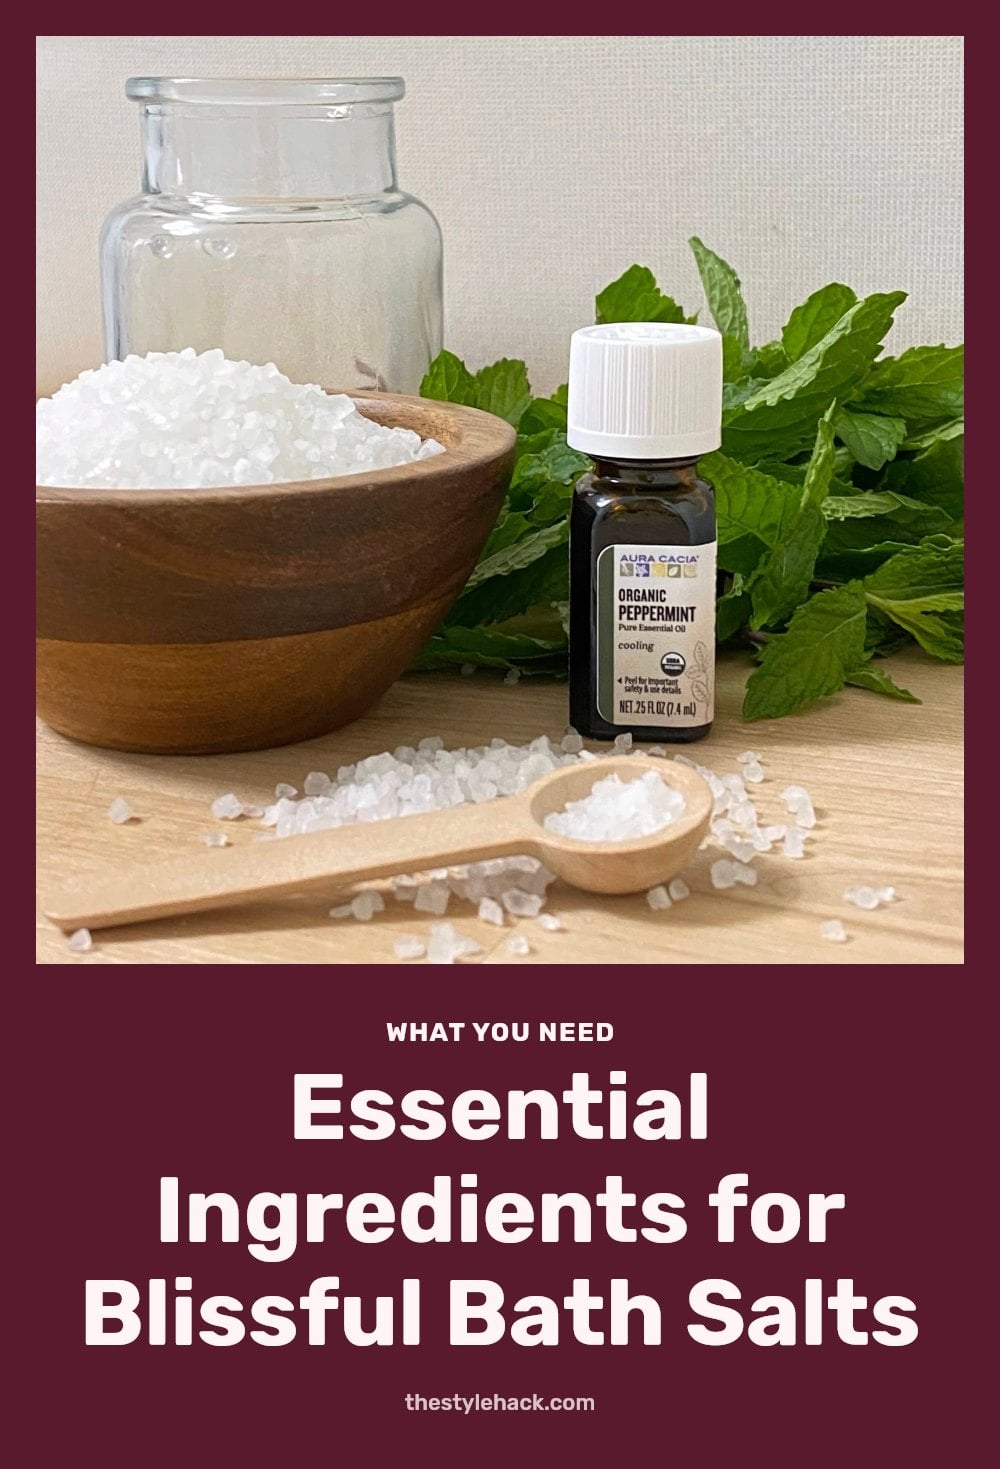
Here is what you need to get started.
- Base salt: Epsom salt (magnesium sulfate) for muscle relaxation or sea salt like Dead Sea salt for mineral richness.
- Essential oils: Lavender, chamomile, or frankincense for fragrance and therapeutic benefits.
- Carrier oil (optional): Jojoba or almond oil to help disperse essential oils and moisturize skin.
- Natural colorants (optional): Cosmetic-grade mica, beet powder, or spirulina for tint without staining.
- Dried botanicals (optional): Rose petals or lavender buds for visual appeal and a subtle scent.
- Airtight container: Glass jars or metal tins for storage.
3. Step-by-Step: Crafting Your Perfect Bath Salts
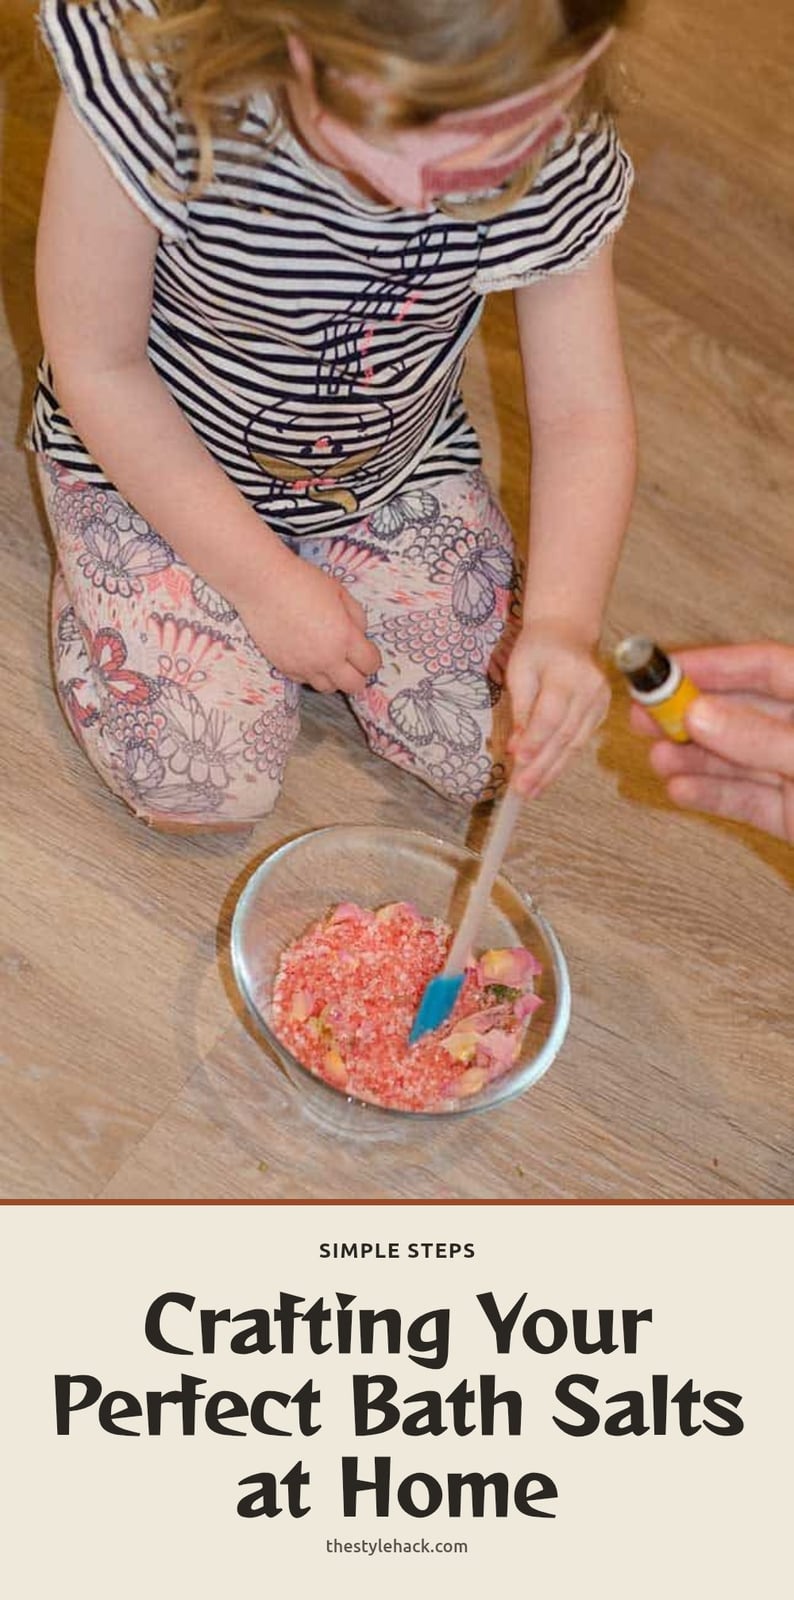
Follow these steps to make a batch.
- Measure your base salt: Pour one cup of Epsom salt or sea salt into a mixing bowl. This is your foundation.
- Add essential oils: Start with 5 to 10 drops per cup of salt. Stir with a dry spoon, then smell. Add more drops if you want a stronger scent, but go slowly to avoid irritation.
- Mix in carrier oil (optional): Add 1 to 2 teaspoons of jojoba or almond oil. This helps the essential oils blend evenly and leaves your skin soft.
- Incorporate colorants or botanicals: Sprinkle in a pinch of cosmetic mica or dried lavender buds. Stir until the color is even.
- Blend thoroughly: Mix everything for a full minute so no clumps remain. Uneven mixing can cause concentrated spots of essential oil.
- Transfer to an airtight container: Pour the finished salts into a jar or tin and seal it. They are ready to use right away, but letting them sit for 24 hours lets the scents meld and deepen.
4. Pro Tips for Amazing Homemade Bath Salts
A few tips will make your bath salts even better.
- Use pure essential oils: High-quality oils give the best scent and are safer for your skin. Avoid synthetic fragrance oils.
- Start with less oil: Begin with 5 drops per cup of salt. You can always add more, but you cannot take it out.
- Store properly: Keep the container in a cool, dark place. Light and heat make the scent fade, and moisture causes clumping.
- Try a gentle fizz: Add one tablespoon of baking soda and one tablespoon of citric acid per cup of salt. This creates a soft bubble effect like a bath bomb.
- My tip: A tiny splash of jojoba or almond oil makes a huge difference in how the essential oils disperse and how your skin feels afterward.
5. Common Mistakes to Avoid When Making Bath Salts
Too Much Essential Oil: Adding too many drops can overwhelm your bath, irritate skin, and waste expensive oils. Start with 5-10 drops per cup of salt and add more only if needed.
Not Mixing Thoroughly: If you don’t stir well, some areas will have concentrated oil while others have none. Use a spoon or whisk until the color and scent are even throughout.
Using Non-Cosmetic Colorants: Food coloring can leave stubborn stains on your tub. Stick with cosmetic-grade mica, beet powder, or spirulina for safe, vibrant tints.
Improper Storage: An open container lets moisture in, causing clumps and fading aroma. Transfer salts to an airtight jar and keep it in a cool, dark place.
Adding Fresh Botanicals: Fresh herbs or flowers can mold or rot inside the jar, ruining the whole batch. Use only dried petals or buds for long-lasting appeal.
6. How Long It Takes and What to Expect for Cost
Preparation Time: A single batch takes about 10-15 minutes from measuring to sealing. No heating or special equipment needed.
Curing Time: You can use the salts right away, but letting them sit for 24 hours allows the essential oils to meld and deepen the scent.
Frequency of Use: Enjoy bath salts as often as you like, though 2-3 times per week is a popular rhythm for relaxation without overdoing it.
Cost Tiers: Homemade salts are generally more budget-friendly than store-bought options, especially if you already have essential oils. Your main expenses are the base salt and oils, which vary by quality and type.
7. When to Consult a Doctor About Bath Salts
If you have sensitive skin, do a patch test with your essential oil blend before using bath salts in a full bath. Apply a small diluted drop to your inner arm and wait 24 hours.
If you are pregnant, breastfeeding, or have an underlying health condition, check with your doctor before using essential oils or bath salts. Some oils are not recommended during pregnancy.
Stop using the salts immediately if you notice any redness, itching, or discomfort. For open wounds, severe skin conditions, or any health concerns, speak with a medical professional first.
8. Frequently Asked Questions
9. What kind of salt is best for bath salts?
Epsom salt is a common choice because of its muscle-relaxing magnesium sulfate content. Sea salt, especially Dead Sea salt, is another popular option for its mineral richness. You can also mix both for a balanced soak.
10. Can I use food coloring in my bath salts?
No, food coloring is not recommended. It can stain your bathtub and your skin. Instead, use natural colorants like beet powder, spirulina, or cosmetic-grade mica to tint your bath salts safely.
11. How long do homemade bath salts last?
When stored in an airtight container in a cool, dark place, homemade bath salts can stay fresh for up to six months. Over time, the scent may fade, but the salts remain effective for relaxing soaks.
12. Can I use fresh flowers or herbs in bath salts?
Fresh flowers or herbs are not recommended because they can introduce moisture, leading to mold or rot during storage. Stick with dried herbs or flower petals, such as lavender buds or rose petals, for visual appeal and a subtle scent.
13. Is it safe to use bath salts every day?
Using bath salts daily is generally safe for most people, but it depends on your skin type and the ingredients you use. If you have sensitive skin or use essential oils, consider limiting soaks to a few times a week to avoid irritation. Always rinse your skin after the bath and moisturize.
14. Final Thoughts
For a reliable starting point, try one cup of Epsom salt with 8 drops of lavender essential oil and a teaspoon of jojoba oil. Expect the salts to be ready for use right away, though the scent will deepen after sitting for a day. Homemade bath salts are a quick, affordable way to turn your bath into a personal spa moment.
This article is for informational purposes only and is not a substitute for professional medical advice. Always consult a doctor or dermatologist before using new products, especially if you are pregnant, have sensitive skin, or have a medical condition. Discontinue use if irritation occurs.
More Blog ideas
- How to Heal Chapped Lips Overnight with Simple Steps
- Atomic Habits: 5 Lessons to Build Better Habits
- Hyaluronic Acid for Beginners
- How to Build a Gentle Skincare Routine for Sensitive Skin
- Beat Frizzy Hair: Easy Remedies for Smooth, Shiny Strands
- How to Increase Your Daily Drinking Water Intake
- Washing Hair Mistakes to Avoid and What to Do Instead
- Bleaching Hair Tips for Less Damage
- How to Make Your Body Mist Last Longer All Day
- How to Fix Your Skincare Routine
- Nervous System Regulation Tips
- Vagus Nerve Exercises for Stress Relief