Planks for Beginners: How to Hold Longer and Best Variations
Master the plank with our guide for beginners. Learn proper form, how to hold longer, and discover effective variations to strengthen your core.

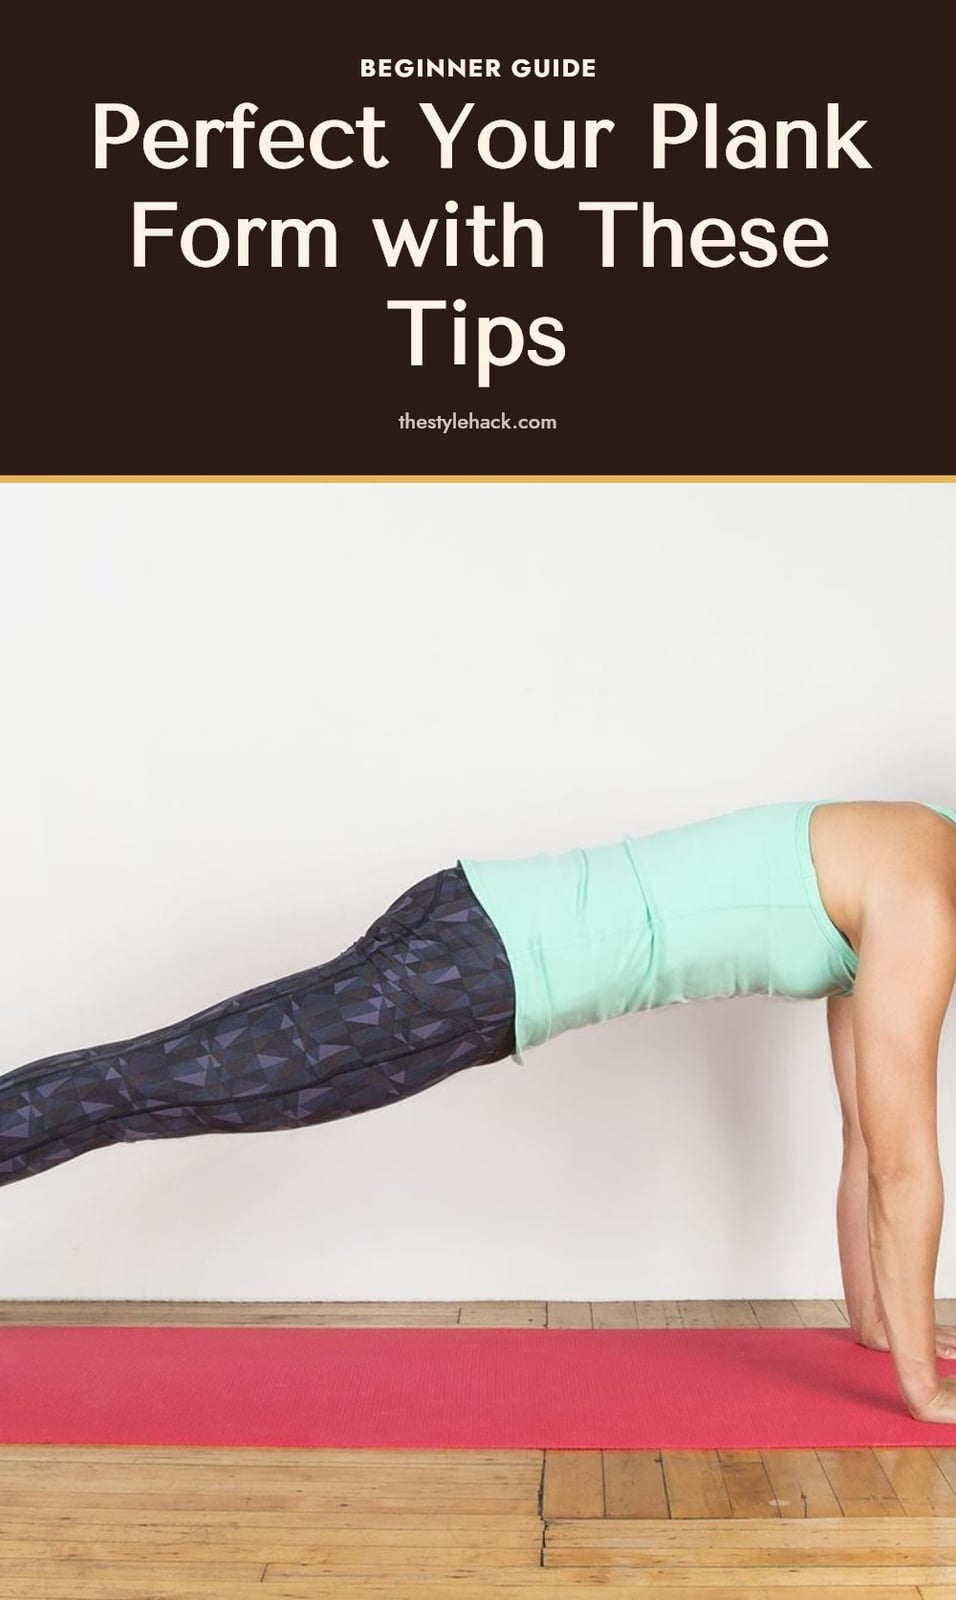
You know that feeling when your core starts shaking and you’re counting every second? That’s the plank doing its job. It’s one of the most effective exercises for building core strength, improving posture, and engaging your whole body, without any equipment. In this article, I’ll walk you through proper form, common mistakes to avoid, and the best variations so you can hold longer and get stronger.
Key Takeaways
- Keep your body in a straight line from head to heels to avoid injury and maximize core engagement.
- Start with 20-30 second holds and gradually increase duration as your strength improves.
- Breathe steadily throughout the hold; holding your breath can increase blood pressure.
- Practice 2-3 sets of planks 3-5 times per week for consistent progress.
- Use knee planks or elevated planks to make the exercise more accessible as a beginner.
1. What Are Planks and Why Are They So Effective?
Planks are an isometric exercise that builds core strength and stability. Unlike crunches or sit-ups, your muscles contract without changing length, which makes planks highly effective for endurance and posture. They also engage your shoulders, glutes, and legs as secondary muscles. Proper form is the key to getting the most out of every second and avoiding injury.
2. Gear Up: What You Need for Your Plank Practice
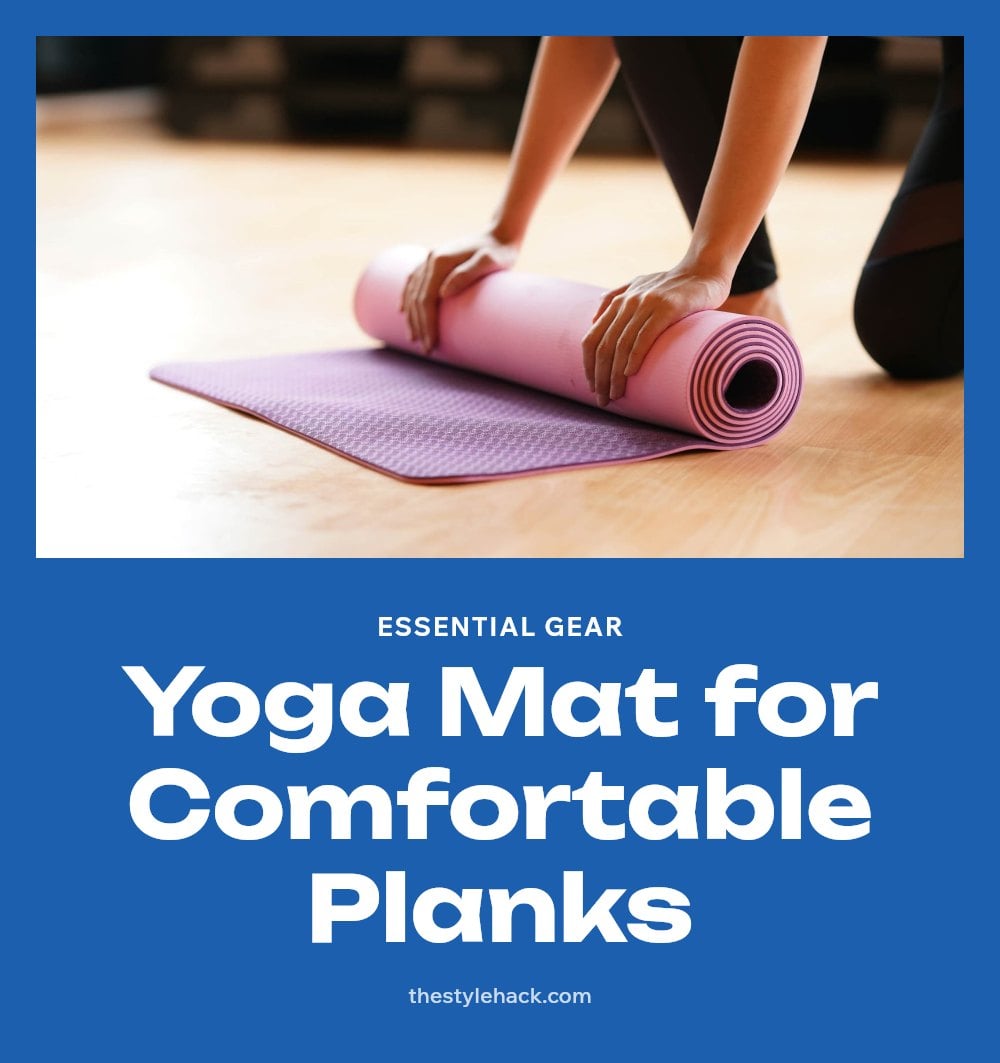
You only need one thing: an exercise mat. It provides cushioning for your elbows and forearms, making the hold more comfortable. No dumbbells, bands, or machines required, so you can plank in your living room, hotel room, or backyard.
- Mat: Adds comfort and grip.
- Optional: A towel if you’re on a hard floor.
3. Step-by-Step: Mastering the Basic Plank Form
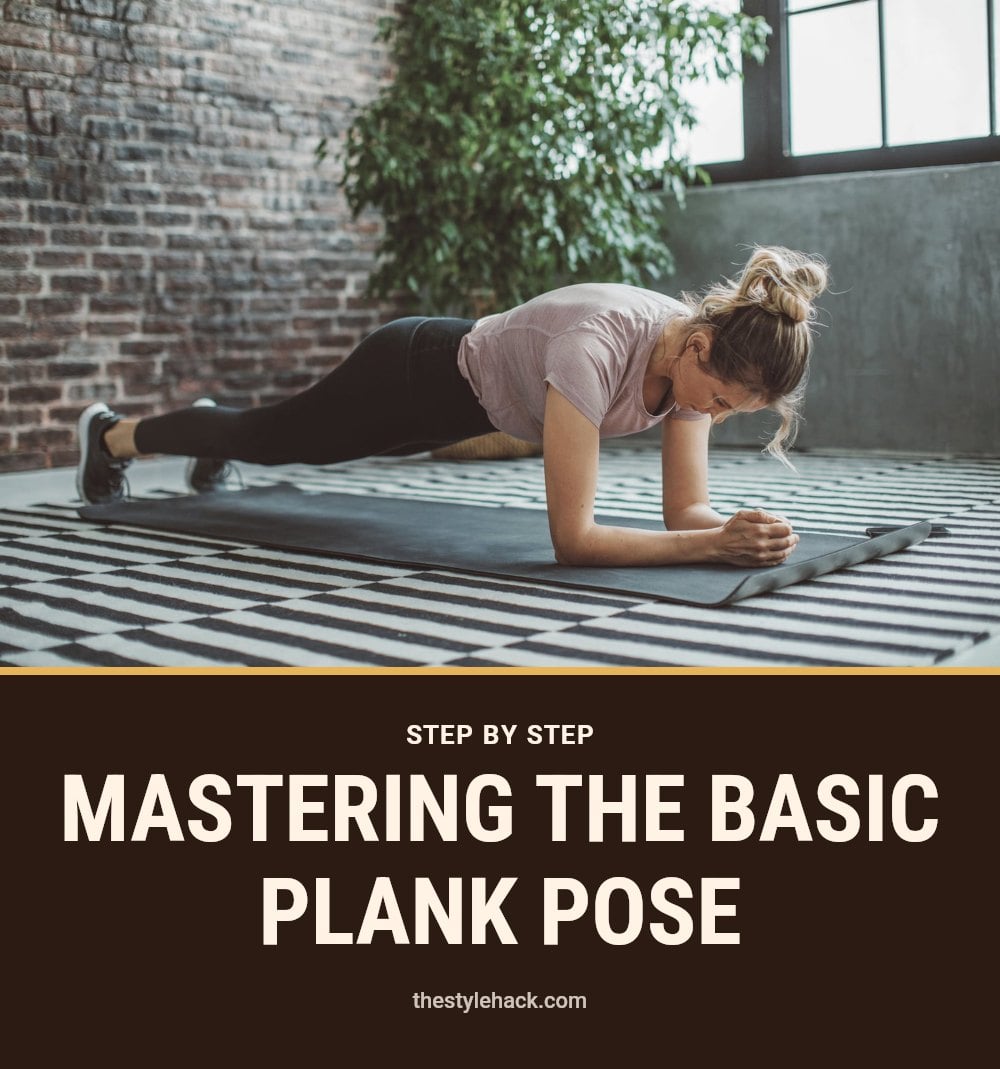
Mastering the basic plank comes down to alignment and engagement. Here’s how I break it down.
- Set up: Start on all fours, then lower onto your forearms. Place your elbows directly under your shoulders, forearms parallel, palms flat or fists together.
- Extend your legs: Step your feet back one at a time, toes tucked under. Your body should form a straight line from head to heels.
- Engage your core: Draw your belly button toward your spine. Squeeze your glutes and quads to keep your hips from sagging or rising.
- Position your neck: Gaze at the floor about a foot in front of you. Keep your neck long and neutral, aligned with your spine.
- Breathe: Inhale and exhale steadily through your nose or mouth. Don’t hold your breath, it increases tension and makes the hold harder.
My tip: start with 20-30 second holds and focus on feeling every muscle working. If your form starts to break, drop to your knees or end the set.
4. Common Plank Mistakes and How to Fix Them
Even small form slips can reduce the benefits and strain your body. Here are the most common mistakes and quick fixes.
- Sagging hips: This puts pressure on your lower back. Lift your hips until they align with your shoulders.
- Raised glutes: A mountain shape means your core isn’t working. Lower your hips to create a straight line.
- Holding your breath: This raises tension. Focus on steady, deep breathing throughout the hold.
- Straining your neck: Looking forward pulls your neck out of alignment. Keep your gaze at the floor.
- Rounded shoulders: Letting them creep to your ears reduces stability. Draw your shoulder blades down and back.
- Sacrificing form for time: A 30-second perfect plank beats a 60-second sloppy one. End the set when your form breaks.
5. Plank Variations: Make It Easier or More Challenging
6. Plank Variations: Make It Easier or More Challenging
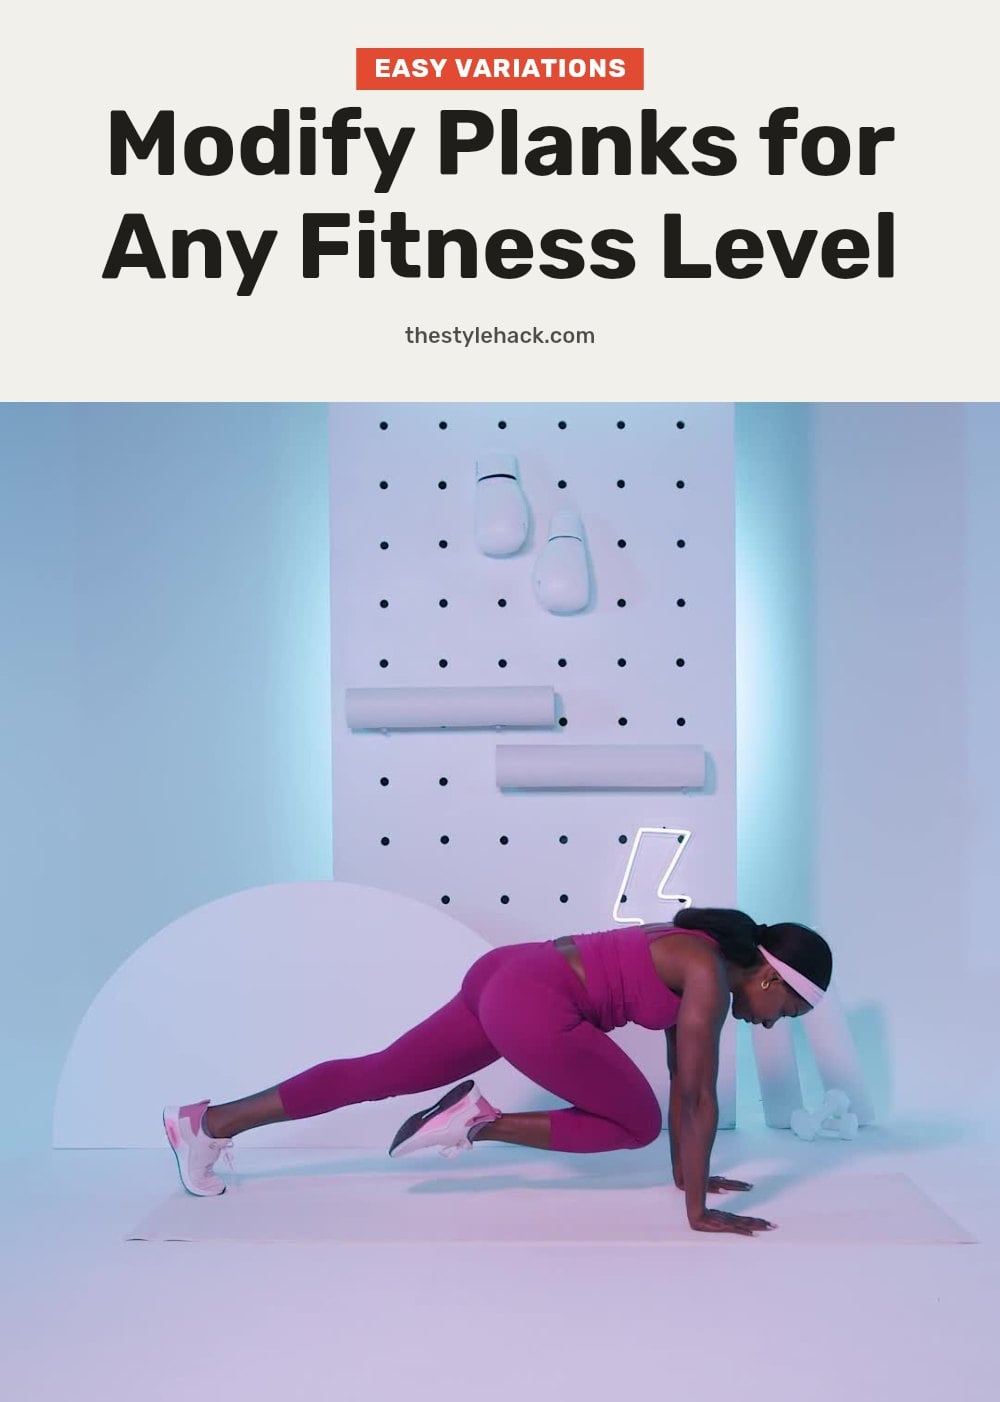
Once you have the basic form down, you can adjust the difficulty. Here are my go-to variations, from easiest to most demanding.
Knee plank: Drop your knees to the mat while keeping your torso and hips in a straight line. This reduces the body weight your core has to support, making it ideal for beginners or anyone rebuilding strength.
Elevated plank: Place your forearms on a sturdy bench, chair, or step instead of the floor. The higher the surface, the less load on your core. It is a great stepping stone before a full floor plank.
Side plank: Lie on one side, stack your feet, and lift your hips so your body forms a straight line. This variation targets your obliques and improves lateral stability. My tip: keep your top hand on your hip or reach it toward the ceiling for balance.
Plank with arm or leg lift: From a standard plank, slowly lift one arm or one leg a few inches off the ground. Holding that position increases instability and forces your deep core muscles to work harder to keep you steady.
Plank jacks: In a straight-arm plank, jump both feet out wide and then back together, like a horizontal jumping jack. This adds a dynamic cardio element while keeping your core engaged throughout the movement.
7. Top Tips for Holding Planks Longer and Stronger
Top Tips for Holding Planks Longer and Stronger
I have found that a few small mindset shifts make a big difference in plank endurance.
Consistency is key: Practicing for 20 seconds daily builds strength faster than holding for two minutes once a week. Short, regular holds add up.
Focus on engagement: Squeeze your glutes and quads actively. They are not passengers; they support your lower back and help you maintain a straight line.
Mind-muscle connection: Visualize your body as a rigid board from head to heels. That image helps me stop my hips from sagging without thinking about it.
Use a timer: Track each hold and increase by 5 seconds every few sessions. Gradual progression prevents frustration and injury.
Incorporate planks into your routine: Add them before or after your main workout, or as a quick stand-alone set on rest days. Making them a habit is what works.
8. Your Plank Journey: How Long to See Results and How Often to Practice
Your Plank Journey: How Long to See Results and How Often to Practice
Aim for 2-3 sets of 20-30 second holds, 3 to 5 times per week. If 20 seconds feels too long, start with 10 and work up.
With consistent practice, most people notice improvements in core strength and endurance within a few weeks. You might feel more stable in other exercises or notice better posture during the day.
Planks cost nothing. No gym membership, no equipment beyond a mat. You can do them anywhere, which makes them one of the most accessible core exercises available.
9. When to Consult a Professional About Your Plank Practice
When to Consult a Professional About Your Plank Practice
Stop immediately and consult a doctor if you feel sharp pain in your lower back or shoulders during a plank. Dull muscle fatigue is normal; sharp pain is not.
If you have a pre-existing injury to your wrists, shoulders, or lower back, talk to a doctor or physical therapist before starting. They can tell you whether planks are safe for your condition or suggest modified versions.
Pregnant individuals should check with their doctor before continuing or beginning plank exercises. Body changes can affect form and safety.
If you consistently struggle to keep proper form even with modifications like knee planks, a physical therapist can assess your movement patterns and give you targeted corrections.
10. Frequently Asked Questions
11. How long should a beginner hold a plank?
If you’re new to planks, start with holds of 20 to 30 seconds. If that feels too challenging, begin with 10 seconds and gradually work your way up. The goal is to maintain good form throughout the entire hold, not to push for a long time with poor alignment.
12. Can planks help with back pain?
Yes, many people find that regular plank practice helps reduce lower back pain by strengthening the core stabilizers that support the spine. However, if you have a pre-existing back injury or experience sharp pain during a plank, stop and consult a doctor or physical therapist before continuing.
13. Are planks a full-body exercise?
While planks primarily target the core muscles, including the rectus abdominis, transverse abdominis, and obliques, they also engage your shoulders, glutes, quadriceps, and hamstrings as secondary muscles. This makes them a highly efficient full-body isometric exercise.
14. What is the best way to breathe during a plank?
Breathe deeply and steadily throughout the hold. Many people tend to hold their breath, which can increase blood pressure and make the hold feel harder. Focus on inhaling and exhaling in a controlled rhythm to maintain oxygen flow and stay relaxed.
15. How often should I do planks?
Aim to practice planks 3 to 5 times per week, performing 2-3 sets of 20 to 60 second holds. Consistency is more important than holding for an extremely long time, so even short daily practice will build strength faster than occasional long holds.
16. Final Thoughts
My tip: Focus on holding a perfect plank for 20 seconds rather than a shaky one for a minute. Consistency matters more than duration, so aim for 2-3 sets, 3-5 times a week, and you’ll notice improvements in your strength and endurance within a few weeks. Stick with it, and your core will thank you.
This article is for general informational purposes only and does not constitute medical or professional advice. Always consult a doctor, physical therapist, or qualified fitness professional before starting a new exercise routine, especially if you have a pre-existing injury or health condition.
More Blog ideas
- How to Heal Chapped Lips Overnight with Simple Steps
- Atomic Habits: 5 Lessons to Build Better Habits
- Hyaluronic Acid for Beginners
- How to Build a Gentle Skincare Routine for Sensitive Skin
- Beat Frizzy Hair: Easy Remedies for Smooth, Shiny Strands
- How to Increase Your Daily Drinking Water Intake
- Washing Hair Mistakes to Avoid and What to Do Instead
- Bleaching Hair Tips for Less Damage
- How to Make Your Body Mist Last Longer All Day
- How to Fix Your Skincare Routine
- Nervous System Regulation Tips
- Vagus Nerve Exercises for Stress Relief