Showering Hacks: Keep Your Shower Sparkling Clean in 10 Minutes
Discover easy showering tips to clean your shower in just 10 minutes. Prevent soap scum and mold for a consistently clean and hygienic bathroom.

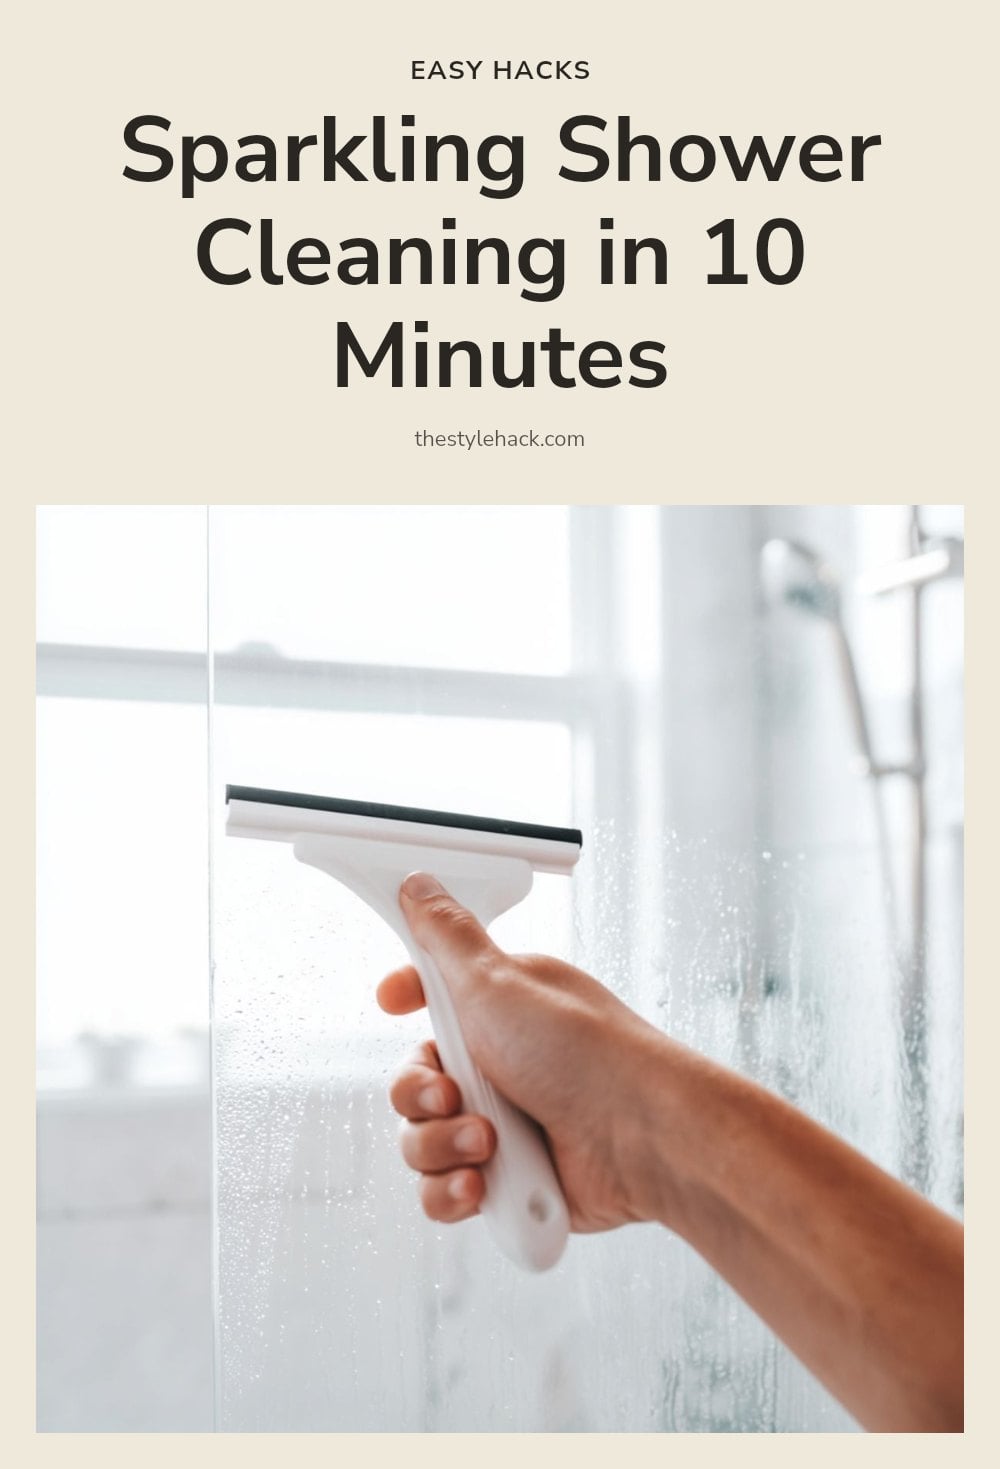
You don’t need a full deep clean every time to keep your shower looking great. With a simple 10-minute routine, you can tackle soap scum, water spots, and grime before they become a problem. This article covers quick daily habits, natural cleaning solutions, and the best tools to make your shower shine without the elbow grease.
Key Takeaways
- Use a squeegee after every shower to prevent water spots and soap scum buildup.
- Spray surfaces with a daily cleaner, like equal parts vinegar and water, to break down residue.
- Ventilate for 15-20 minutes after showering to reduce mold and mildew risk.
- Apply baking soda paste to tough grime and let it sit before scrubbing.
- Clean from top to bottom and buff glass with a microfiber cloth for a streak-free finish.
01. Clean Your Shower in 10 Minutes: Here’s How
You can keep your shower sparkling with a quick 10-minute routine that skips deep scrubbing. Focus on daily or weekly light cleaning to stop soap scum and hard water stains from building up. Use natural solutions like vinegar and baking soda, plus a squeegee and microfiber cloths, to clean efficiently without harsh chemicals.
02. 1. Keep a Squeegee Handy
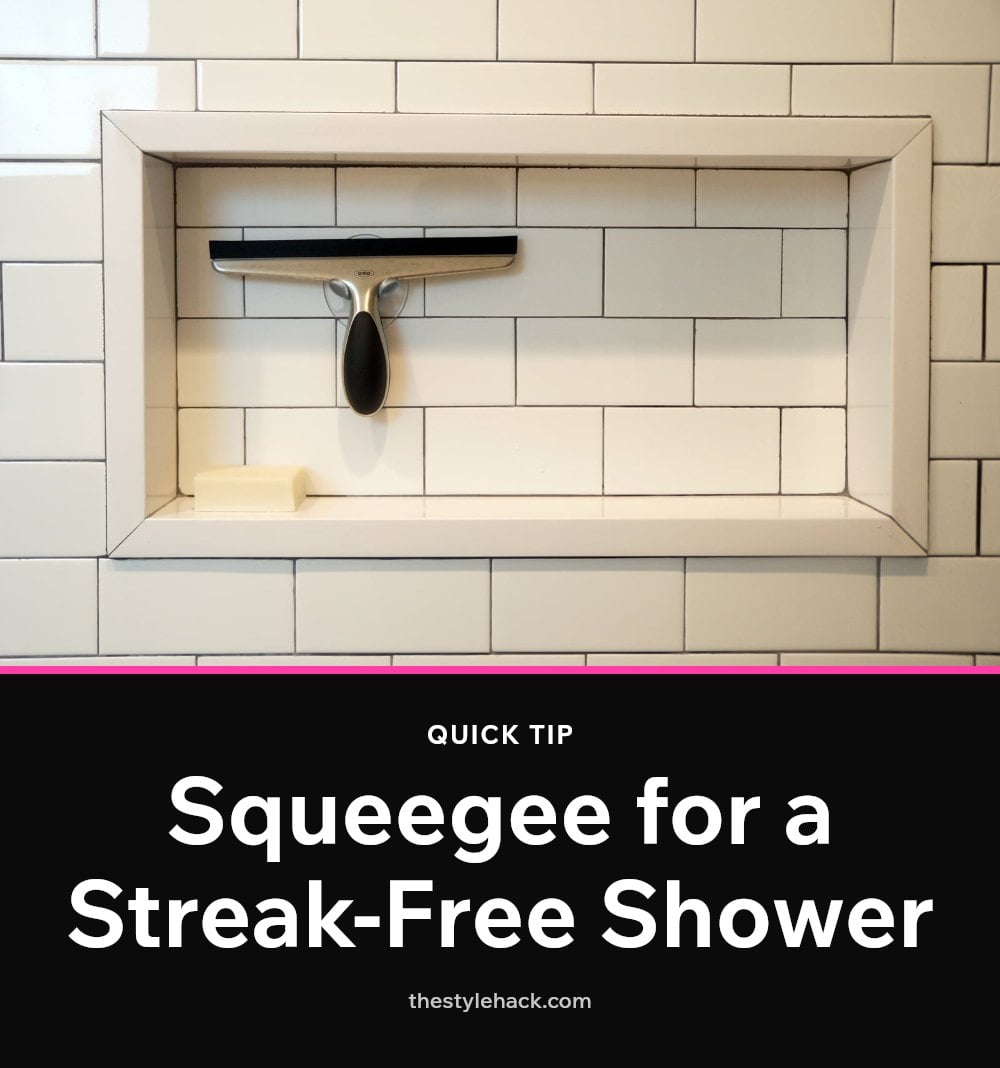
After every shower, take a minute to squeegee down the walls and glass doors. This simple action significantly reduces water spots and soap scum accumulation, making deeper cleans less frequent.
My tip: Hang your squeegee inside the shower for easy access and a visual reminder.
03. 2. Daily Shower Spray Routine
After your shower, quickly spray down all surfaces with a daily shower cleaner. This helps break down soap scum and hard water minerals before they can dry and harden.
You can use a commercial daily spray or a homemade mixture of equal parts white vinegar and water. Both work well, and the DIY option is budget-friendly.
04. 3. Ventilate Properly
Always ensure good ventilation during and after showering to reduce humidity. Open a window or run the exhaust fan for at least 15-20 minutes after you’re done.
This is crucial for preventing mold and mildew growth, which thrive in moist environments.
05. 4. Tackle Soap Scum with Vinegar
For a quick weekly clean, spray shower walls and doors with a solution of equal parts white vinegar and water. Let it sit for 5-10 minutes so the acetic acid can dissolve soap scum and hard water deposits. This waiting time is key for the weekly deep-ish clean, not for everyday use.
After the wait, wipe down with a microfiber cloth and rinse thoroughly. The vinegar breaks down buildup without harsh chemicals, and the sit time does the heavy lifting. For daily maintenance, use a quick spray-and-wipe vinegar solution without the long wait.
06. 5. Baking Soda for Grime
For tougher grime on the shower floor or grout lines, mix baking soda with a little water to form a thick paste. Apply it directly to the problem areas and let it sit for a few minutes so it can start lifting the dirt.
Scrub gently with a cleaning brush or sponge. Baking soda works as a mild abrasive that breaks up grime without scratching surfaces, making it safe for acrylic and fiberglass tubs.
07. 6. Don’t Forget the Grout
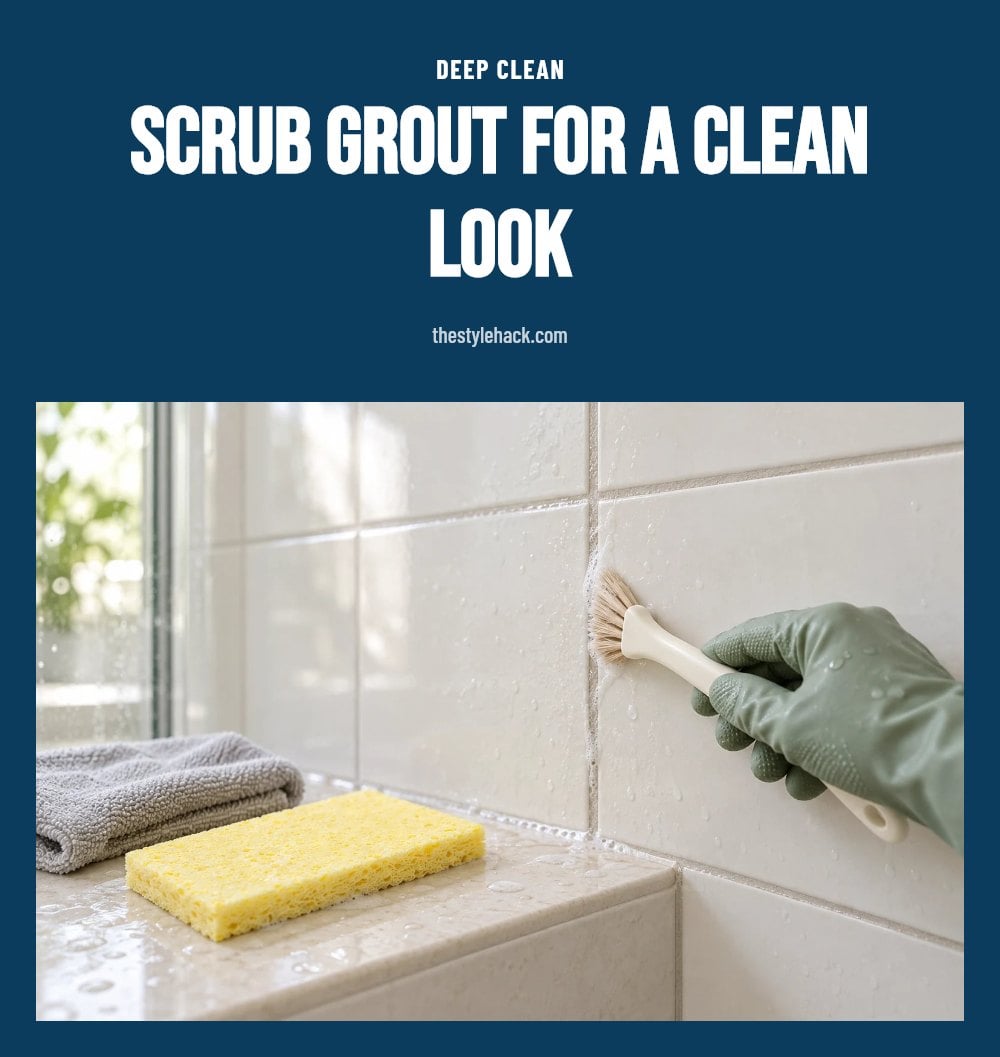
Grout is one of the first places mold and mildew show up, so it deserves targeted attention. Use a dedicated grout brush with your baking soda paste or a vinegar solution to scrub away discoloration along the lines.
My tip: A toothbrush works wonders for reaching tight grout lines. Keep an old one in your cleaning caddy and it will get into corners that larger brushes simply cannot reach.
08. 7. Clean from Top to Bottom
When you clean your shower, always start at the top and work your way down. This way, gravity pulls dirt and cleaning solution downward, so you are not wiping drips off surfaces you already cleaned.
It also makes rinsing more efficient because the water flows over the whole wall in one pass. You will skip less spots and finish faster with a more even result.
09. 8. Microfiber for Streak-Free Shine
After rinsing, wipe down glass doors and fixtures with a clean, dry microfiber cloth. The fine fibers trap water spots and polish the surface without leaving lint or streaks.
- Buff in circles: This lifts mineral residue for a brilliant shine.
- Use a separate cloth: Keep one dedicated to glass to avoid transferring grime.
10. 9. Keep Tools Handy

Store your essential cleaning tools, a spray bottle, squeegee, and a dedicated brush or sponge, within easy reach in your bathroom. When they are visible and accessible, you are far more likely to use them daily.
Tip: Hang a small caddy or hook inside the shower to keep everything organized and ready for quick touch-ups.
11. 10. Don’t Mix Chemicals
Never mix bleach with vinegar or ammonia-based cleaners. Combining these can release toxic chlorine gas, which is extremely dangerous to inhale, even in small amounts.
- Use one at a time: Rinse surfaces thoroughly between different products.
- Ventilate: Always run the fan or open a window while cleaning.
12. 11. Protect Your Hands
Always wear gloves when handling cleaning solutions, even natural ones like vinegar. Repeated exposure can strip your skin’s natural oils, causing dryness, irritation, or allergic reactions.
Tip: Choose rubber or nitrile gloves with a good grip to keep your hands safe and comfortable during the whole process.
13. Common Shower Cleaning Mistakes to Avoid
The biggest mistake is waiting until your shower looks dirty before you clean it. By then, soap scum and hard water stains have already bonded to the surface, so you need heavy scrubbing and stronger chemicals. A quick 10-minute routine every few days stops that buildup before it starts.
Another common error is not rinsing thoroughly. Cleaning solutions left to dry on tiles or glass leave a filmy residue that actually attracts more dirt. Always rinse with warm water until the surface feels slick, not sticky.
Ignoring ventilation is a silent problem. If you skip the fan or window, moisture lingers and mold spores settle into grout within 24 to 48 hours. Run the exhaust for at least 15 minutes after every shower.
Harsh abrasives are a fast way to ruin acrylic or fiberglass. Steel wool and stiff scrub pads leave micro-scratches that trap grime permanently. Use a soft sponge or a nylon brush instead.
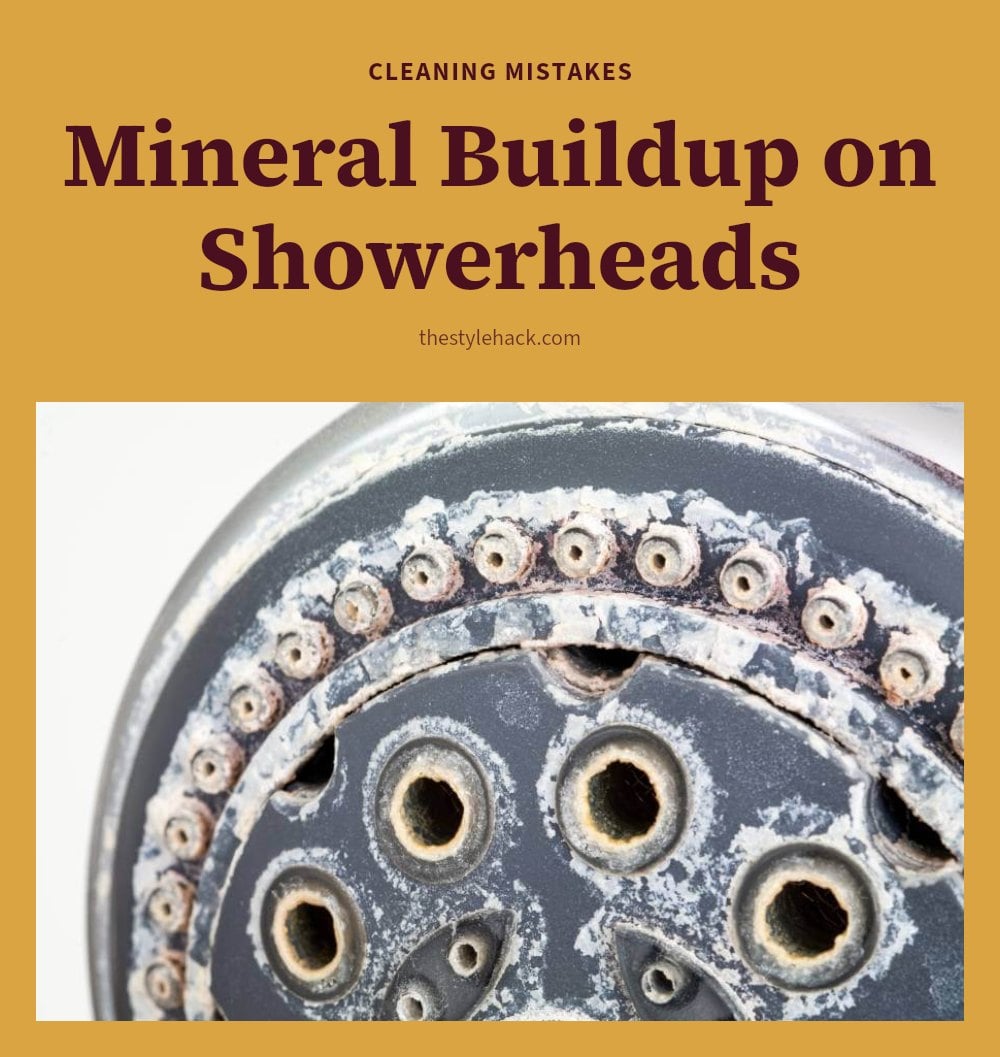
Finally, don’t forget the showerhead. Mineral deposits can clog the nozzles and reduce water pressure. Every month, unscrew it and soak it in white vinegar for 30 minutes to an hour, then rinse.
14. Frequently Asked Questions
15. How often should I clean my shower?
For best results, do a light clean daily or every few days, focusing on squeegeeing and spraying surfaces. A deeper clean with vinegar or baking soda can be done weekly or monthly as needed. Regular maintenance prevents heavy buildup, so you won’t have to scrub as hard later.
16. What’s the best way to prevent mold in the shower?
Mold thrives in moisture, so the key is to keep the shower dry and ventilated. After showering, use a squeegee to remove excess water, and leave the door or curtain open. Run the exhaust fan or open a window for at least 15-20 minutes to reduce humidity. Clean grout regularly with a baking soda paste to stop mold from taking hold.
17. Can I use natural cleaners for my shower?
Yes, natural cleaners like white vinegar and baking soda are effective for most shower surfaces. Vinegar dissolves hard water deposits and soap scum, while baking soda acts as a gentle abrasive. Use a 50/50 vinegar and water solution for general cleaning, and a baking soda paste for tougher spots. Always test on a small area first to ensure compatibility with your surfaces.
18. How do I clean a clogged showerhead?
To remove mineral deposits from a showerhead, fill a plastic bag with white vinegar and secure it over the head with a rubber band, making sure the nozzles are submerged. Let it soak for 30 minutes to an hour, then remove the bag and run the water to flush out loosened deposits. For stubborn clogs, gently scrub the nozzles with an old toothbrush. This method is safe for most metal and plastic heads.
19. What causes pink mold in the shower?
Pink stains are usually caused by a bacteria called Serratia marcescens, which thrives in moist environments with soap residue. It’s not true mold, but it can be slippery and unsightly. To remove it, scrub with a baking soda paste or a vinegar solution, and rinse thoroughly. Regular cleaning and good ventilation will help prevent it from coming back.
20. Final Thoughts
Make it a habit to squeegee and spray daily, and do a quick vinegar or baking soda scrub once a week. That routine will keep your shower fresh and cut down on deep cleaning sessions. Expect to spend about 10 minutes per quick clean, and you’ll notice less buildup over time. Stick with it, and your shower will stay sparkling with minimal effort.
More Blog ideas
- How to Heal Chapped Lips Overnight with Simple Steps
- Atomic Habits: 5 Lessons to Build Better Habits
- Hyaluronic Acid for Beginners
- How to Build a Gentle Skincare Routine for Sensitive Skin
- Beat Frizzy Hair: Easy Remedies for Smooth, Shiny Strands
- How to Increase Your Daily Drinking Water Intake
- Washing Hair Mistakes to Avoid and What to Do Instead
- Bleaching Hair Tips for Less Damage
- How to Make Your Body Mist Last Longer All Day
- How to Fix Your Skincare Routine
- Nervous System Regulation Tips
- Vagus Nerve Exercises for Stress Relief