How to Do Sugaring at Home: A Beginner’s Guide
Learn how to do sugaring at home with this beginner's guide. Discover the natural paste recipe, step-by-step application, and tips for smooth, hair-free skin.


Sugaring is a natural hair removal method that uses a simple paste made from sugar, lemon juice, and water. Unlike waxing, the paste adheres only to hair and dead skin cells, not live skin, which reduces irritation and makes it a gentler option for many. This guide walks you through the hand-held flicking method step by step, including how to prepare your skin, apply the paste, and care for your skin afterward. You’ll also find the recipe for homemade paste and tips for troubleshooting common mistakes.
Key Takeaways
- Use the hand-held flicking method: apply against hair growth, remove in the direction of growth.
- Ensure hair is at least 1/4 inch long for effective sugaring.
- Exfoliate 24-48 hours before sugaring to help prevent ingrown hairs.
- Plan to sugar every 3-6 weeks for best results.
- Apply a soothing, unscented moisturizer or aloe vera after sugaring.
1. What is Sugaring and Why Try It?
Sugaring is a natural hair removal method that uses a simple paste made from sugar, lemon juice, and water. Unlike waxing, the paste adheres only to hair and dead skin cells, not live skin, which reduces irritation and makes it a gentler option for many skin types. You can easily do it at home with a little practice, making it a cost-effective and convenient alternative to salon treatments. The result is smooth skin without the harsh chemicals or strips.
2. Gather Your Sugaring Supplies

Before you start, gather everything you need for both making the paste and the sugaring process itself. Here’s the full list:
- For the paste: sugar, lemon juice, and water. A saucepan and an optional candy thermometer help you control the consistency.
- For the process: fitted gloves (they give you better grip and prevent mess), cornstarch or talc-free powder, and a soothing unscented lotion or aloe vera gel for aftercare.
- Optional: a spatula or butter knife for applying the paste if you prefer the strip method.
Make sure your gloves fit snugly, as loose gloves make it harder to mold the paste and can lead to waste.
3. Step-by-Step: How to Sugar at Home
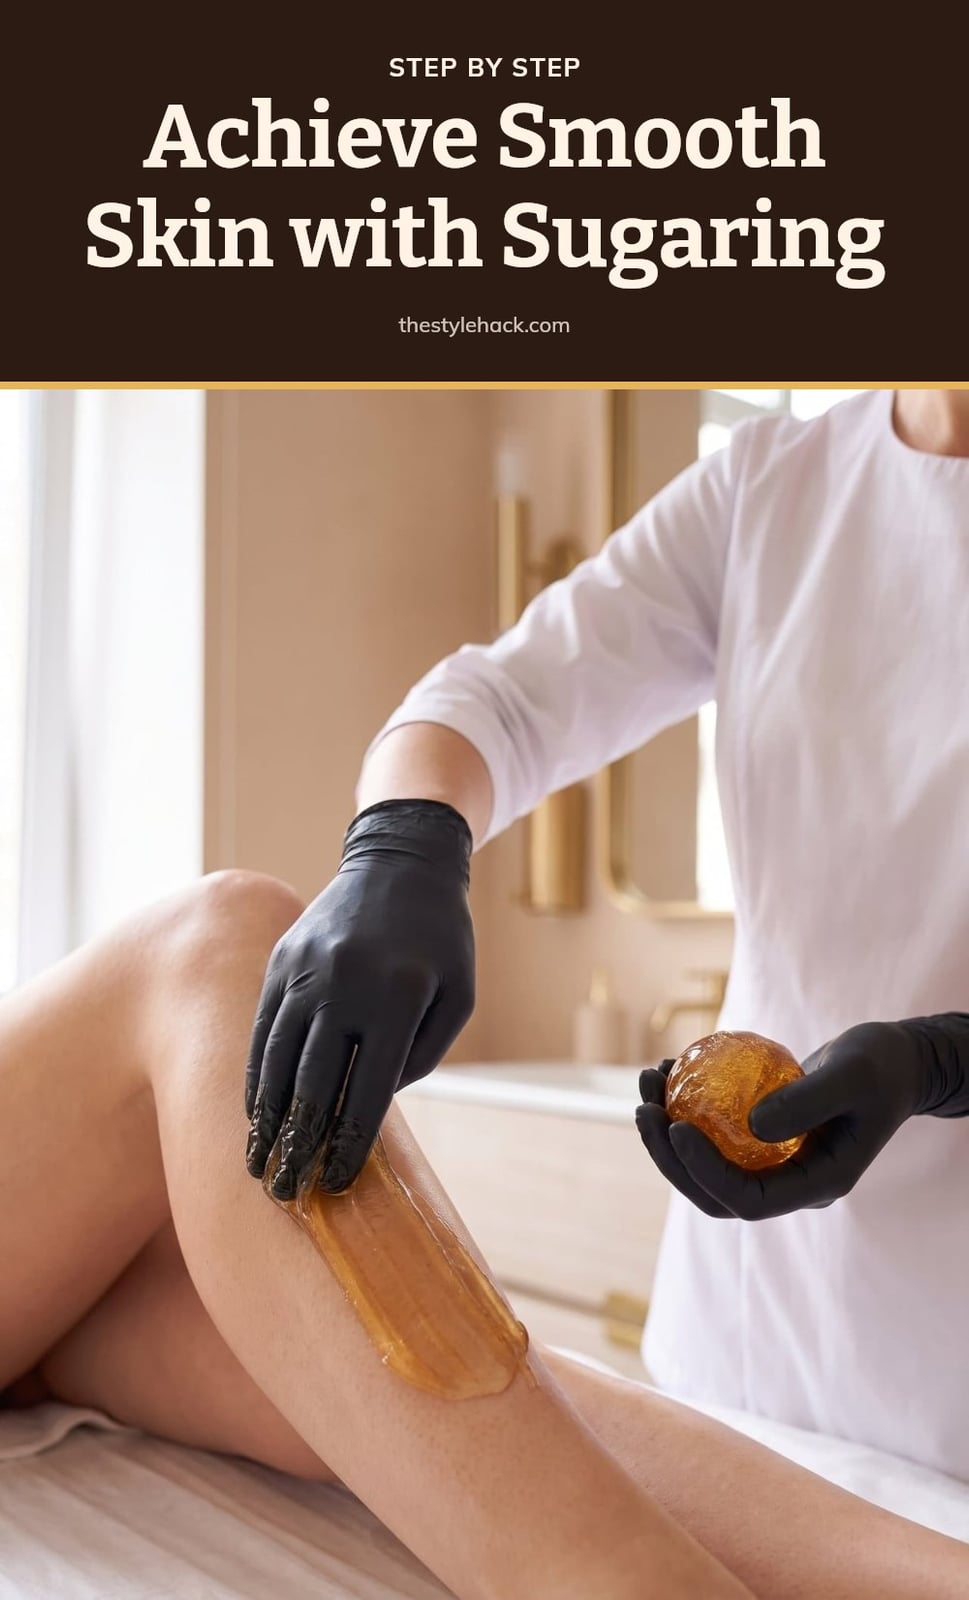
Follow this hand-held method, also known as the flicking technique, for best results. It takes a little practice, but you’ll get the hang of it quickly.
- Prepare your skin: Ensure it’s clean, dry, and free of oils or lotions. Dust a light layer of cornstarch or talc-free powder over the area to absorb moisture and prevent the paste from sticking to skin instead of hair.
- Warm and scoop the paste: The paste should have a honey-like consistency. With gloved hands, scoop a small ball using three fingers and your thumb, keeping your pinky out of the way for better control. Start small, especially if you’re new to sugaring.
- Practice in your hand: Roll and manipulate the ball in your gloved palm in circular motions until it becomes pliable and stays in one piece. This helps you get a feel for the texture.
- Apply against hair growth: Press the paste onto your skin against the direction of hair growth. Mold it firmly into the hair three times, pressing down each time to ensure the hairs are embedded.
- Hold skin taut and flick: With one hand, hold the skin taut. With the other, flick the paste off quickly in the direction of hair growth. A quick, confident flick parallel to the skin is key. Don’t hesitate, as hesitating can cause the paste to get stuck.
- Remove residue: If any small bits remain, press the paste ball onto them to pick them up. For individual stray hairs, use your fingertip to flick them off.
- Soothe the area: Immediately after flicking, apply gentle pressure with your fingers to the sugared area. This helps relieve any discomfort.
- Discard used paste: When the ball becomes full of hair and no longer effective, place the dirty glove (with the paste inside) into the other glove, tie it off, and throw it away. Then put on fresh gloves and continue.
If the paste gets stuck on your skin, don’t worry: it’s water-soluble, so it washes off easily with warm water.
Prefer to watch? Destiny Pino walks through the whole method in this 12-minute video. The how-to part starts at 3:43.
4. Homemade Sugaring Paste Recipe
Making your own sugaring paste is simple and requires just three ingredients.
- Prep time: 5 minutes
- Cook time: 10-15 minutes
- Yield: About 1 cup of paste
Ingredients: 2 cups sugar, 1/4 cup lemon juice, 1/4 cup water.
Instructions: Combine all ingredients in a saucepan. Heat over medium heat, stirring constantly, until the mixture turns a golden amber color and reaches a honey-like consistency (about 240-250°F if using a candy thermometer). Let it cool to a pliable, warm-but-not-hot temperature before use.
This recipe yields a medium-consistency paste suitable for most hair types. Cook it 1-2 minutes less for a softer paste, or 1-2 minutes more for a firmer one, depending on your preference and hair texture.
5. Common Sugaring Mistakes and How to Fix Them
Not preparing skin properly: Always start with clean, dry skin and dust it with cornstarch or baby powder. This absorbs moisture and prevents the paste from sticking to your skin instead of your hair.
Applying paste too thick or thin: Your paste should be a honey-like consistency that you can easily mold in your hand. If it’s too thick, it won’t spread well; too thin, and it won’t grip the hair firmly.
Not pulling skin taut: Hold the skin firmly with one hand while you flick with the other. Loose skin can cause bruising and makes removal less effective.
Hesitating when flicking: A quick, confident flick parallel to the skin is essential. If you hesitate, the paste can get stuck and make a mess.
Using paste that’s too hot or cold: Test the temperature on a small patch of skin first. Too hot can burn, too cold becomes stiff and hard to work with.
Attempting to sugar hair that’s too short: Wait until hair is at least 1/4 inch long. Shorter hairs won’t embed in the paste, so you’ll end up with patchy results.
6. Pro Tips for a Smooth Sugaring Experience
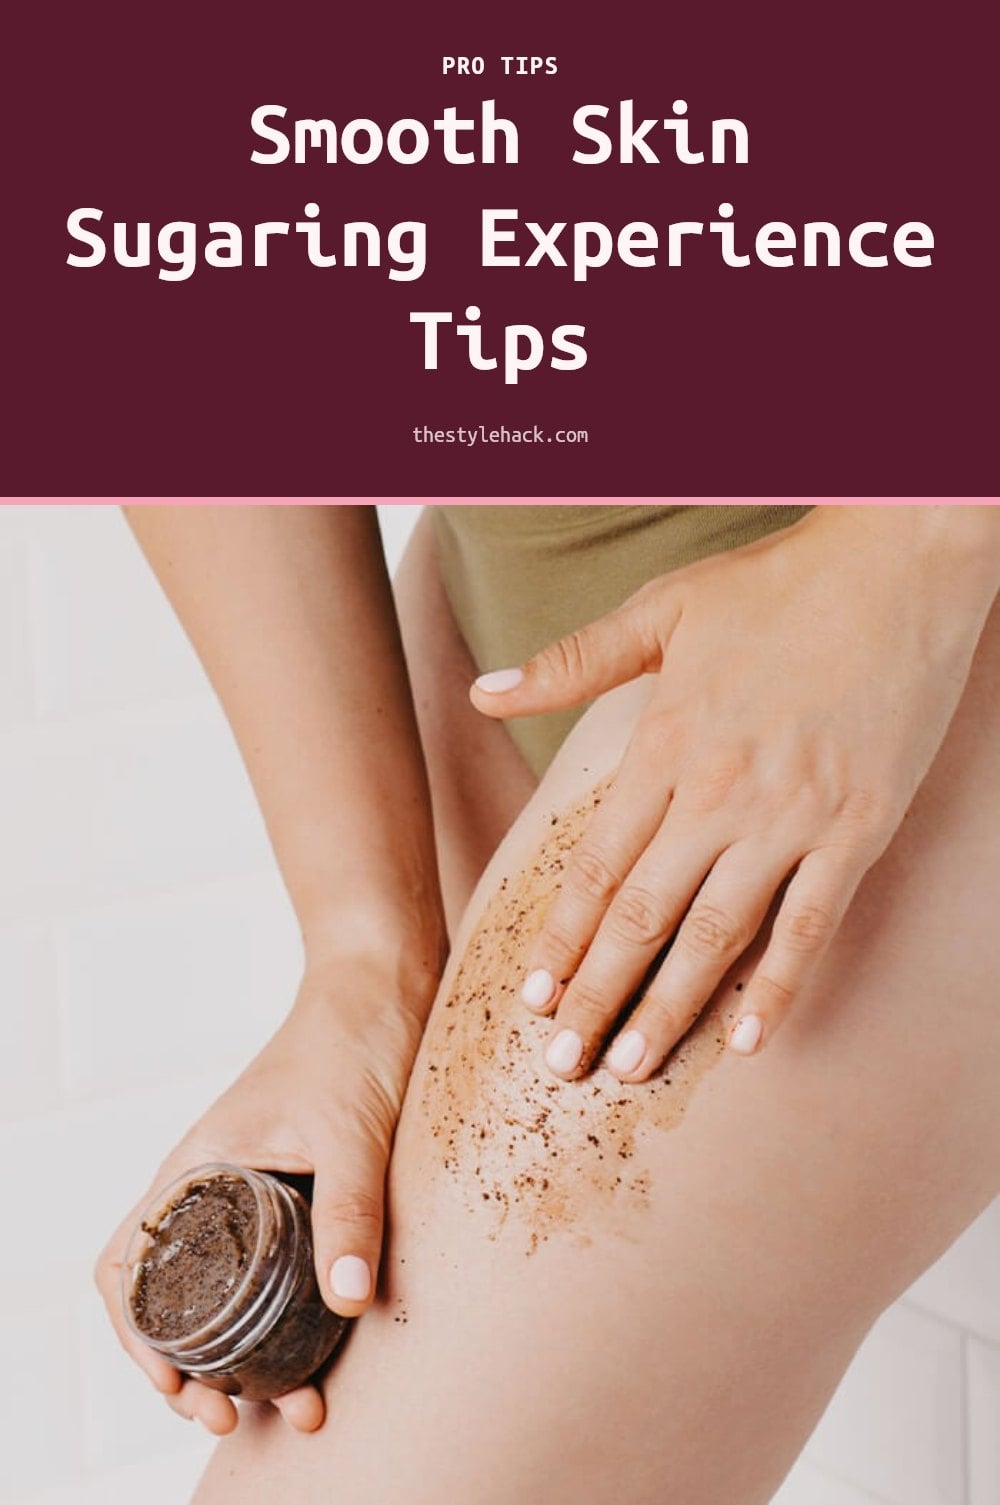
Start on a small, less sensitive area like your lower leg to get the feel for the technique before moving to trickier spots. Exfoliate your skin 24-48 hours beforehand to help prevent ingrown hairs, but skip harsh scrubs right before sugaring.
When you scoop the paste, keep your pinky finger out of the way. It gives you better control of the ball in your gloved hand and keeps it from sticking where you don’t want it.
Tip: If the paste gets stuck on your skin, don’t panic. It’s water-soluble, so warm water and a washcloth will wash it right off.
Notice white residue on your paste ball? That’s likely dead skin cells coming off with the hair. Regular exfoliation between sessions helps keep that buildup down and your results smoother.
7. Post-Sugaring Skin Care
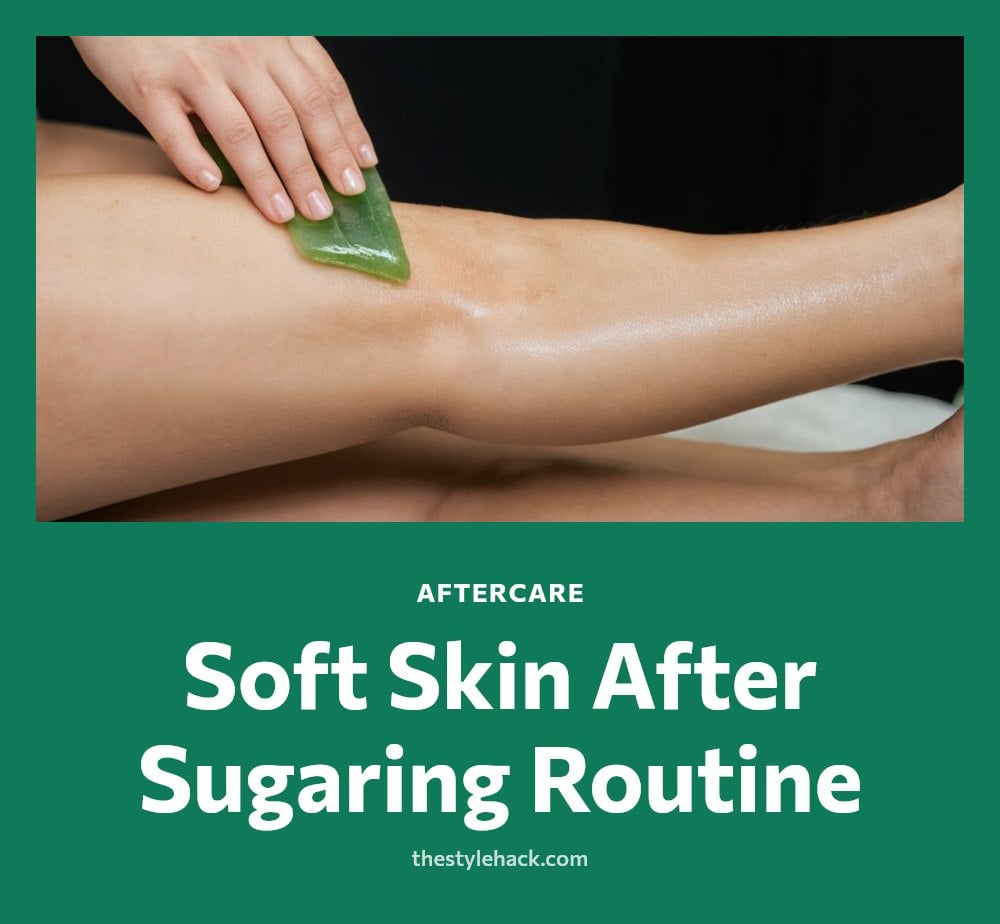
Right after you finish sugaring, your skin is freshly exfoliated and a little sensitive. Apply a soothing, unscented moisturizer or pure aloe vera gel to calm the area and lock in hydration. This helps reduce redness and keeps the skin comfortable.
For the next 24 hours, skip hot showers, baths, saunas, and strenuous exercise. Heat and sweat can irritate freshly sugared skin and lead to bumps. Stick to lukewarm water and gentle activities.
Wear loose-fitting clothing to let your skin breathe and minimize friction against the treated area. Tight fabrics can rub and cause ingrown hairs or irritation.
After a few days, resume gentle exfoliation to prevent ingrown hairs. Use a soft washcloth or a mild scrub, but avoid anything harsh or abrasive while your skin is still healing.
8. How Often to Sugar and Expected Results
Plan to sugar every 3 to 6 weeks, depending on how fast your hair grows. You will see smooth skin right after the session, and with consistent treatments, many people notice hair coming back finer and sparser over time.
At-home sugaring wins on cost, too. A batch of paste uses pantry staples, so each session costs pennies compared to a salon appointment. You also skip travel time and booking, which makes it easier to stay on schedule.
Tip: Mark your calendar a month out. If you wait longer than 6 weeks, the hair gets long enough to make the flicking step less precise.
9. When to Consult a Professional or Dermatologist
Sugaring is safe for most people, but some situations call for a professional or dermatologist. If you notice excessive redness, swelling, prolonged pain, or any signs of infection after sugaring, stop immediately and seek medical advice.
Avoid sugaring over irritated, broken, or sunburned skin, as well as moles, warts, or any skin lesions. The paste can aggravate these areas and cause further damage.
If you have active acne, eczema, or psoriasis in the area you want to sugar, consult a dermatologist first. These conditions make skin more fragile and prone to irritation.
Caution: If you use retinoids or other exfoliating treatments, your skin is more sensitive. Talk to a dermatologist before sugaring to avoid burns or excessive irritation.
10. Frequently Asked Questions
11. Is sugaring less painful than waxing?
Many people find sugaring less painful than waxing because the paste adheres mainly to hair and dead skin cells, not live skin. This gentler adhesion can reduce irritation. However, pain tolerance varies, so it may not be true for everyone. Trying a small patch first can help you gauge your comfort level.
12. How long does hair need to be for sugaring?
Hair should be at least 1/4 inch long for effective sugaring, similar to waxing. If hair is too short, the paste won’t be able to grip it properly. If it’s too long, you may need to trim it to avoid extra discomfort. Aim for about a quarter of an inch for best results.
13. Can I reuse sugaring paste?
You can reuse the same ball of paste during a session until it becomes too soft or saturated with hair. Once it’s full and no longer effective, discard it. For hygiene and ease, you can wrap the used paste in the dirty glove and throw it away. Don’t reuse paste from a previous session, as it may harbor bacteria.
14. How often should I sugar?
Plan to sugar every 3 to 6 weeks, depending on your hair growth cycle. You’ll see smooth skin immediately after, and regrowth will appear as new hairs reach about 1/4 inch. Regular sugaring can also lead to finer, sparser hair over time, which may extend the time between sessions.
15. What if my sugaring paste is too sticky or too hard?
If your paste is too sticky, it may be too warm or have too much moisture. Let it cool slightly or add a bit more sugar. If it’s too hard, it may have cooked too long or cooled too much; gently reheat it in a saucepan with a little water to soften. The ideal consistency is honey-like and pliable.
16. Final Thoughts
My tip: start on a small, less sensitive area like your lower leg to practice the flicking motion before moving to trickier spots. With regular sugaring every 3 to 6 weeks, you’ll notice smoother skin immediately and, over time, hair may grow back finer and sparser. Remember to always test the paste temperature on a small patch of skin first to avoid burns, and if you experience excessive redness or pain, stop and consult a professional.
This article is for general information only and is not a substitute for professional medical or dermatological advice. If you have a persistent skin condition, are using retinoids, or are unsure whether sugaring is safe for you, consult a dermatologist or healthcare provider before trying it.
More Blog ideas
- How to Heal Chapped Lips Overnight with Simple Steps
- Atomic Habits: 5 Lessons to Build Better Habits
- Hyaluronic Acid for Beginners
- How to Build a Gentle Skincare Routine for Sensitive Skin
- Beat Frizzy Hair: Easy Remedies for Smooth, Shiny Strands
- How to Increase Your Daily Drinking Water Intake
- Washing Hair Mistakes to Avoid and What to Do Instead
- Bleaching Hair Tips for Less Damage
- How to Make Your Body Mist Last Longer All Day
- How to Fix Your Skincare Routine
- Nervous System Regulation Tips
- Vagus Nerve Exercises for Stress Relief